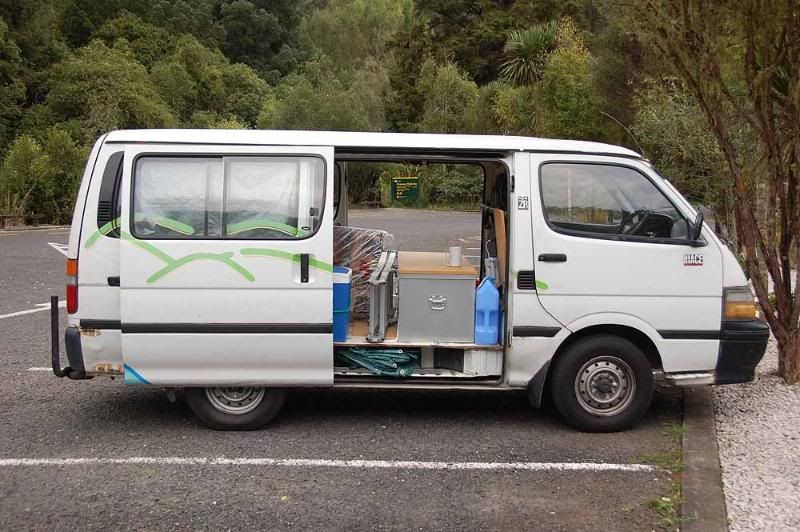
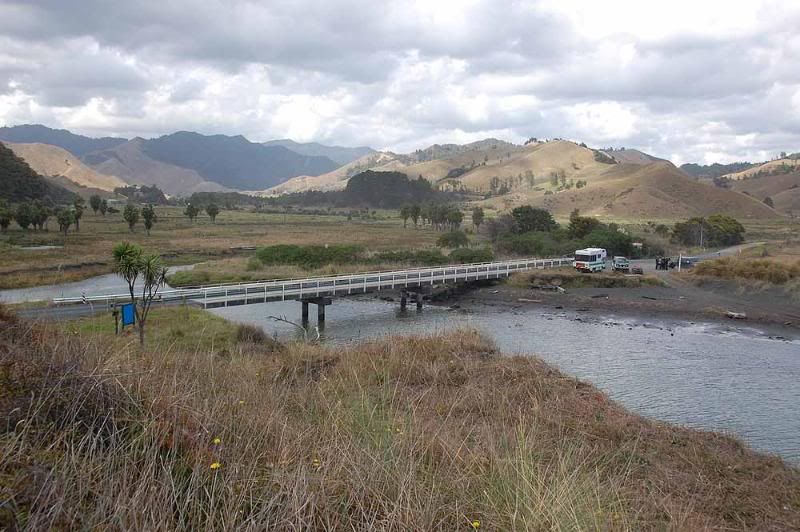
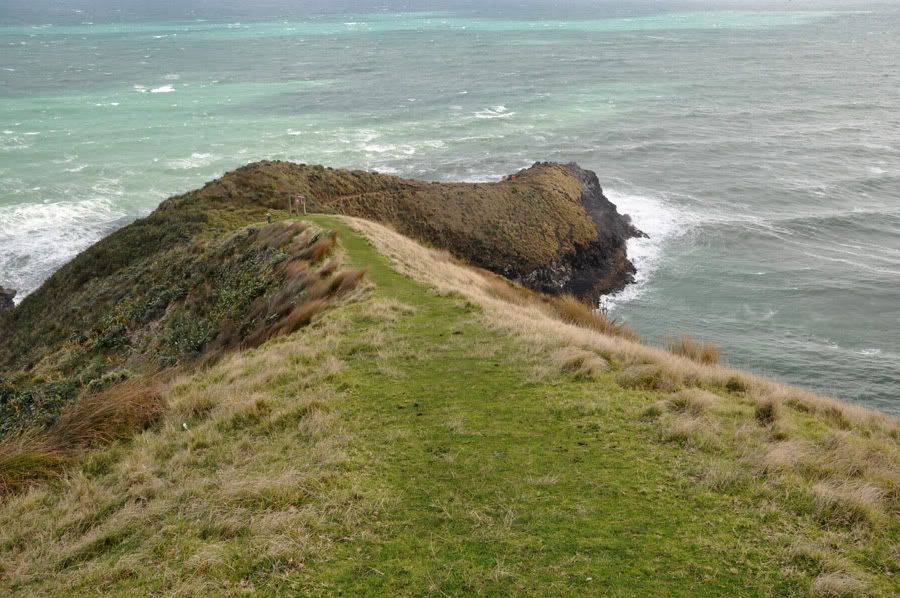
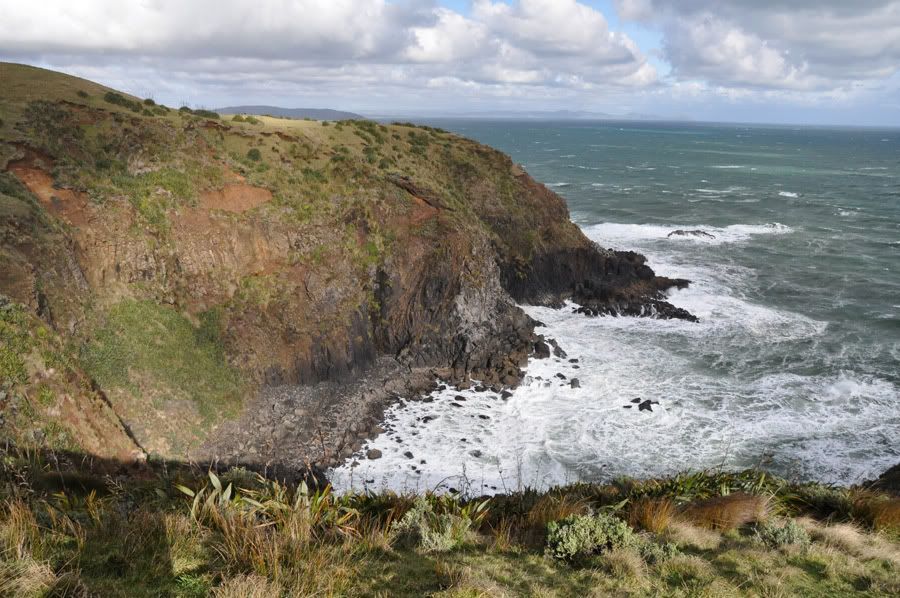
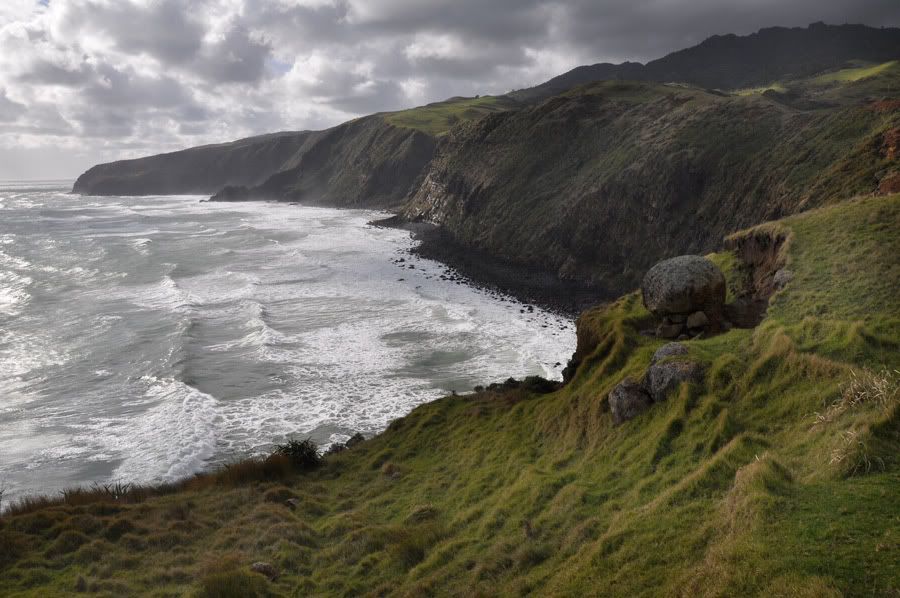
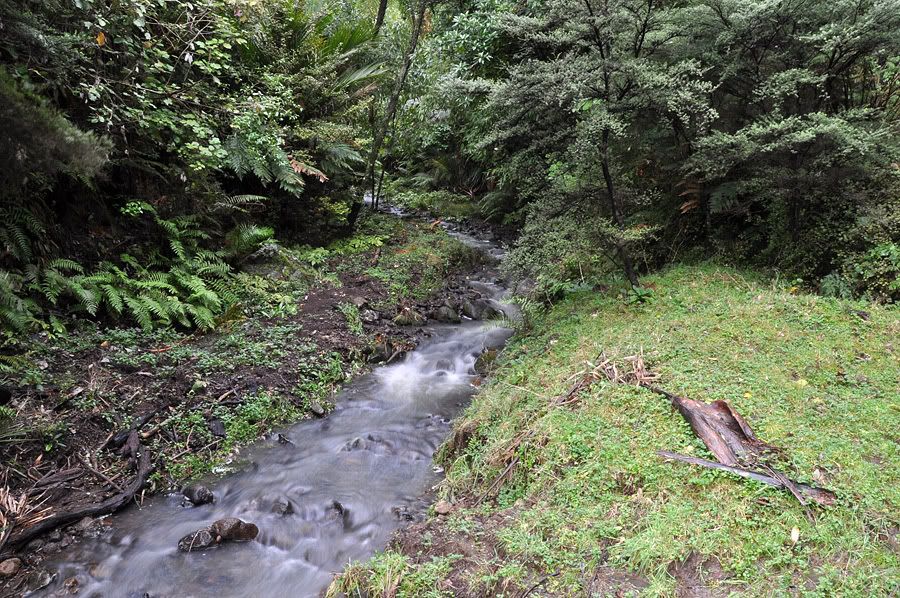
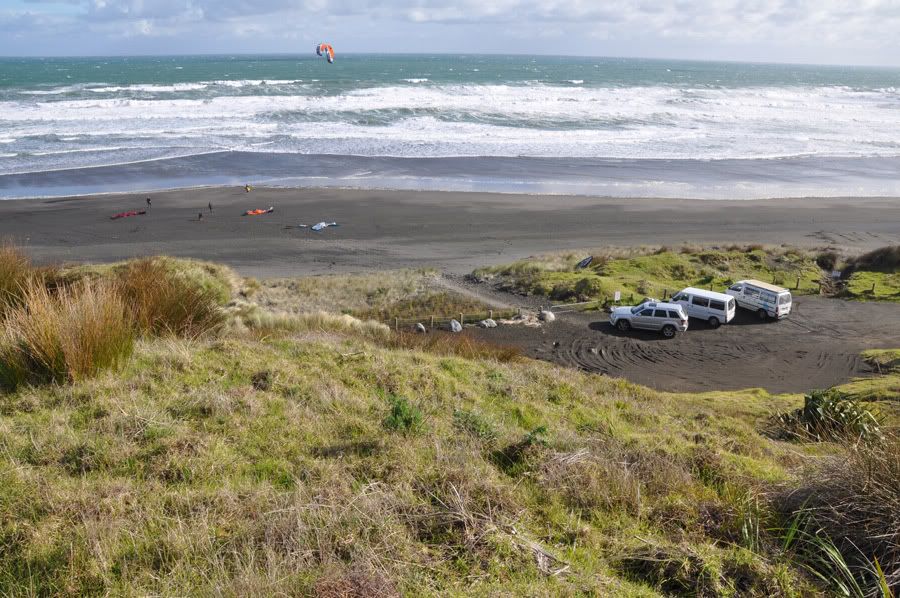
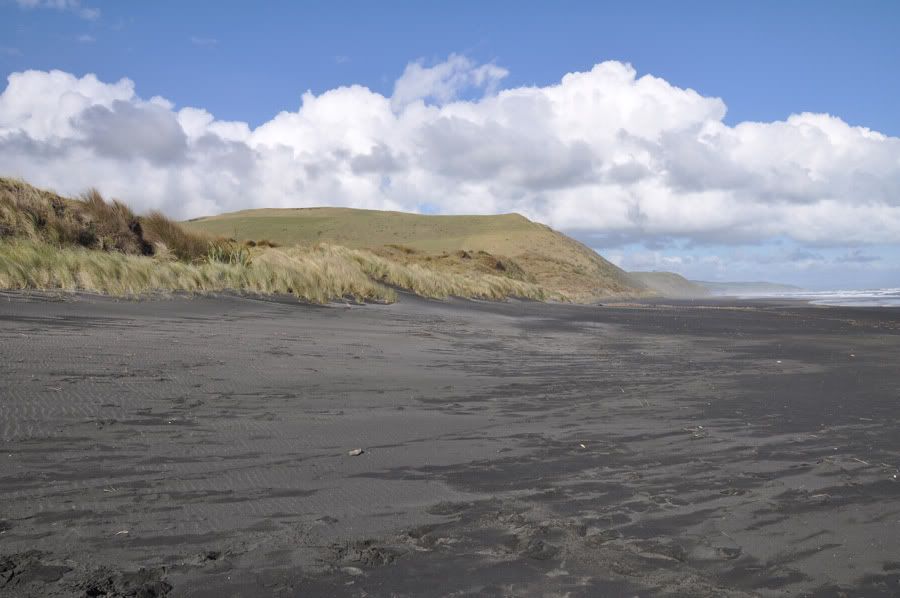
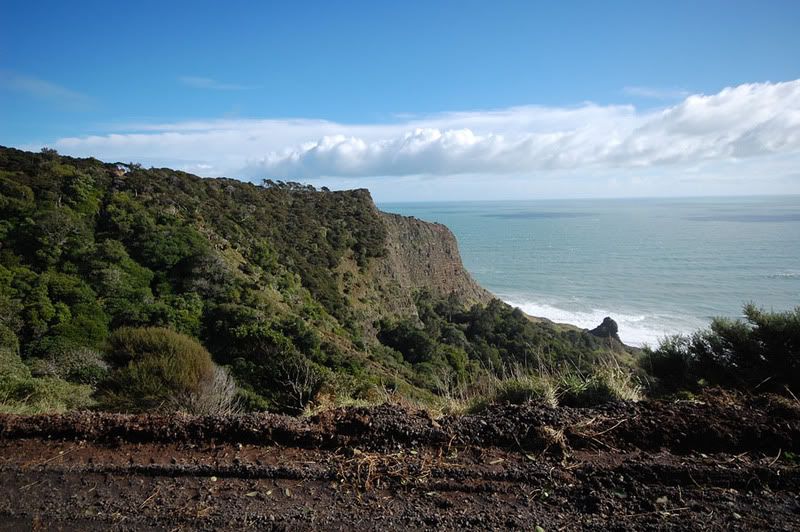
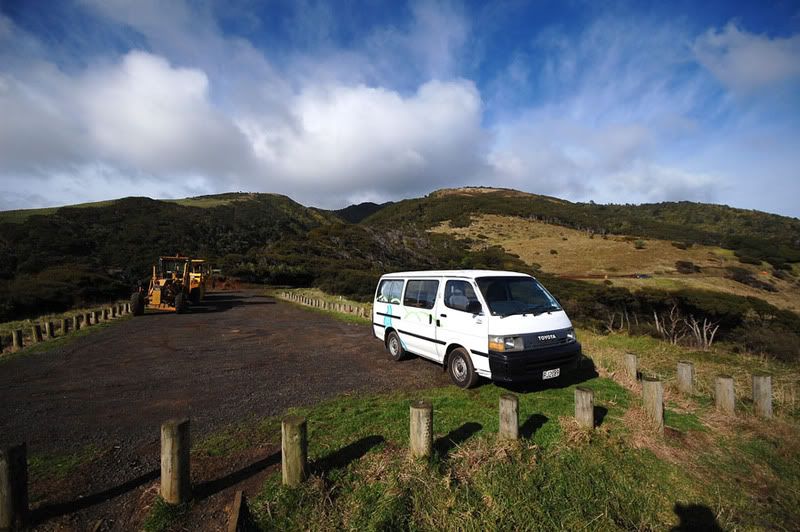
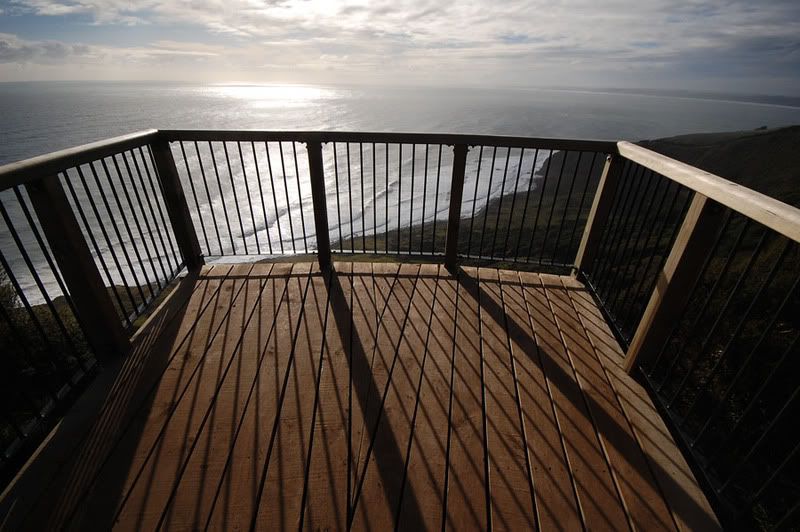
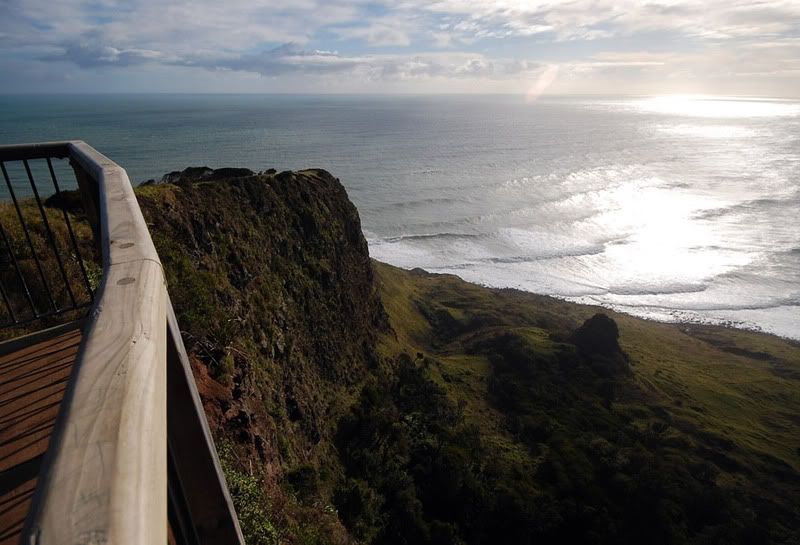
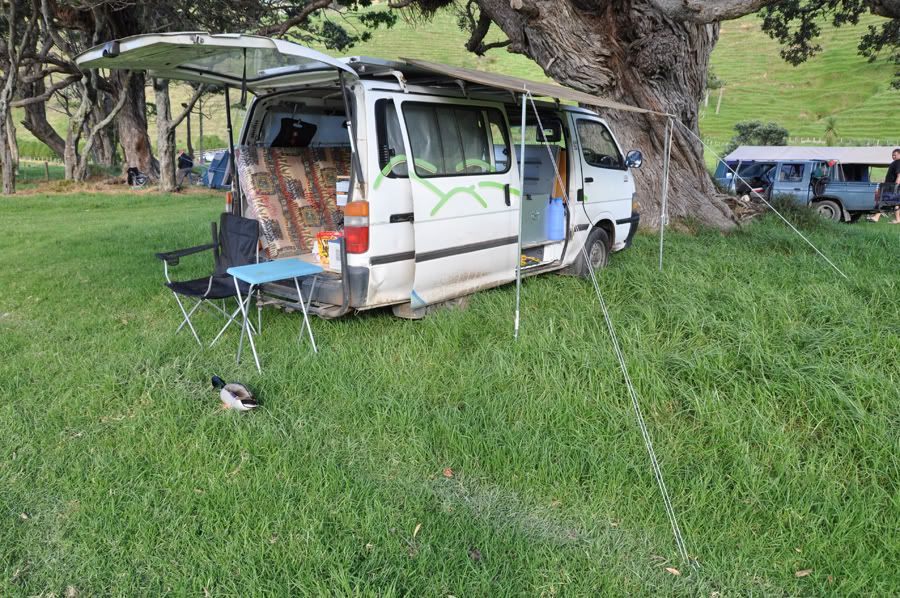
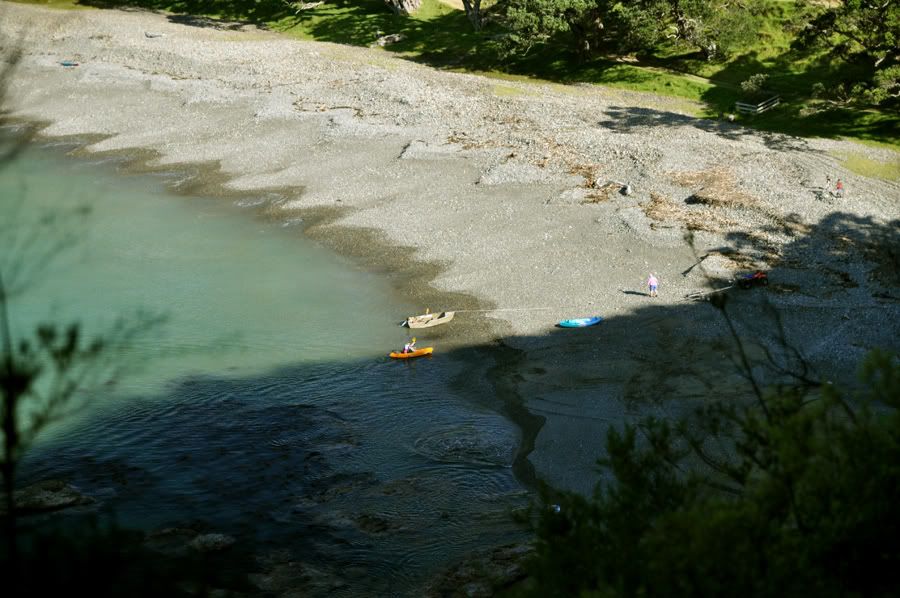
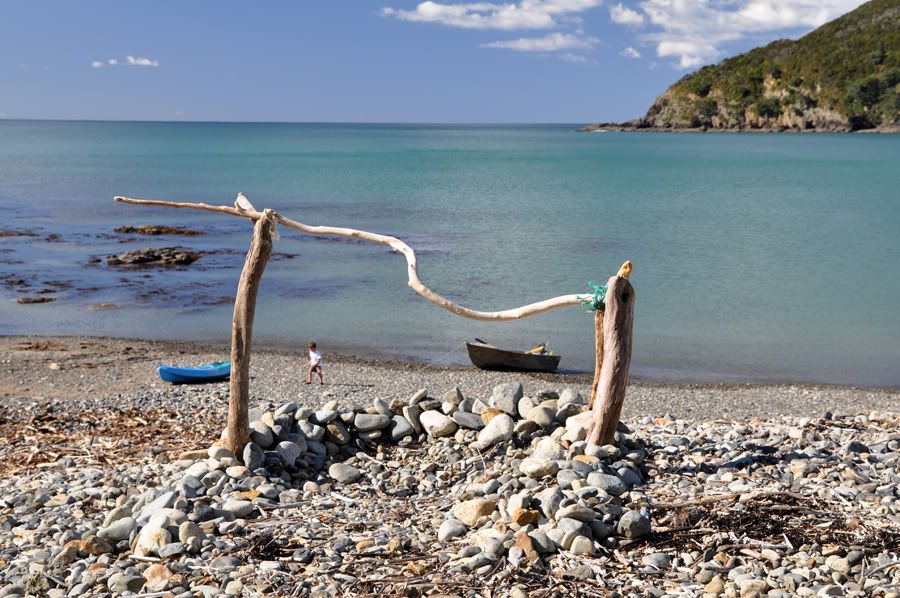
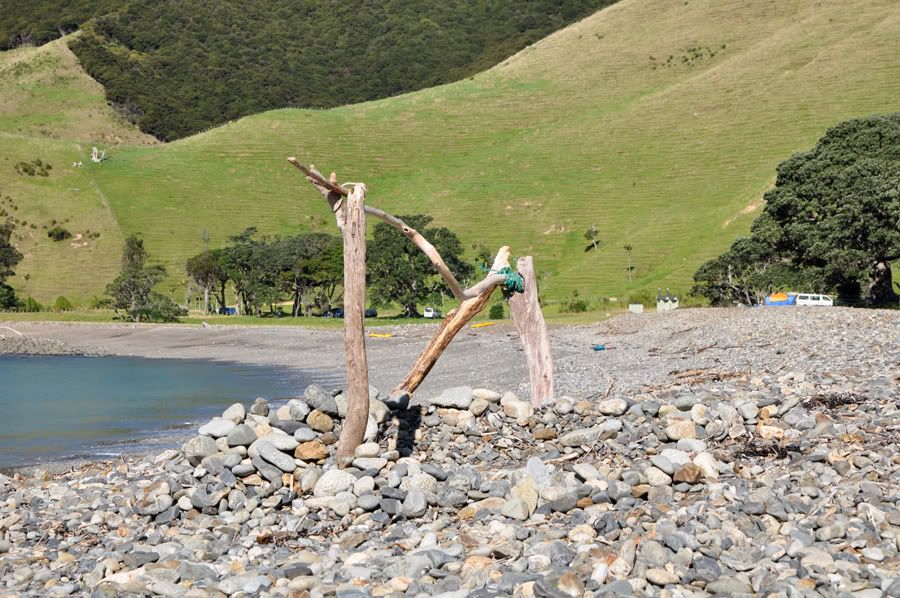
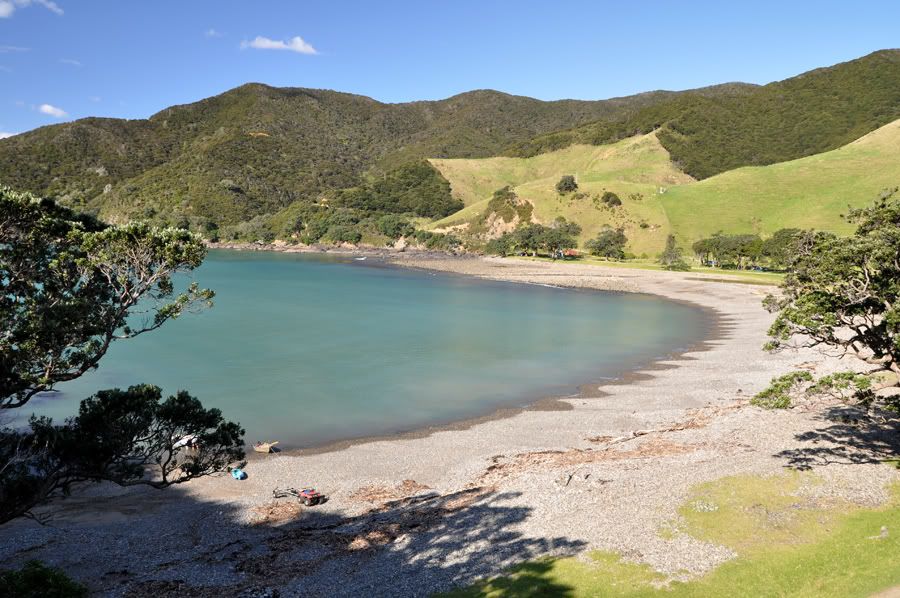
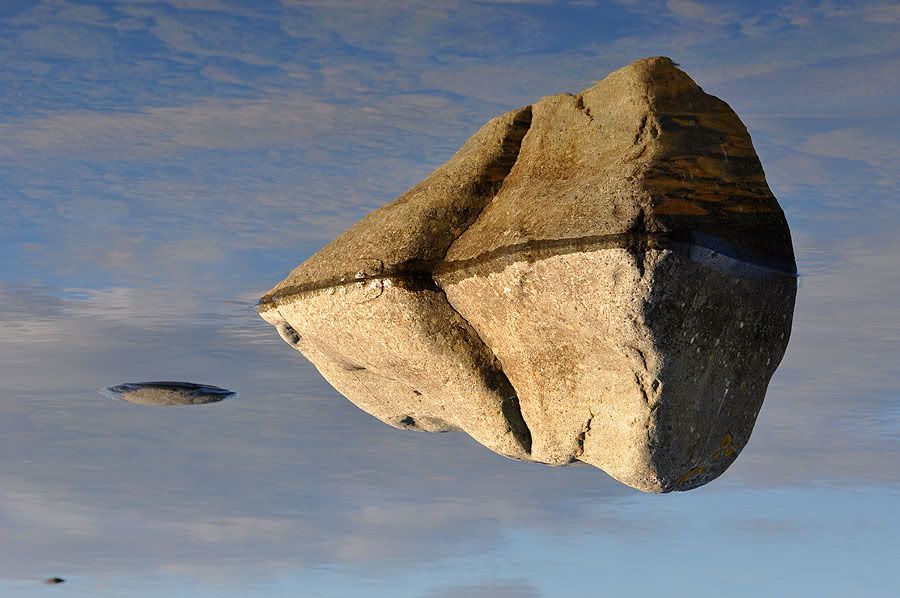
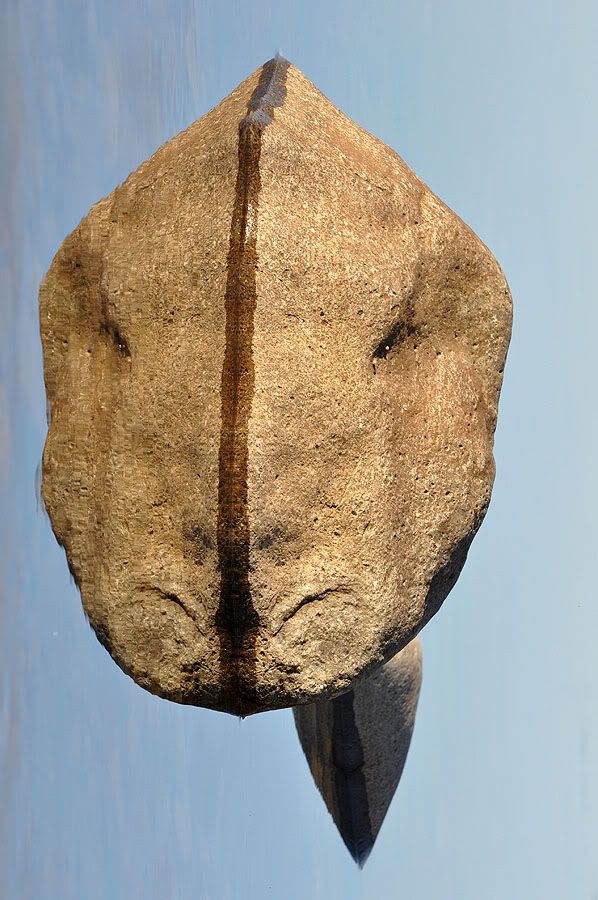
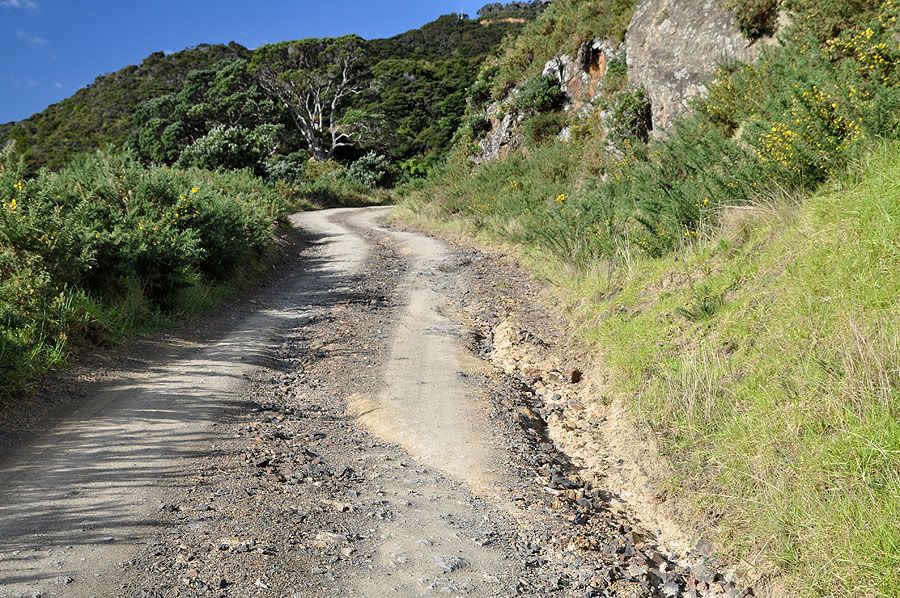
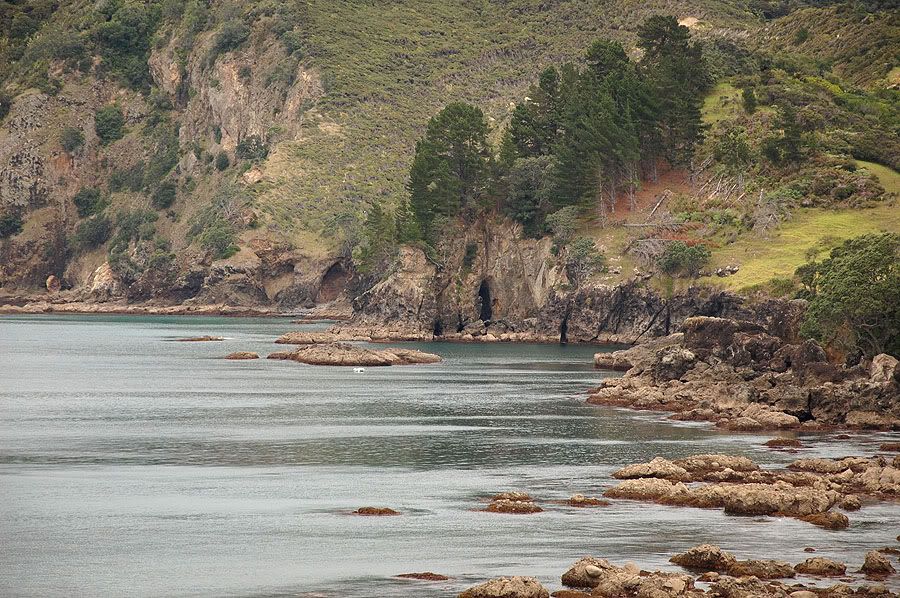
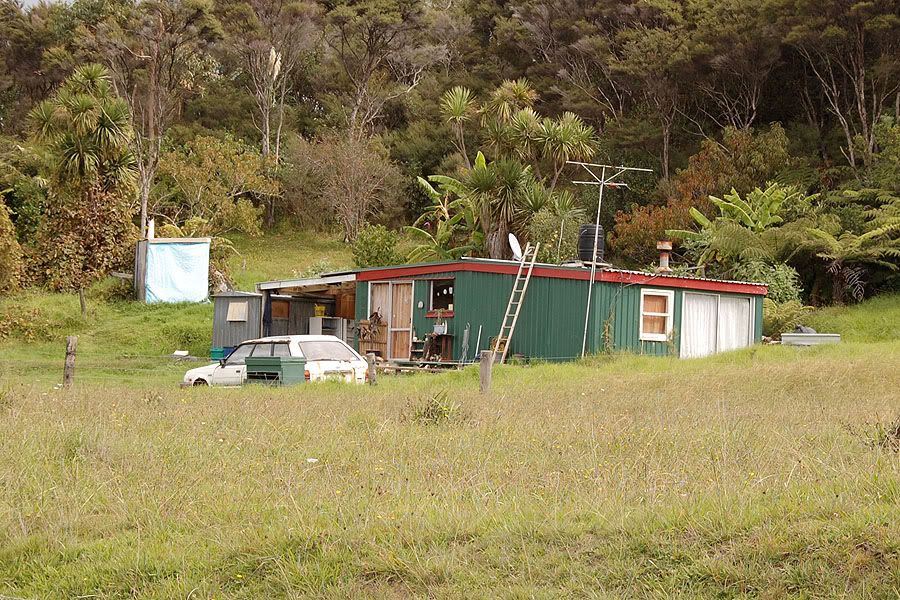
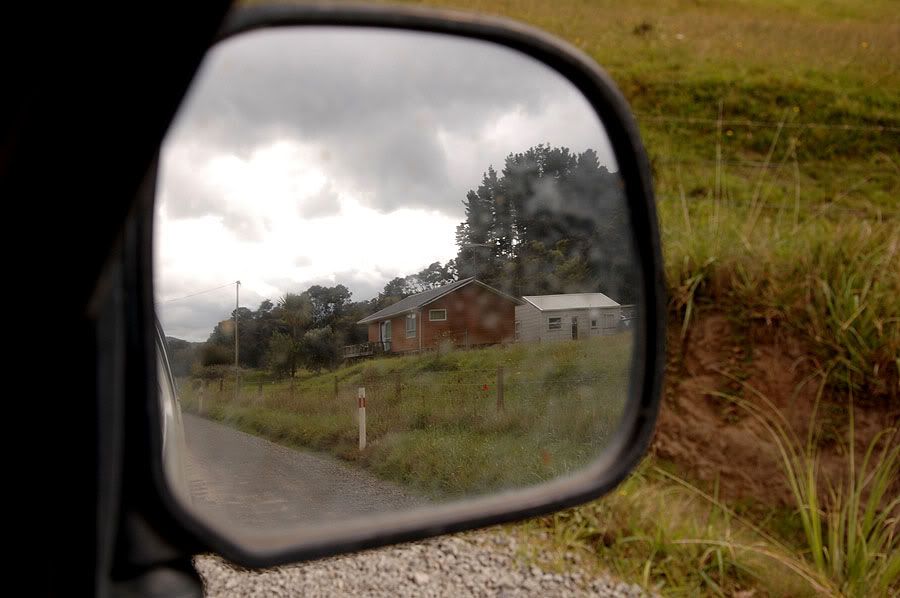
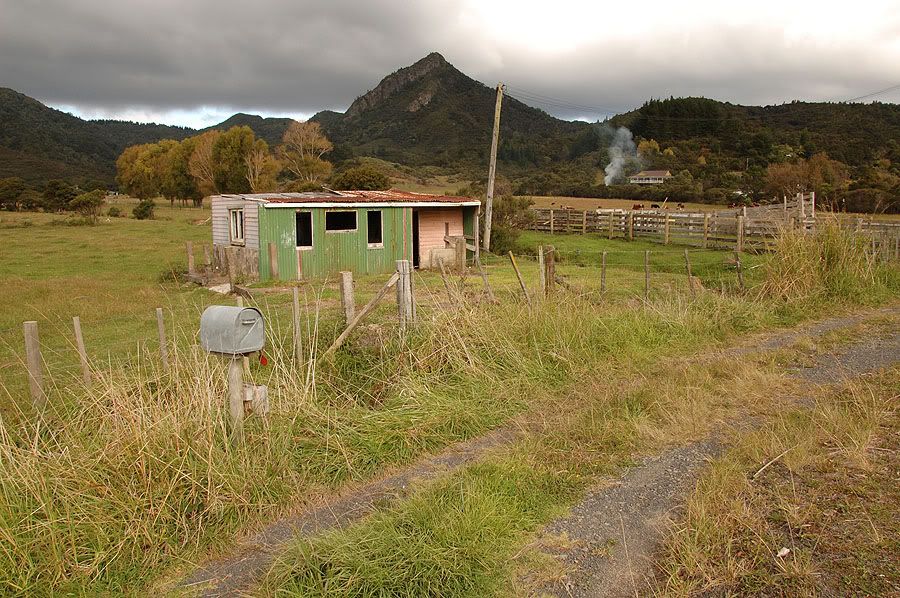
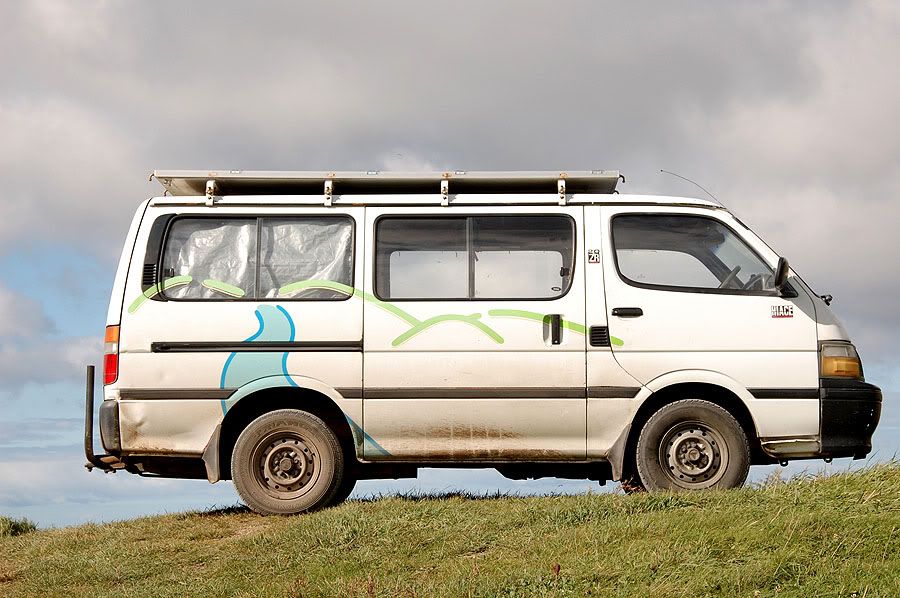
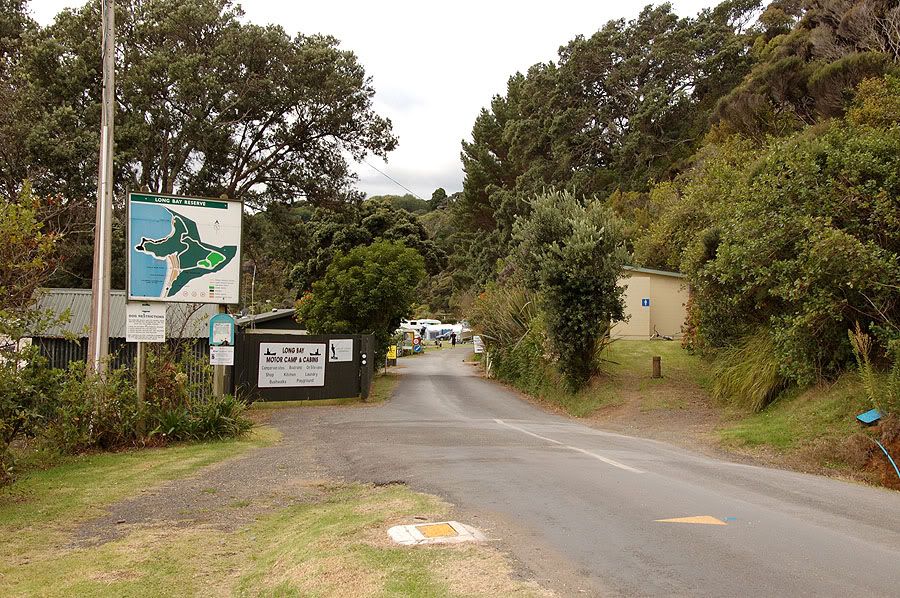
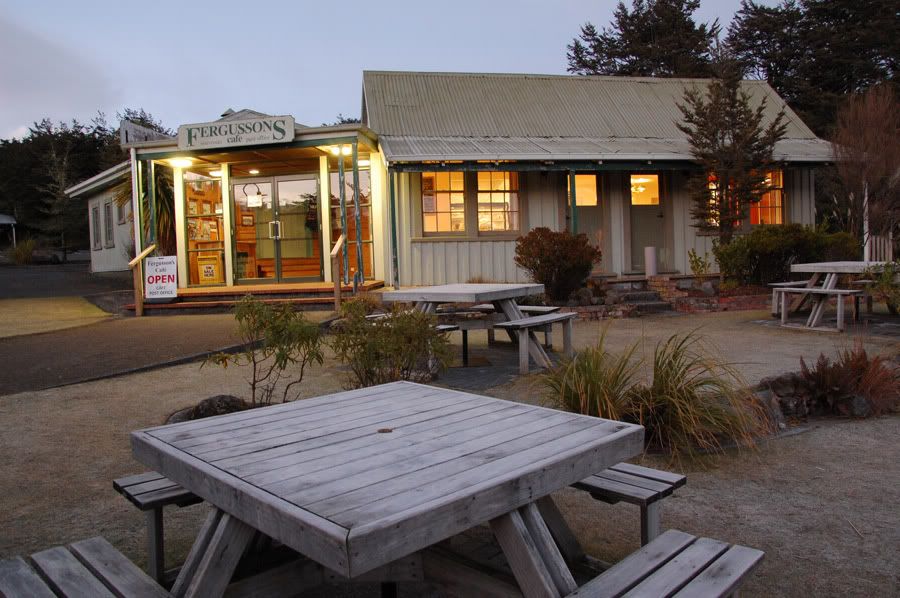
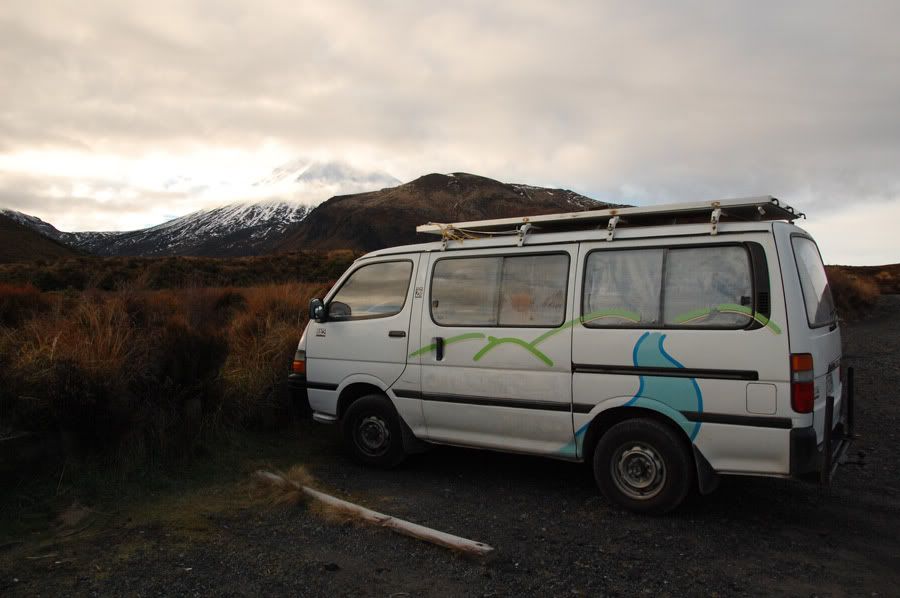
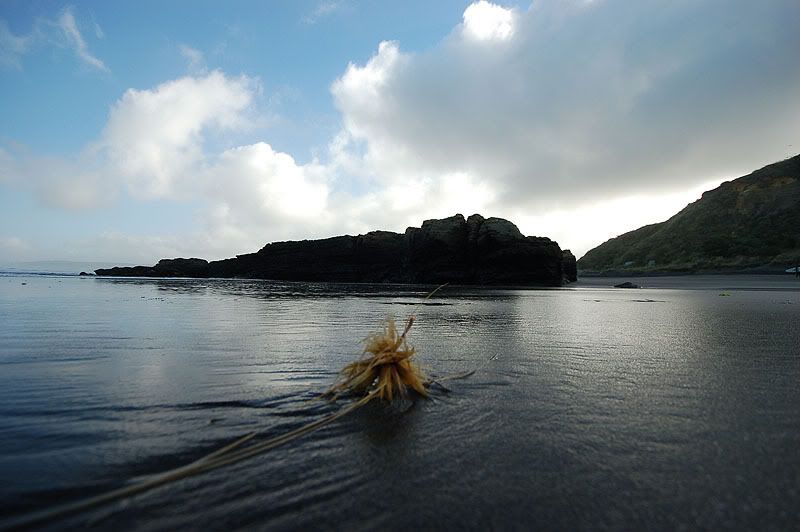
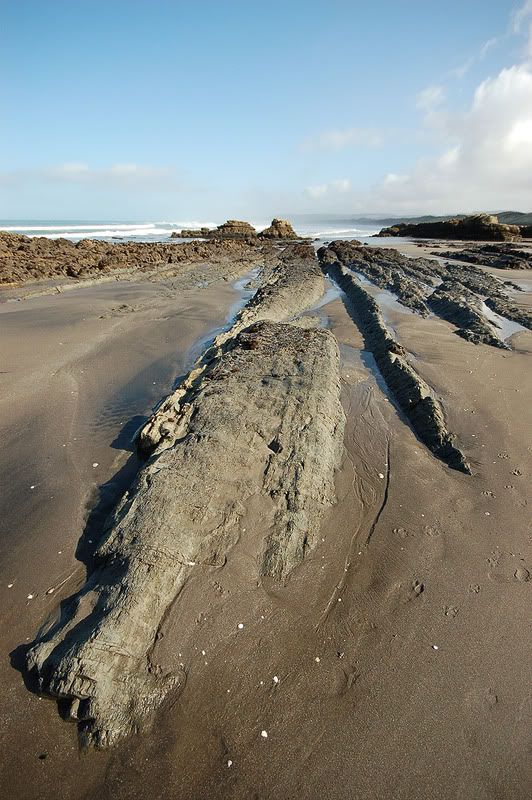
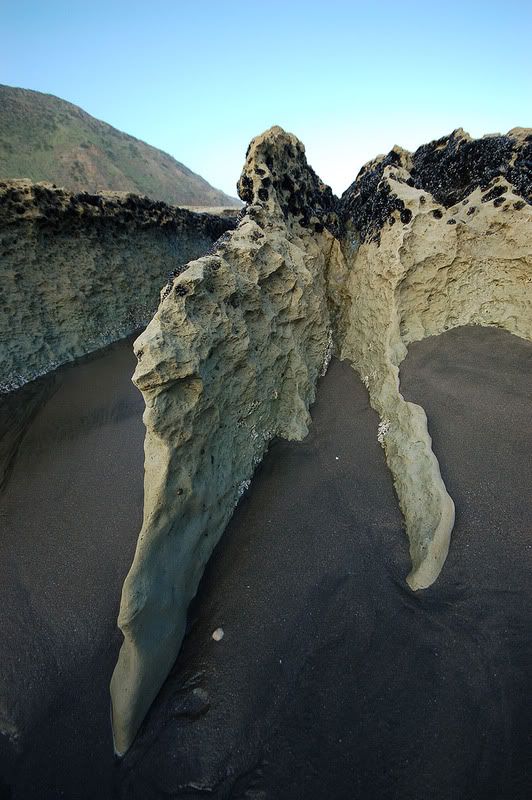
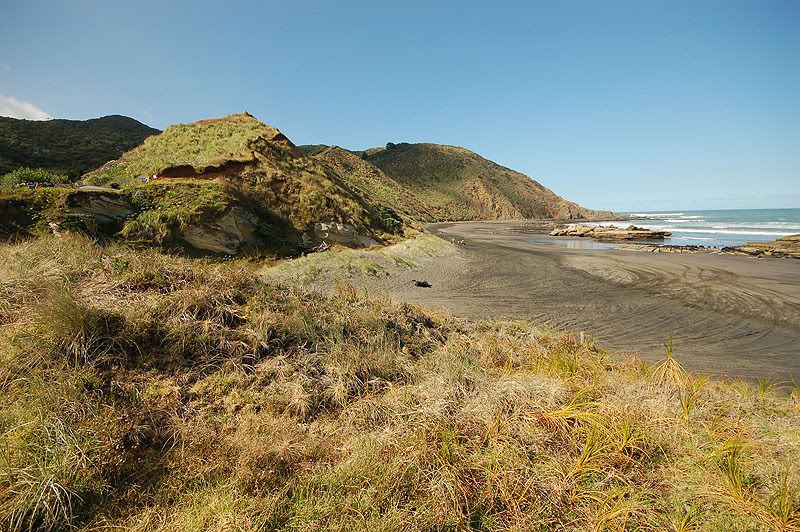
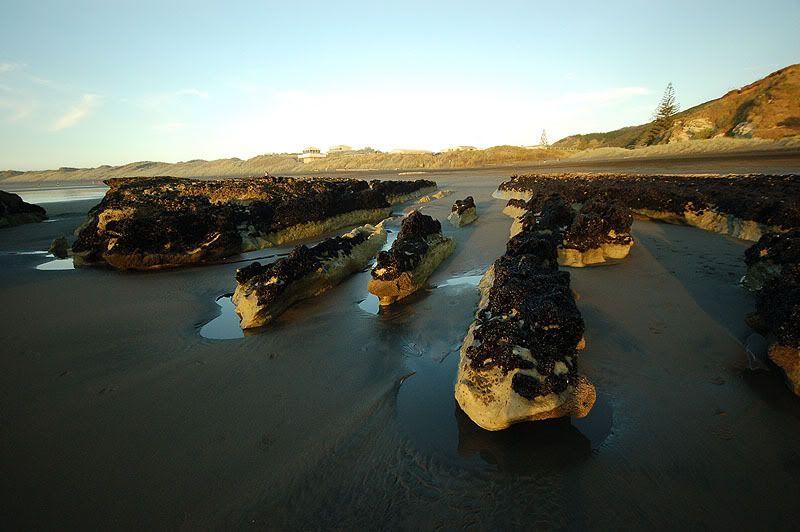
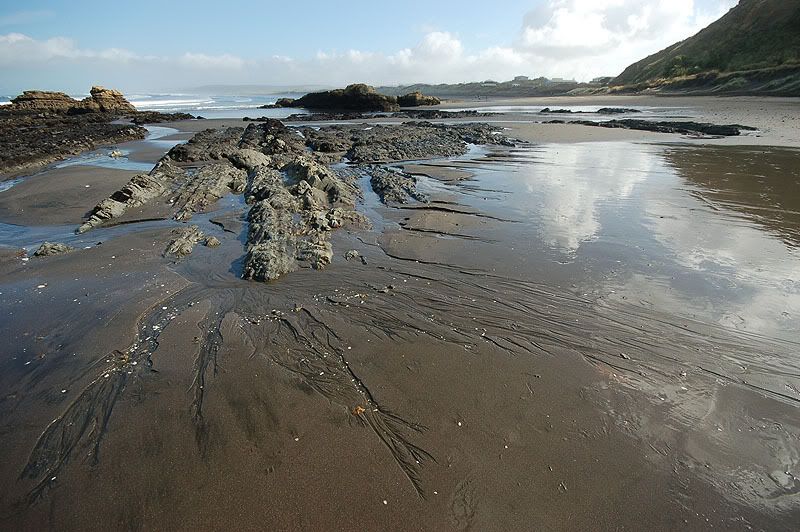
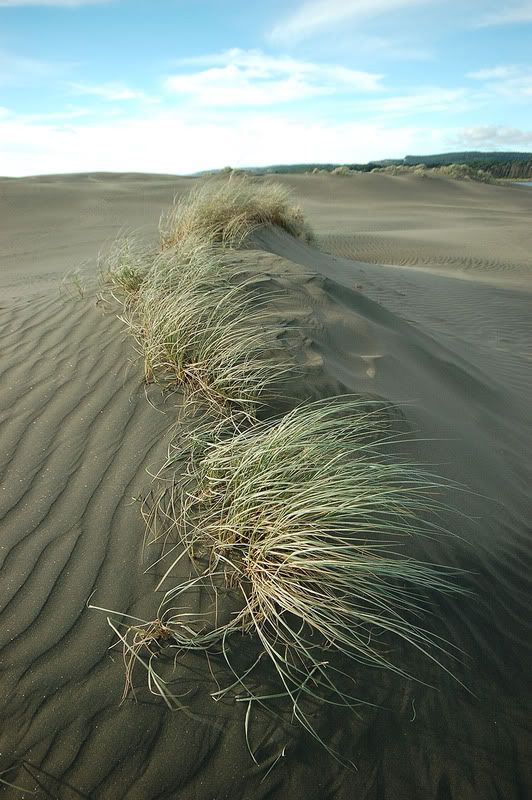
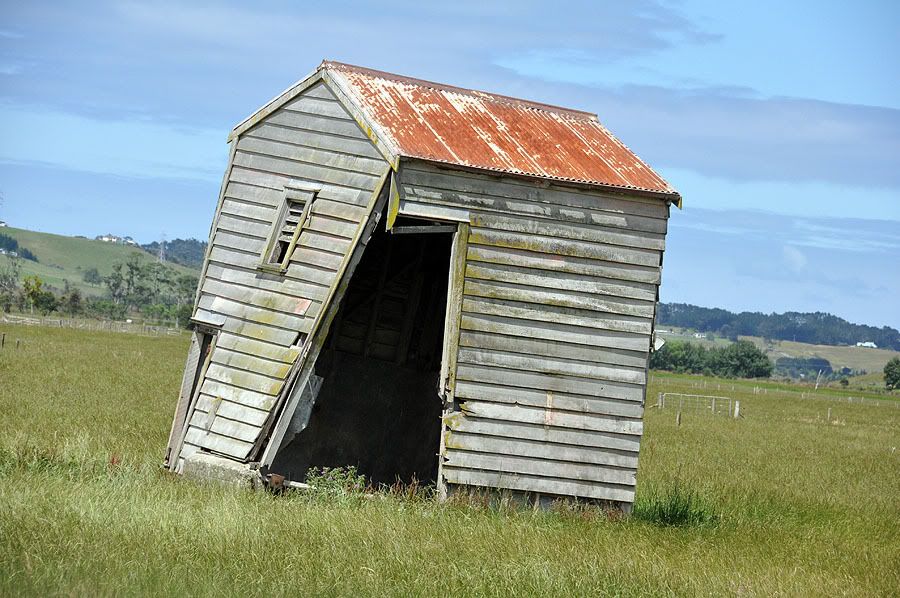
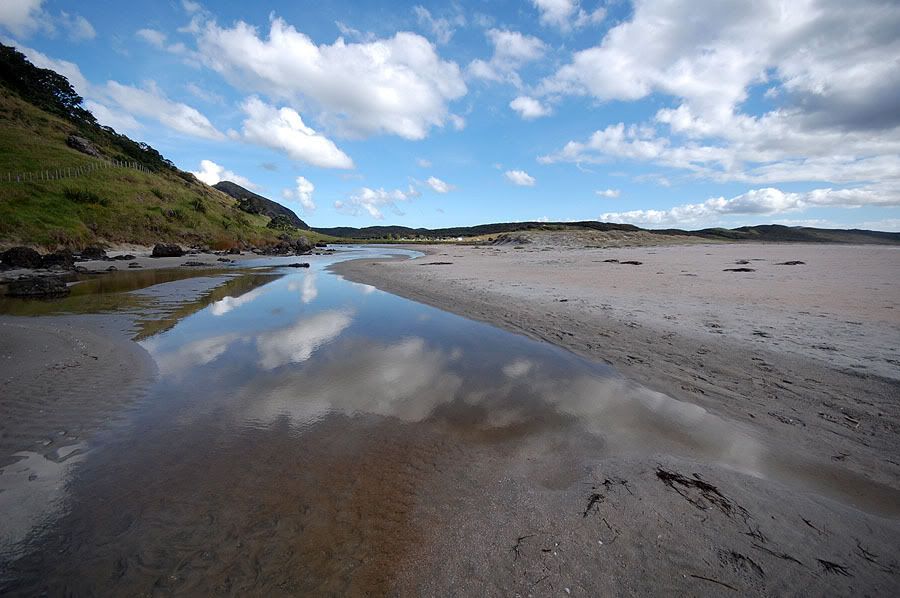
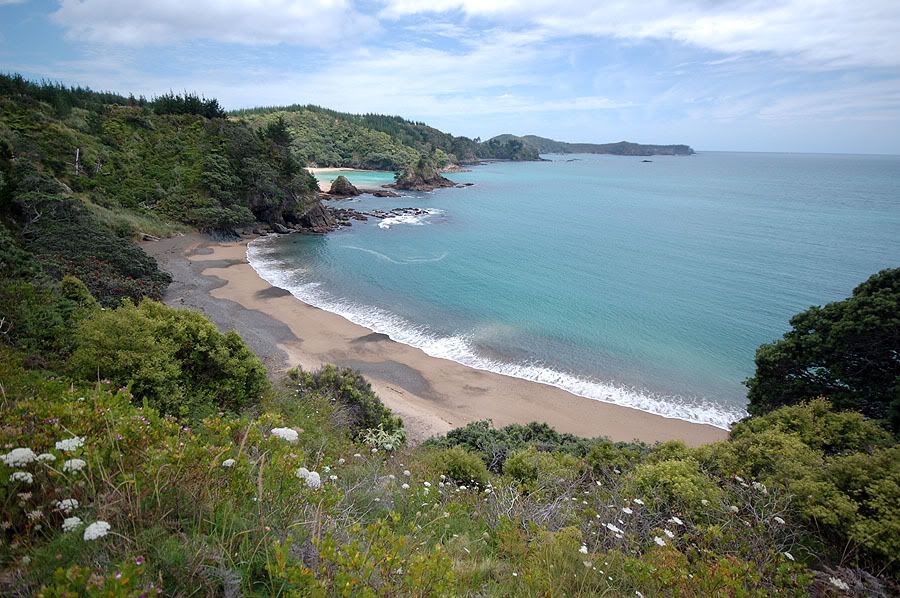
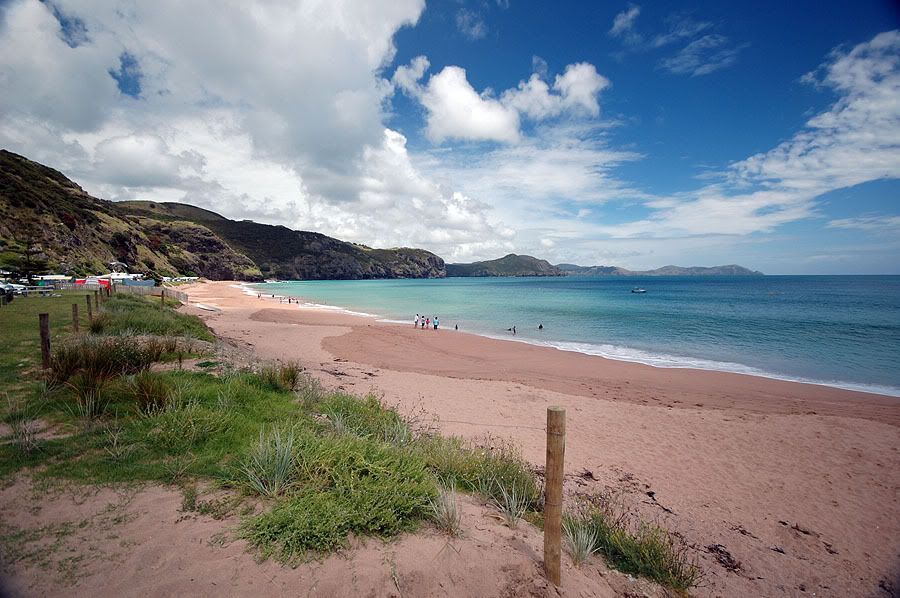
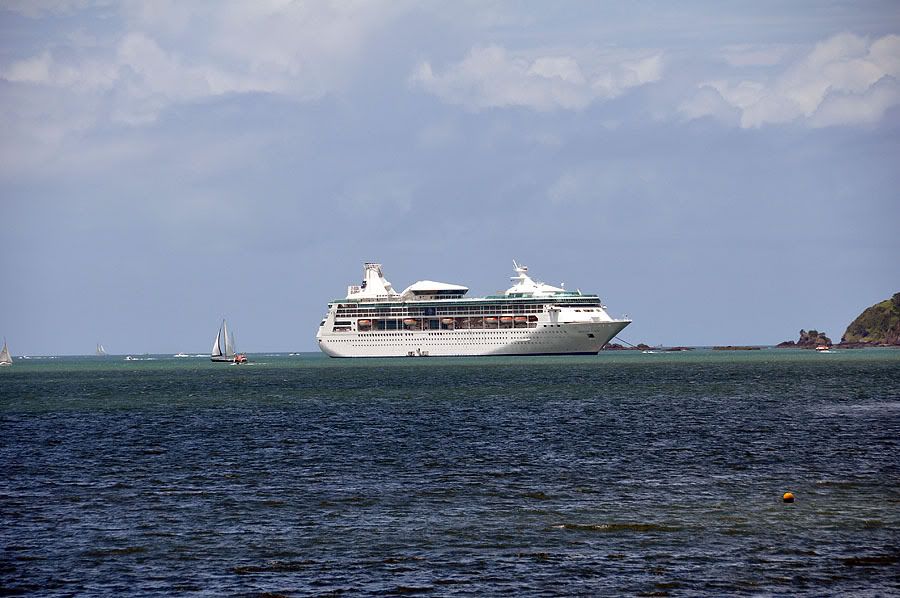
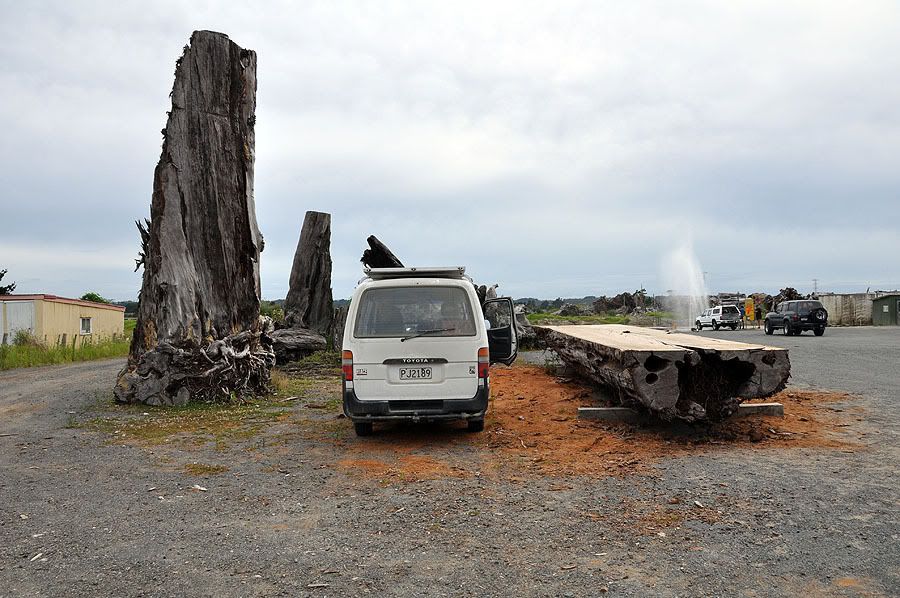
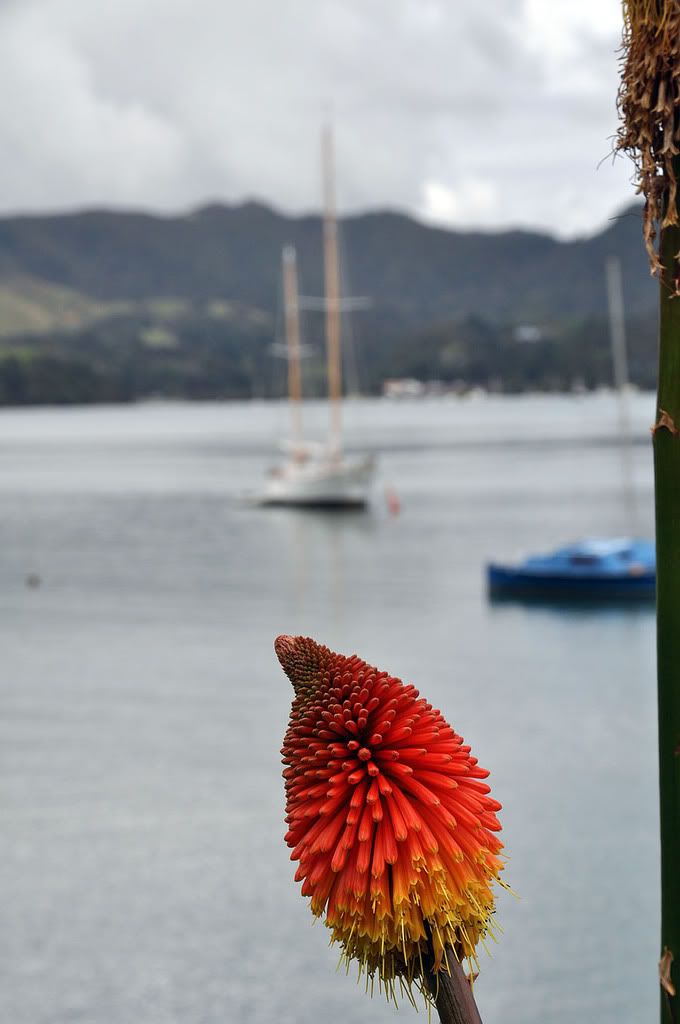
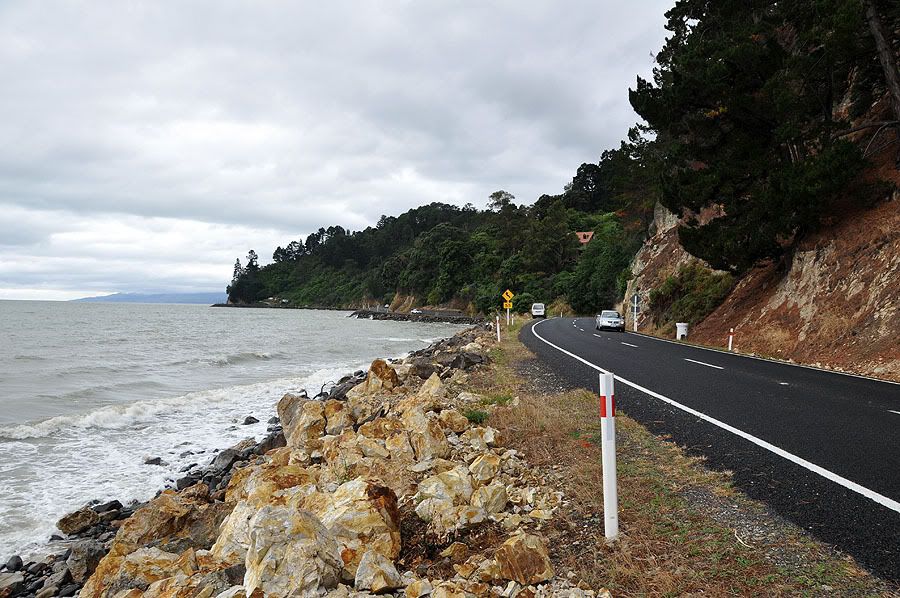
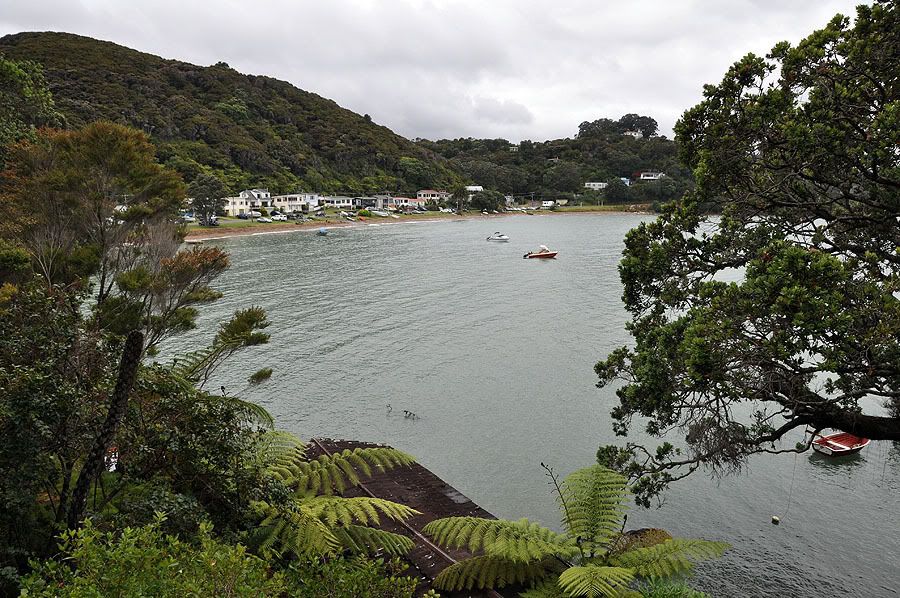
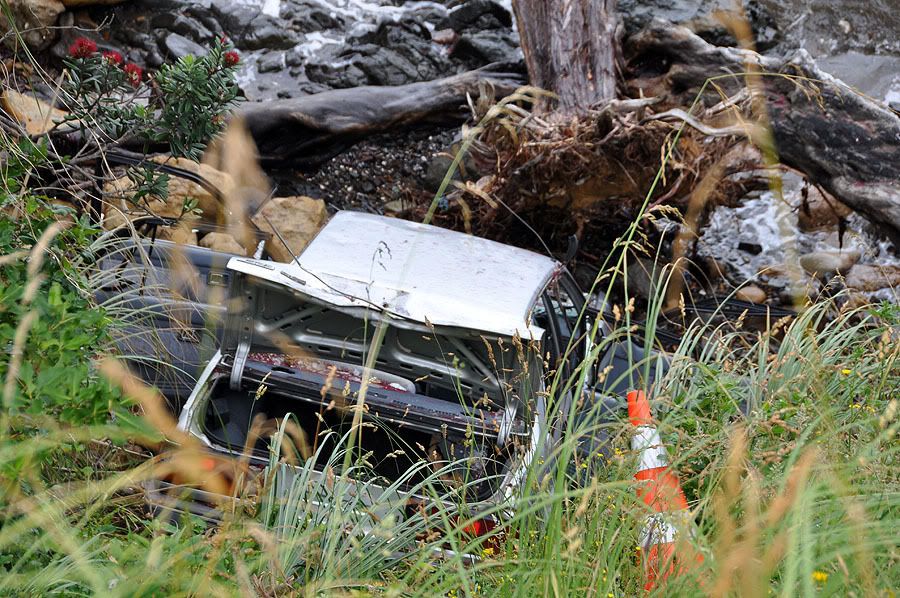
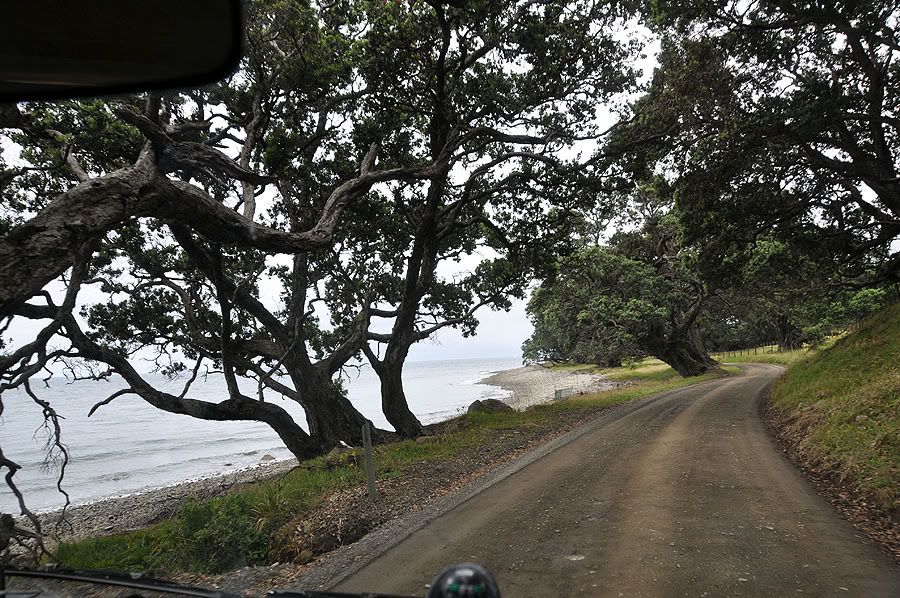
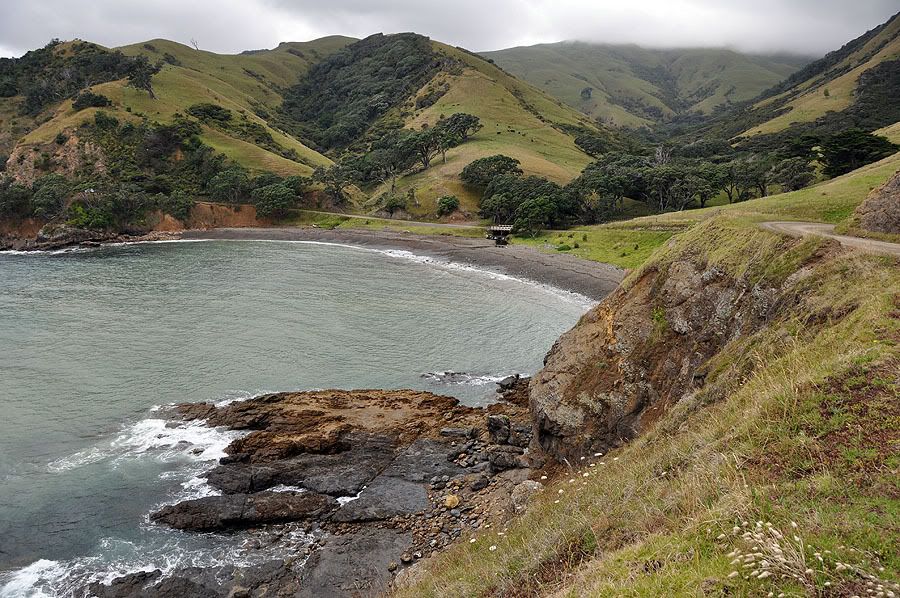
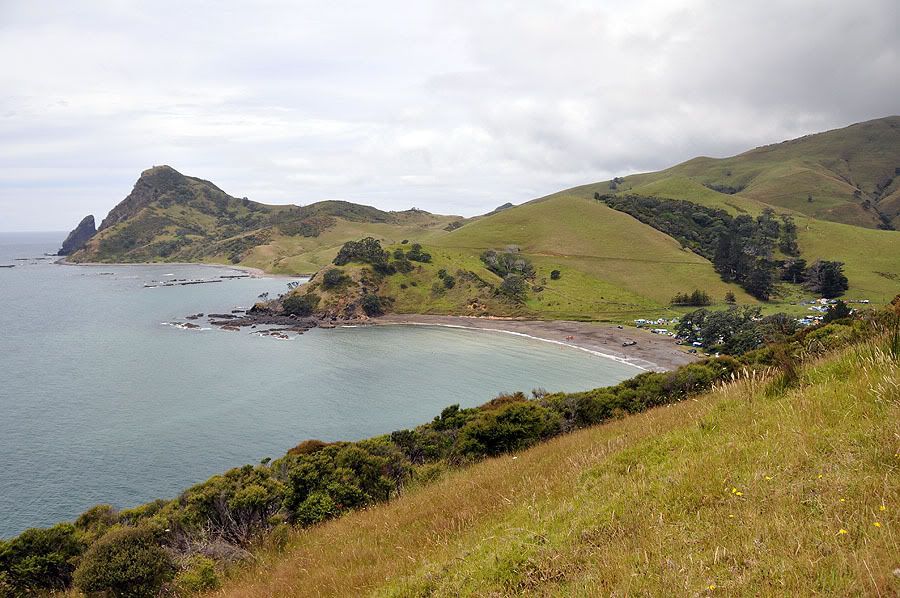
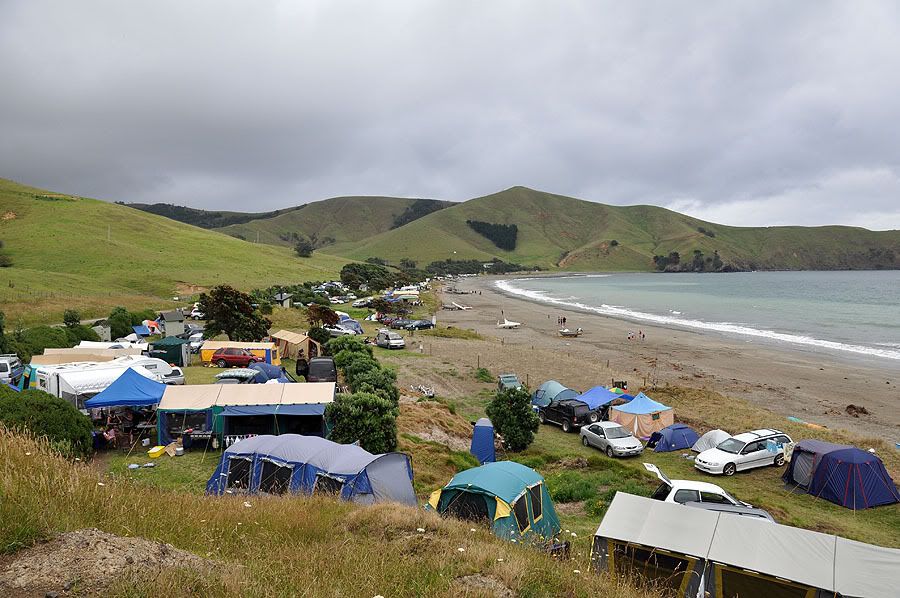
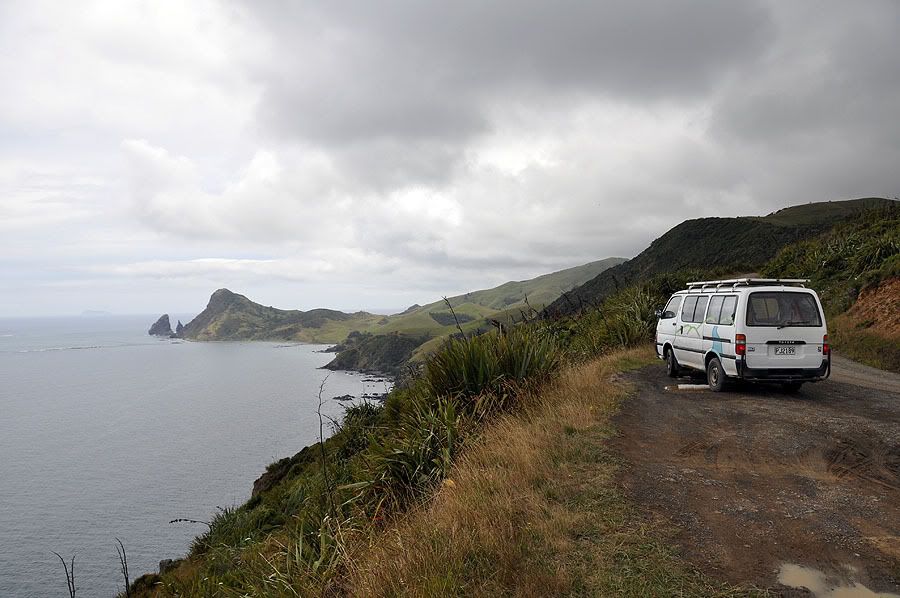
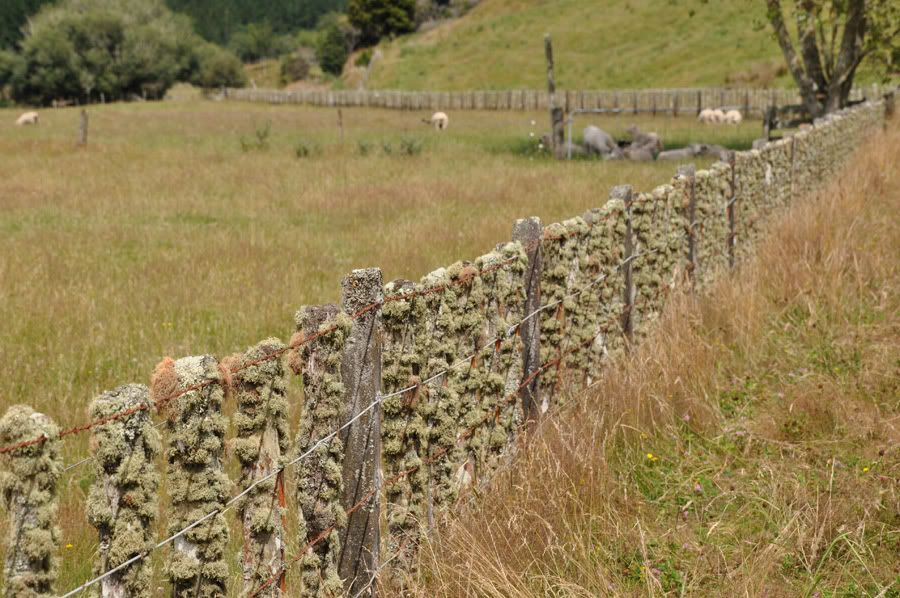
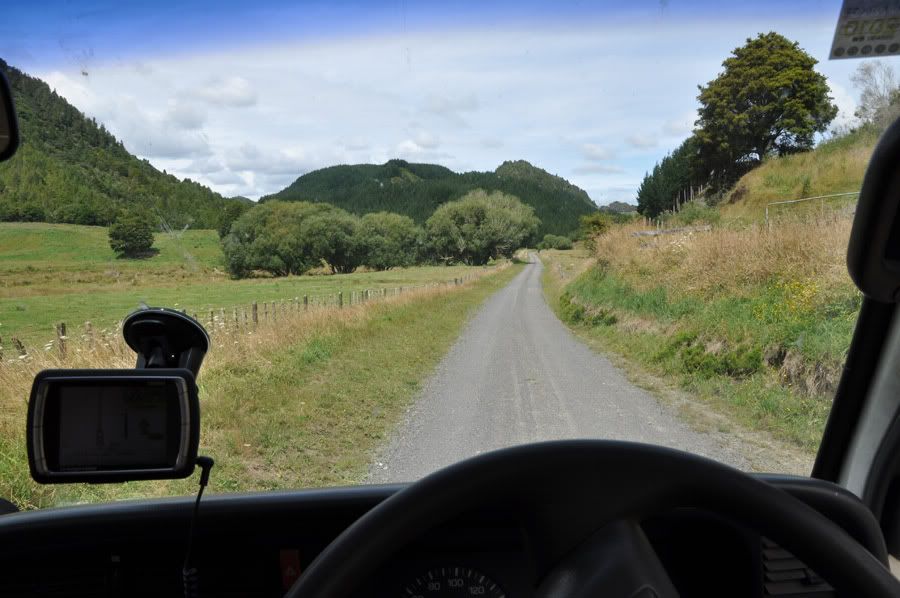
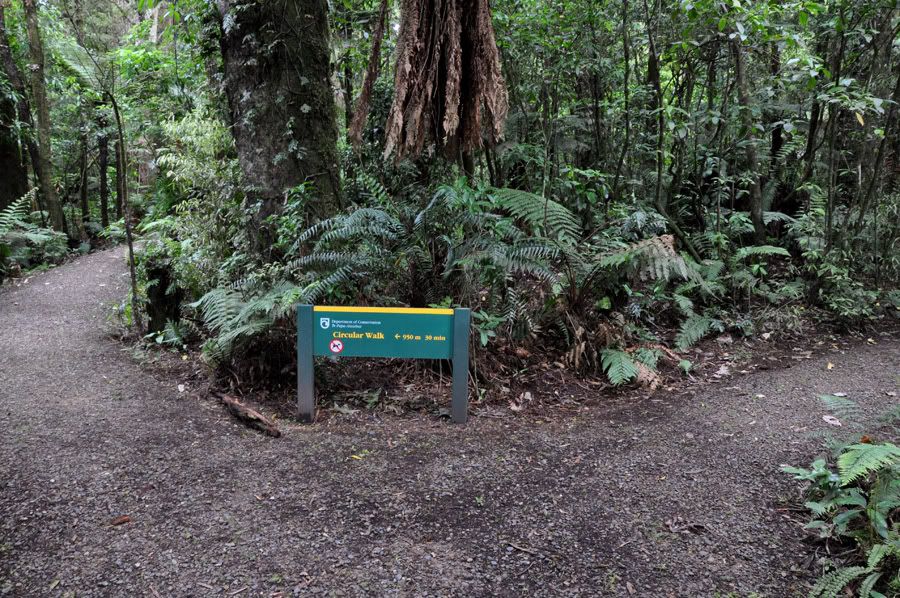
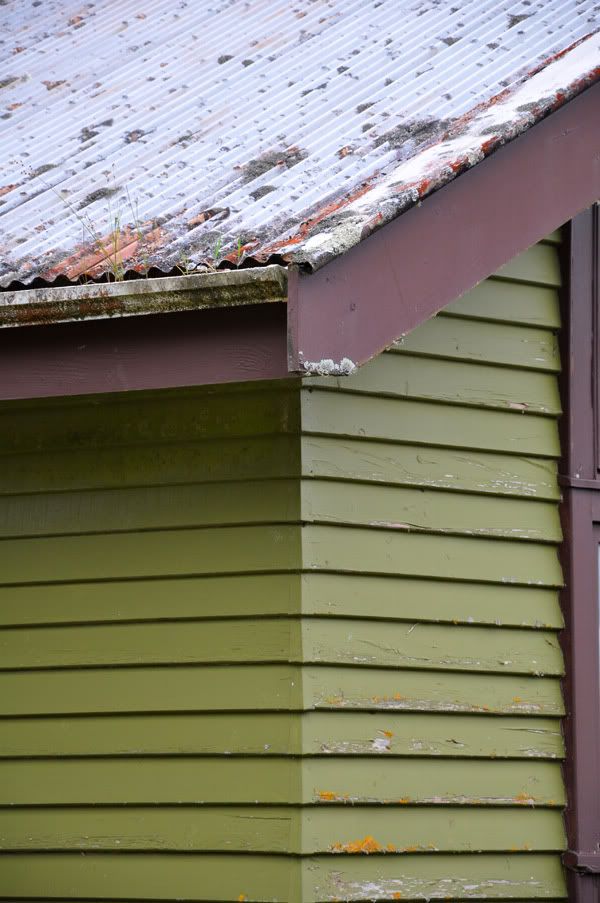
19.) Photovan does Kawhia .

25/10/2009 .


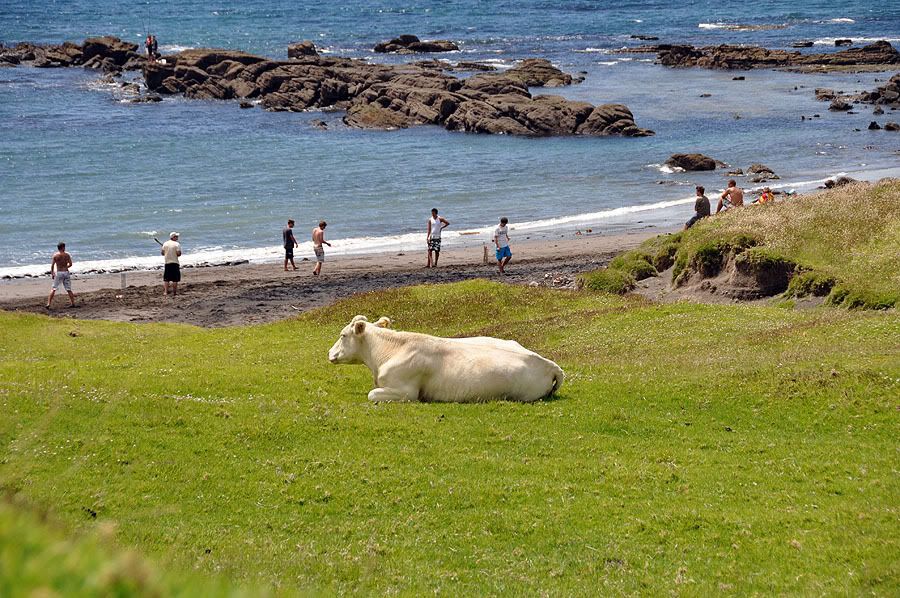
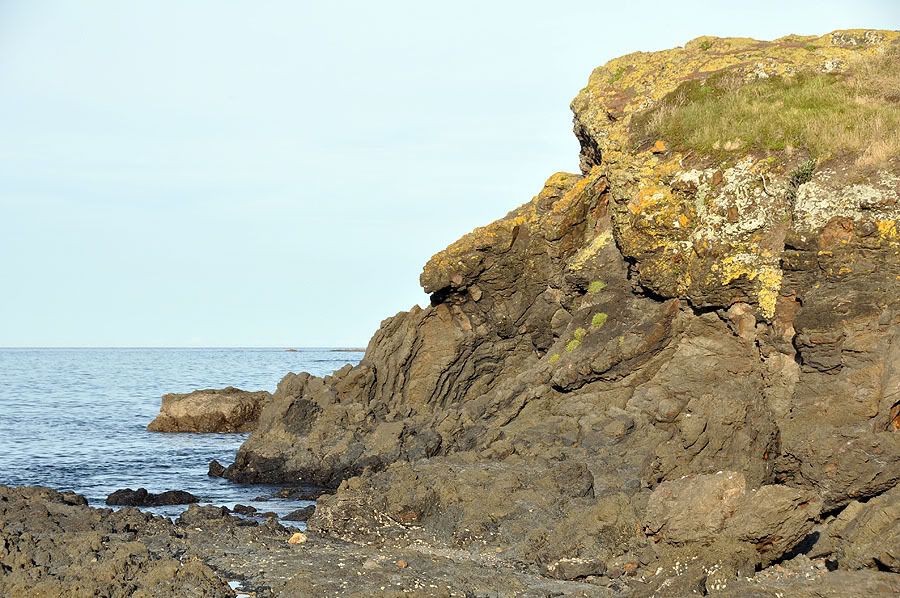
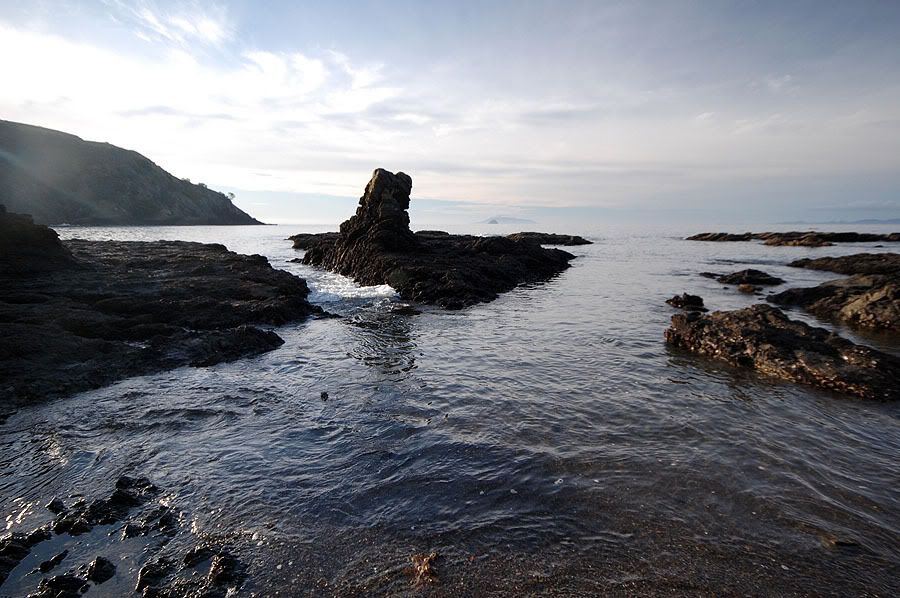
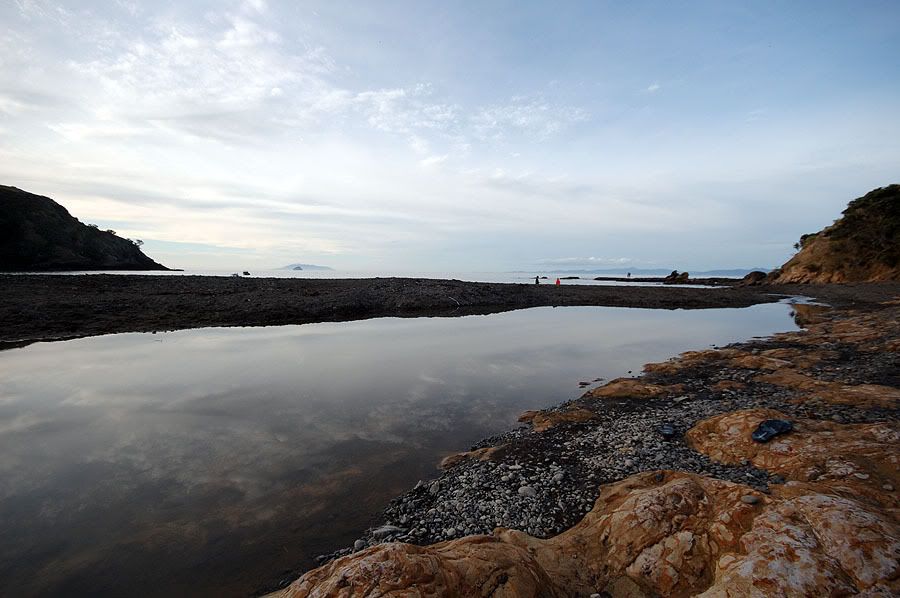
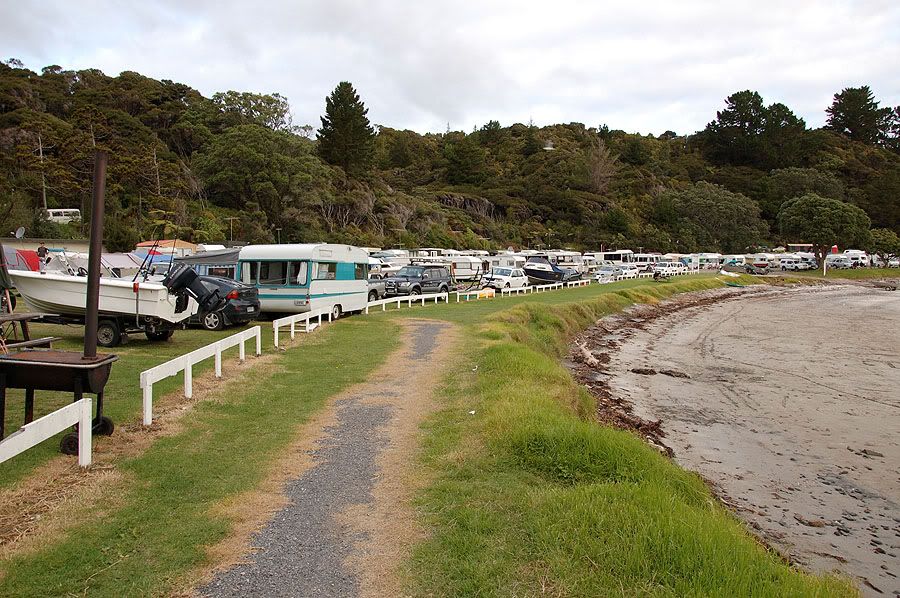
Kawhia / Waitomo in the photovan .

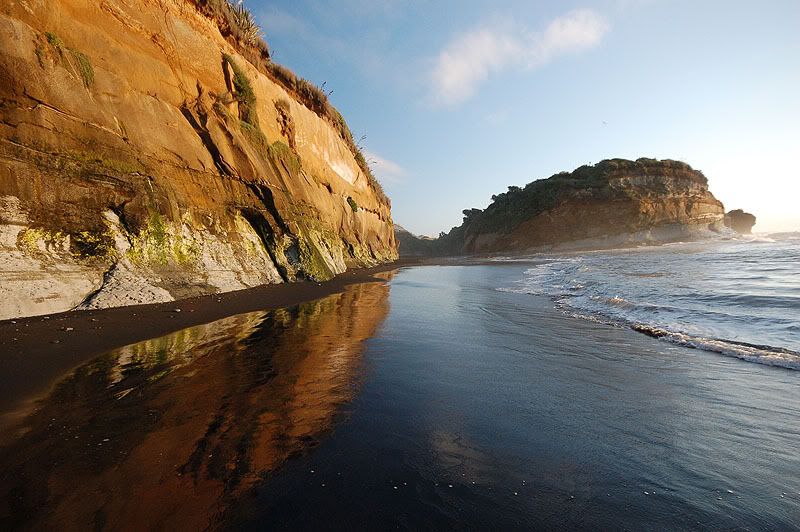
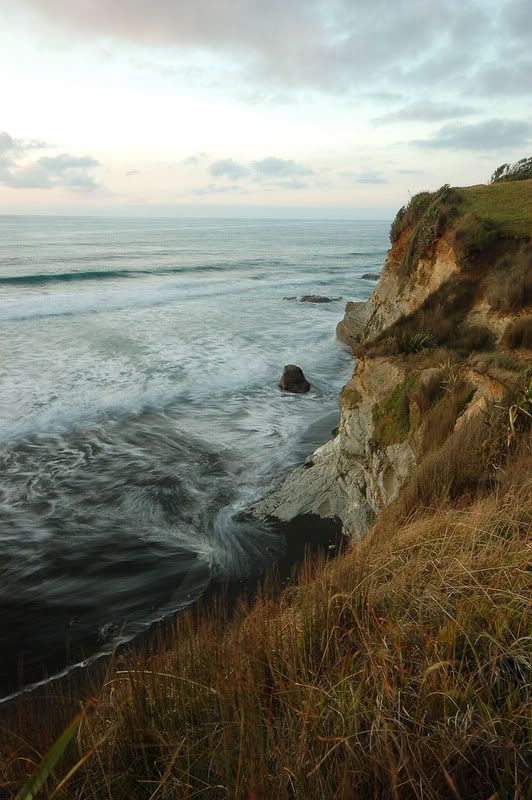
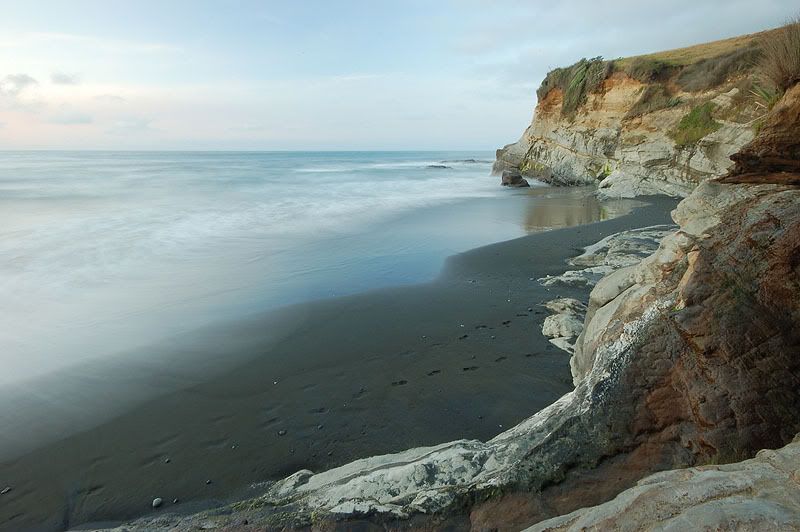
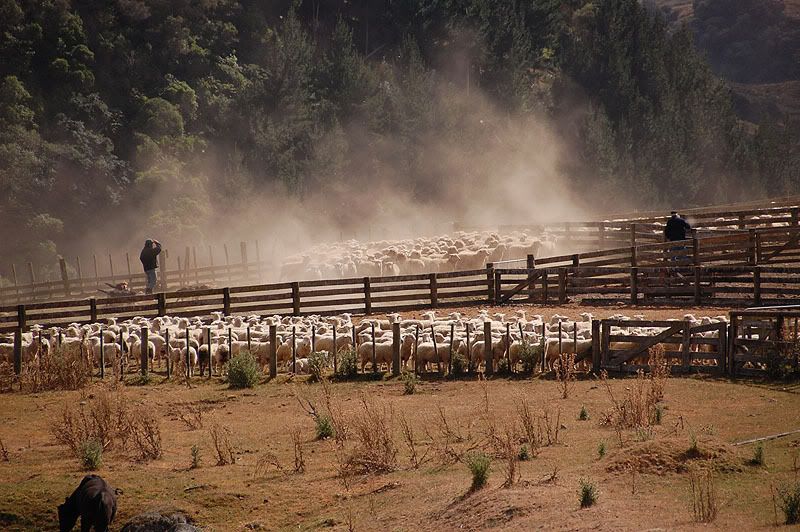
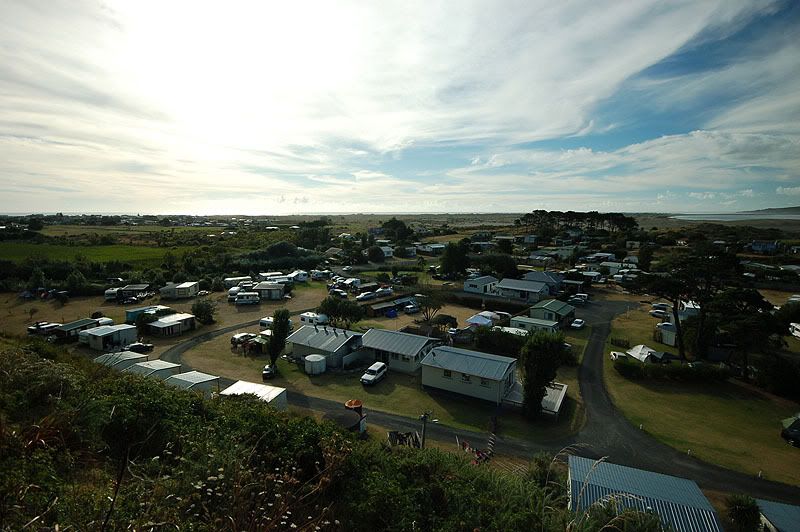
It's been a while since I did a tour in my photovan so this weekend I did a short tour over the mountain from where I live and visited Kawhia which I have never seen before

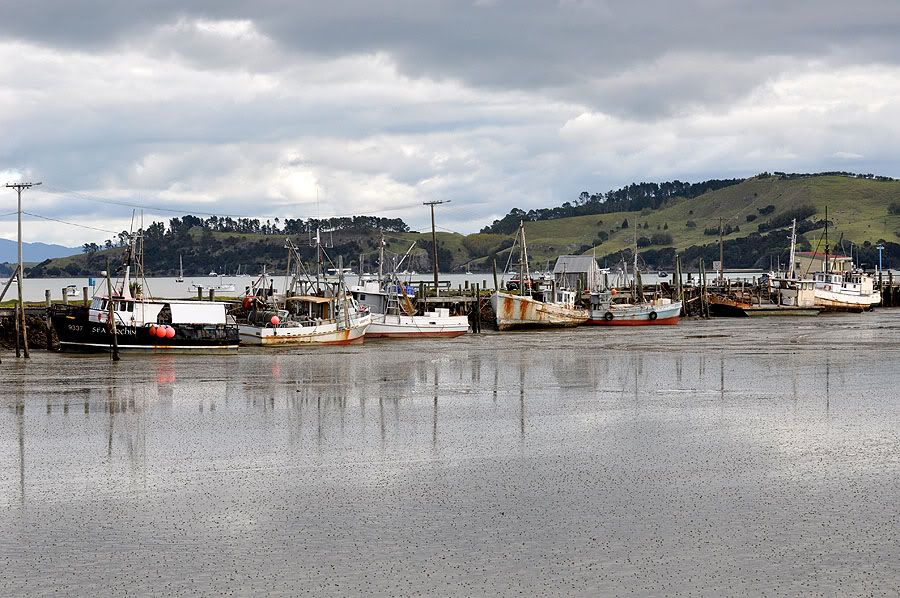
It's one of those places that has a lot of character and some interesting buildings .


I parked the photovan and went for a walk around town yesterday


These are a few shots I got in Otorohanga


I'm getting angry !


 still sorting through what to post !


iso 3200.


And some at the natural bridge [arch?]


The springs at Kawhia ...


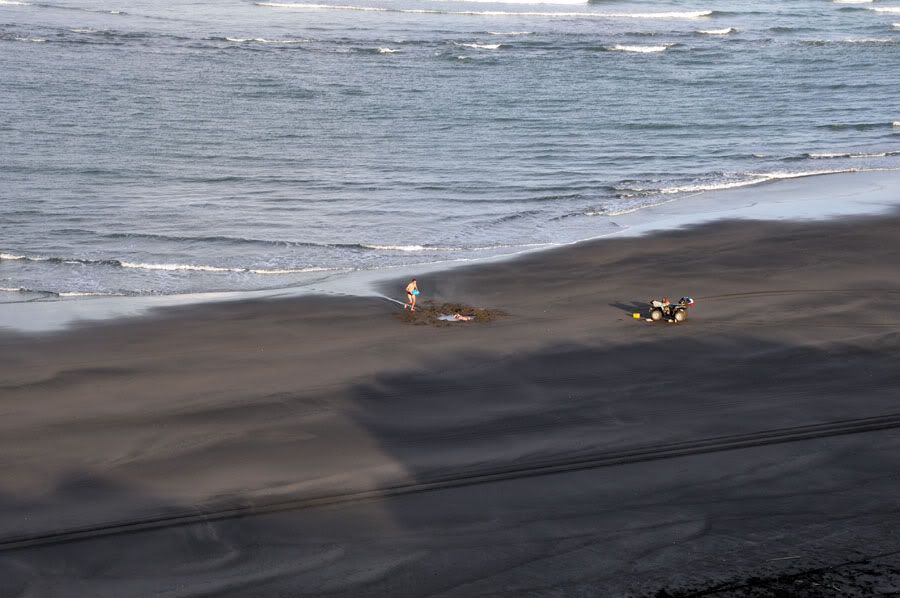
It is like 'hot water beach' where you can dig into the sand and sit in a pool of hot water . these two guys were getting so hot they had to keep running and getting cold seawater to cool themselves down !


I had the 70-200 with me this time as well


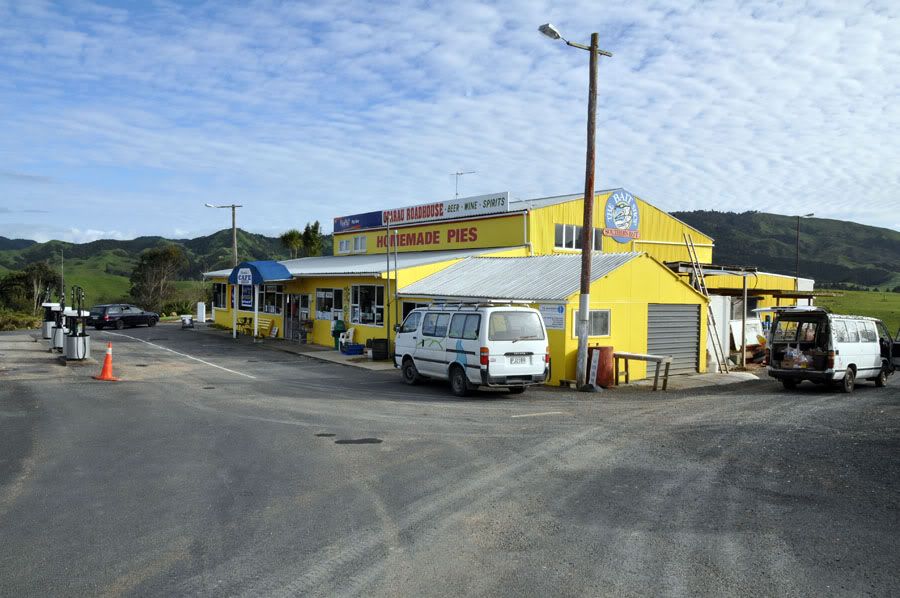
This shop was seriously 'in the middle of nowhere' and I commended the owner on how tidy the place was . He told me that once they painted it up properly their business increased drastically .


Maybe one day you could visit New Zealand , but then but you'd have to pronounce all these names !


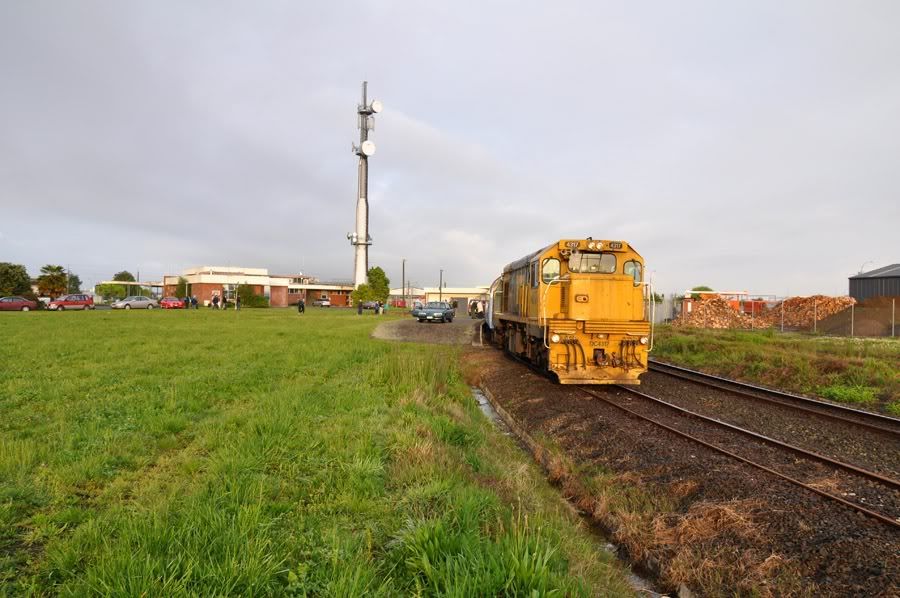
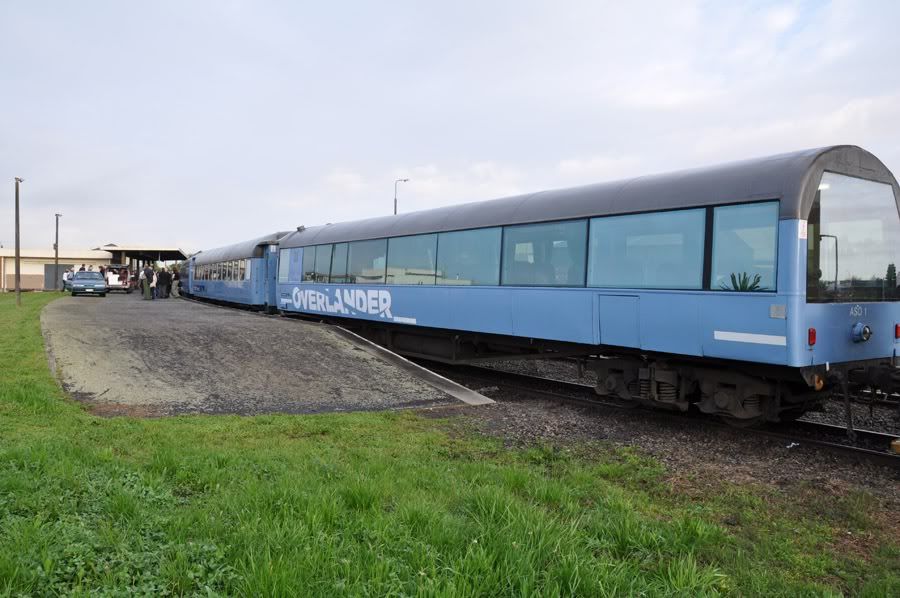
18.) ''Overlander'' train trip .

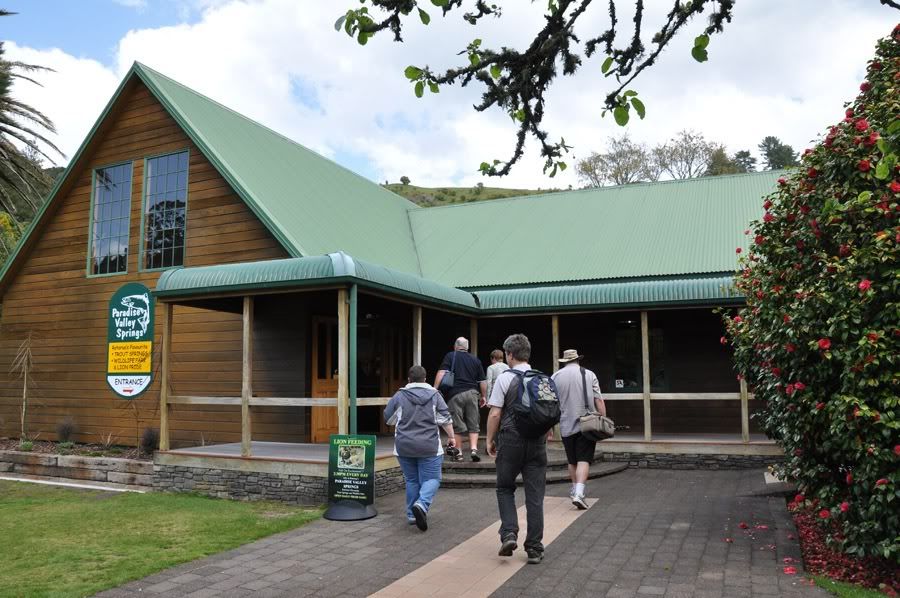
I just got back from a tiring full day trip by train from Hamilton through Tauranga and then on to Rotorua by bus for a walk around paradise valley and then back to Hamilton . This is all I have to share for now till tomorrow morning .....

Craig with his Minolta 7D and Peter with his Olympus E3 ... both trying to work out how their cameras work while I'm taking pictures with my Nikon !


The morning before we left .....


warming up the gear ....


It was really exciting for most of us


Standing outside on the viewing platform made the motion sickness better ...


We saw a variety of photographic situations but had to be quick to get them ....


Then we had to get off the train and wait for the busses to turn up , all 9 of them .


The bus took our party to paradise valley


Craig tried to entice this bird to have some lunch without success


we had to encourage this Kea NOT to have our camera gear for lunch


Max the lion was showing everyone who's boss at feeding time ...


He took a few swings at me as well ....


This one had a different emotion to it with his eyes closed ....


And that's about it for that day :) .

92 km through the Kawekas

92km through the Kawekas ...

This was one of my better trips .
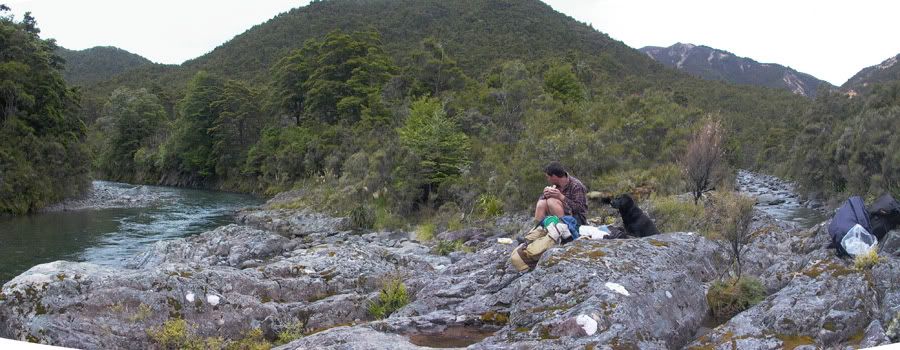
We started at the top of the Kaimanewas and walked out the bottom of the kawekas . [we came out of the mountains to find out there had been the tsunami to give an idea of the time .]
My mate from Taihape is known for his fitness so I knew he wouldn't hold me up . BUT : he took his dog , hunting rifle , dog food .... and told me he wasn't going to eat dry food , he was going to eat 'luxuries' like steak and bacon and eggs .......
I looked at the map , added up the distances and said to him " Do you realize we will be walking 92km ?" . He said " whatever , it will just make us fit" .
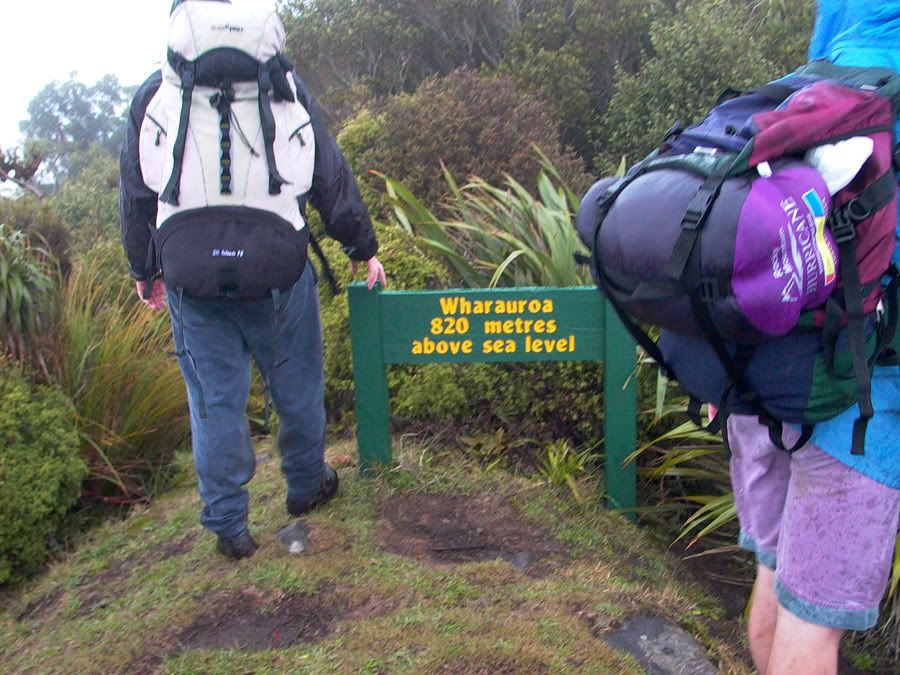
This time I managed to narrow my pack down to 18kg for 5 days when I usually have a 25kg pack for two days !
This was one of the better pano's from my old Panasonic DMC-LC5

Jess just had to be carrying something , wherever we went . She had the luxury of being able to spit it out though when she got tired .


Hey Matt ! That pack looks a bit big there - why can't you keep up ?


I carried my camera in that tupperware container . I had twisted my knee 'training ' , I climbed Mount Maunganui in 11 1/2 minutes and came back down in 7 1/2 minutes which resulted in me having to strap my knee for the trip .


walking through the mist ....


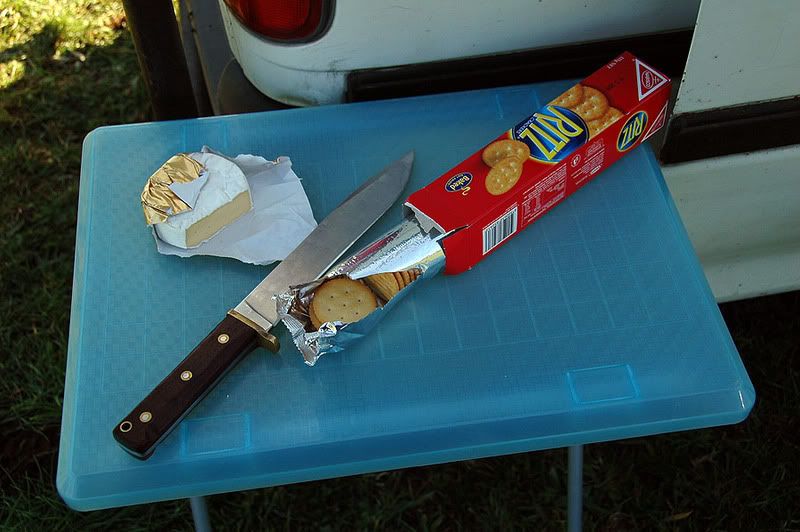
These New Zealanders seem to be nutters , look at the knife he had !


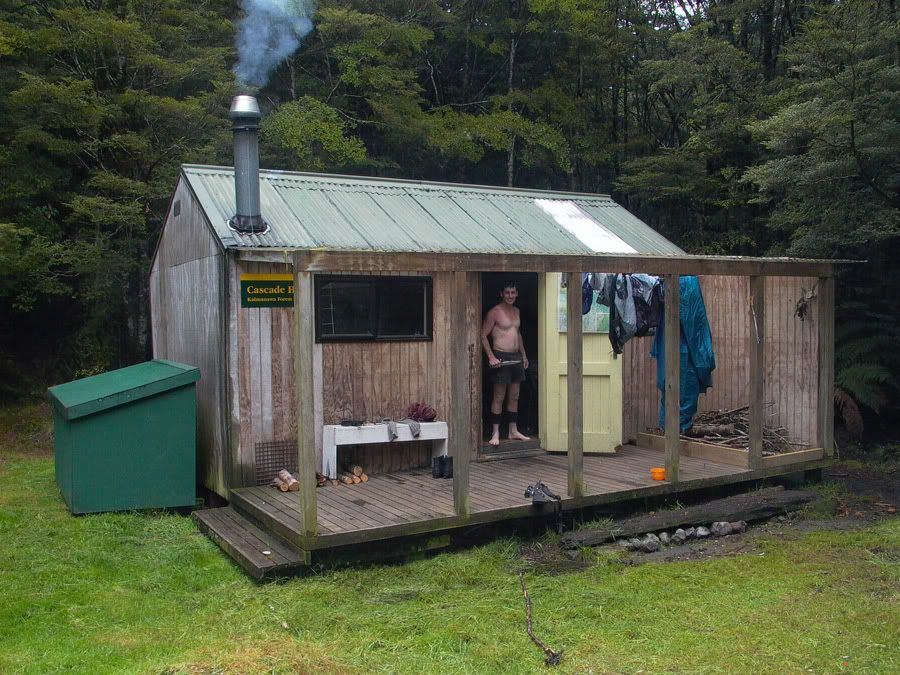
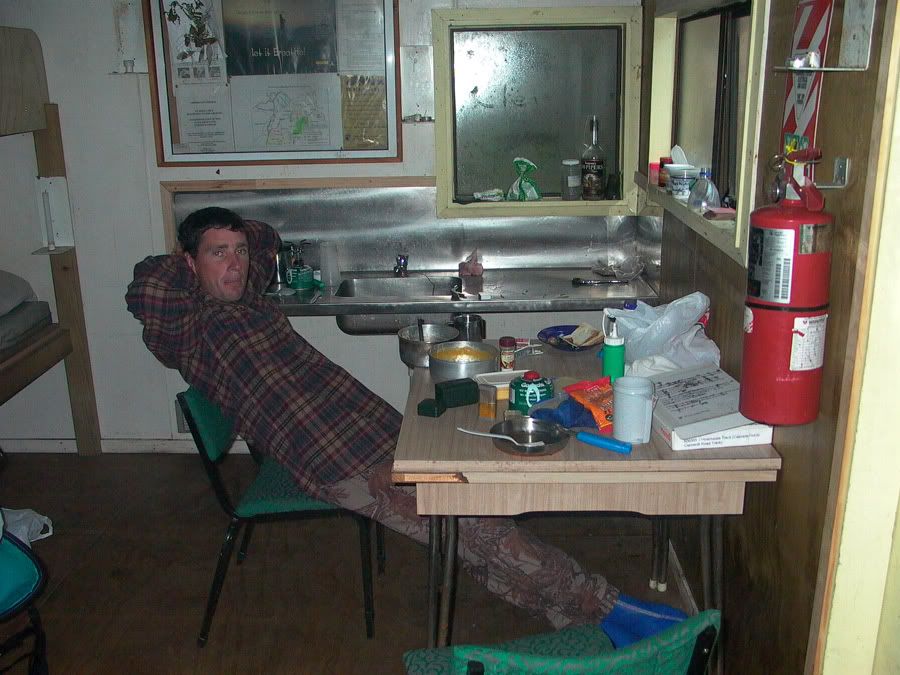
Cascade hut was 17km from the drop-off point . He said "I've brought too much stuff !" - and proceeded to cook 6 steaks , we each ate what we could and the dog ate the rest .


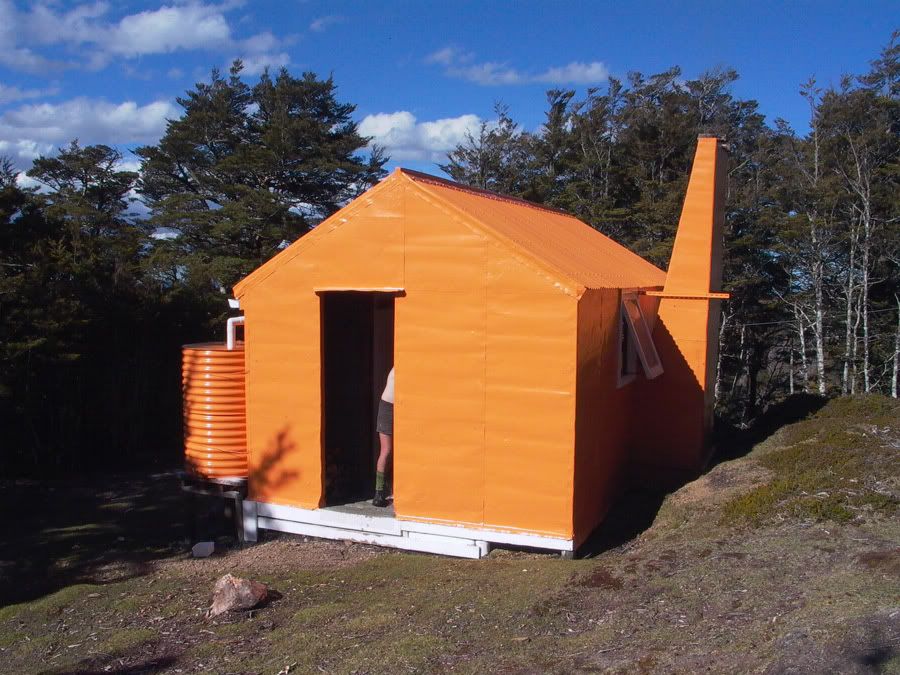
This hut had all the luxuries ....


but we had to get moving , and this is when things got interesting .

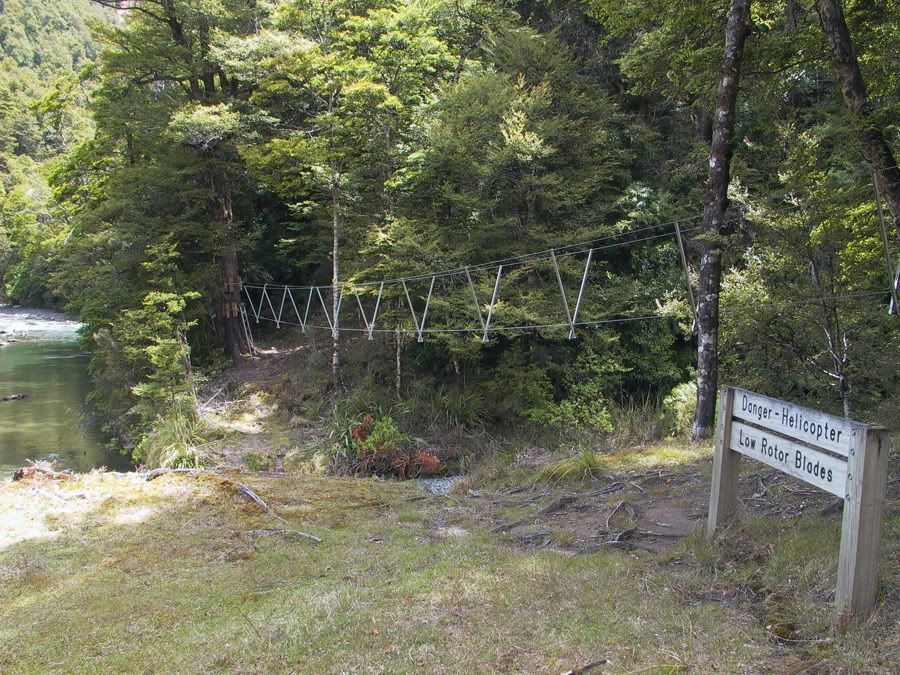
The track was not easy and the 'bridges' were slippery .


Now my knee was hurting a bit and we had two options ... go over the 7 hour ridge track or cut though the 'flat land' .
The problem was that the flat land was private property and we never had permits . We worked our way down next to the river and stopped for lunch when we were back in doc land


Then this guy in a high-vis jacket , carrying a briefcase confronts us and tells us we are on private land . According to the map we weren't but he told us the map is wrong . [ someone had seen us earlier ] .
Anyway , to cut a long story short he told us he doesn't like issuing trespass notices because he used to poach the land before he got that job and he would tell them my knee was injured [ I told him it was bandaged and we had taken this route because it was hurting ] which would give us legal right to cross the land , and my mate got a trespass notice because he had the rifle . he phoned when we got back and was let off .

When we saw the hut we were headed for up the hill next to us we decided that since we had some time on our hands we would move on ....


and after about 26km of walking we reached this hut .

We had seen some good scenery on the way


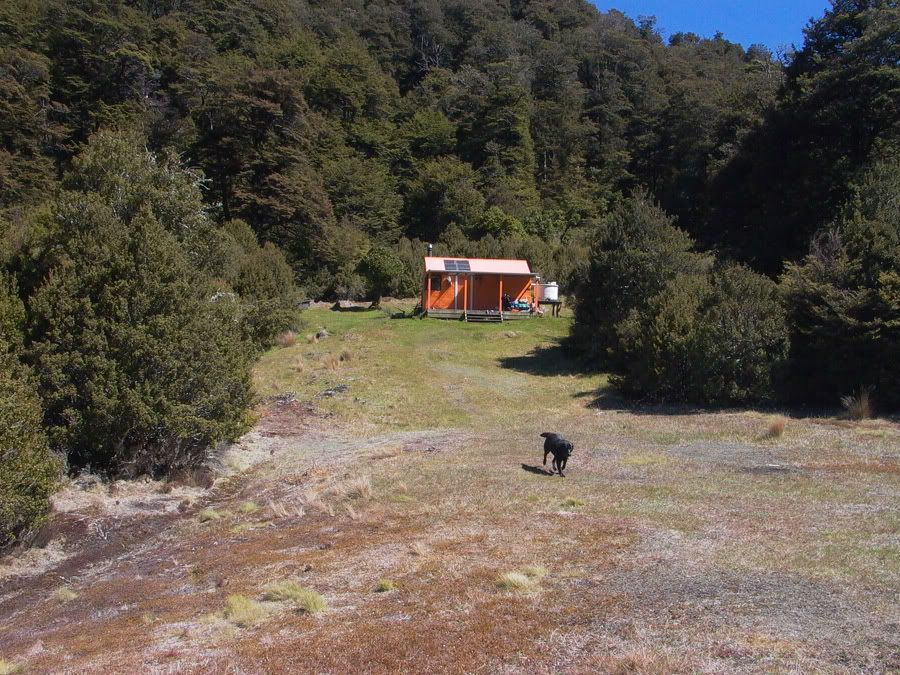
The hut had a nice 'front yard '


with a view of Ruapehu


It's a lot to remember but this was the hut we stayed in on the third night . By this stage we had walked 60 km


100m before the hut we saw some deer standing in front of us but Matt said he was too tired to skin them so we just kept walking until they ran off .
We decided we had taken on too much and the next day we would walk 8km down to the river and camp there and 'relax' .

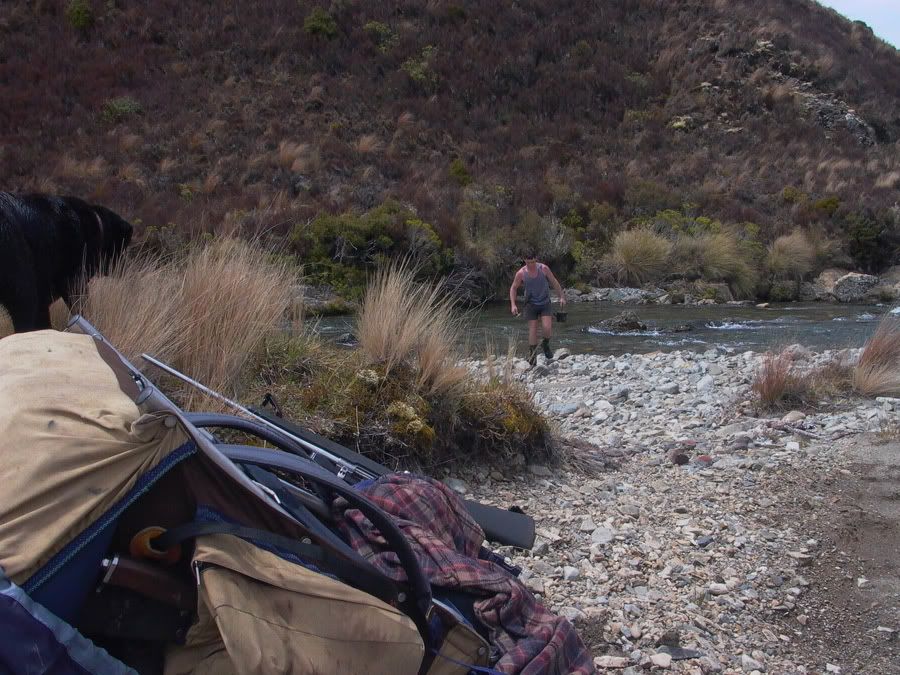
At one point on our way down there were sharp rocks and Matt had to carry Jess because she couldn't walk across them . He never carried water while I carried two bottles , one for me and one for the dog and she welcomed it when I squirted a bottle into her mouth after walking hard for a few hours .
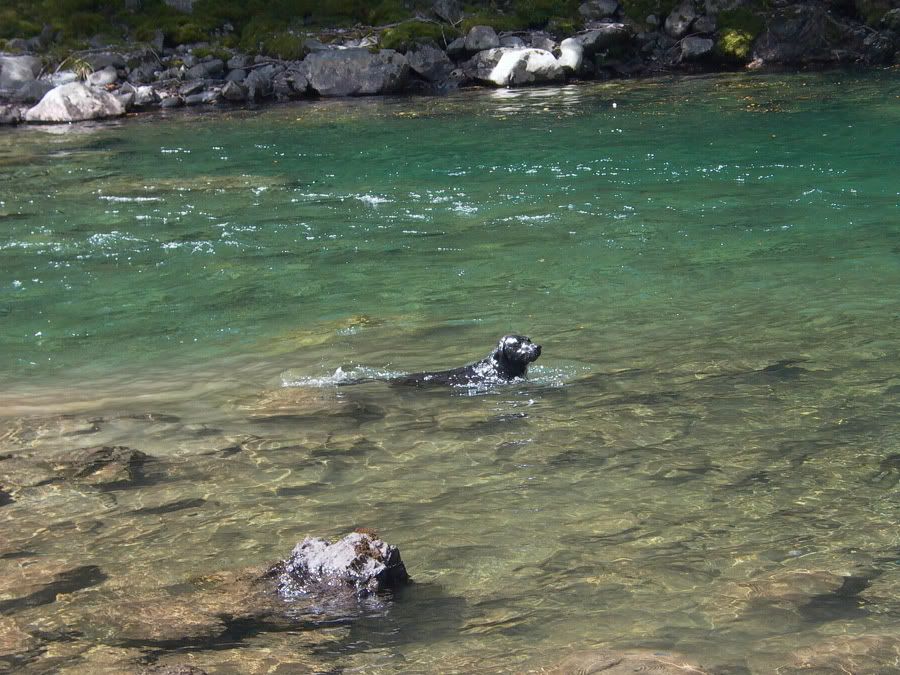
I don't think that dog knew how much rest to get - we would pass out when we got down to the river , she would walk right into it , lie down for 30m seconds and then go and get a stick for me to throw for her . When I just lay still she would pick it up and drop it on my head . When I threw it far enough to wash down the river she would dive under water and bring back a rock and drop it on my head ! When I threw the rock into a deep pool she would dive down and fetch it ! I think she was actually an otterX or something


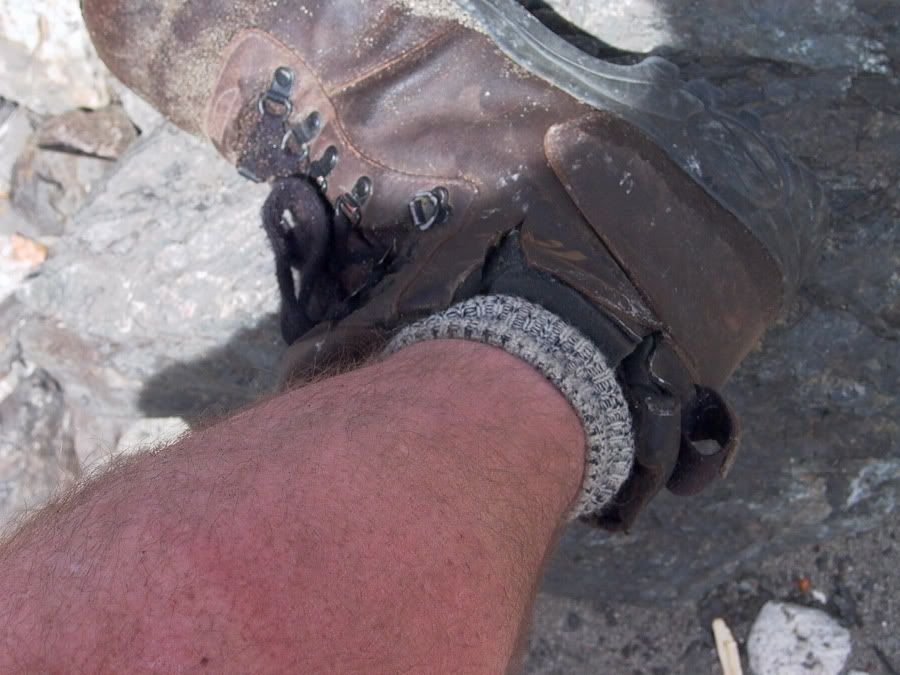
Oh yes , I had bought some new socks and they were too big and kept bunching up around my ankles which eventually turned purple and hurt a bit so I cut the sides of my boots to ease the pain .....


But anyway we got to the bottom and crossed this 'bridge'


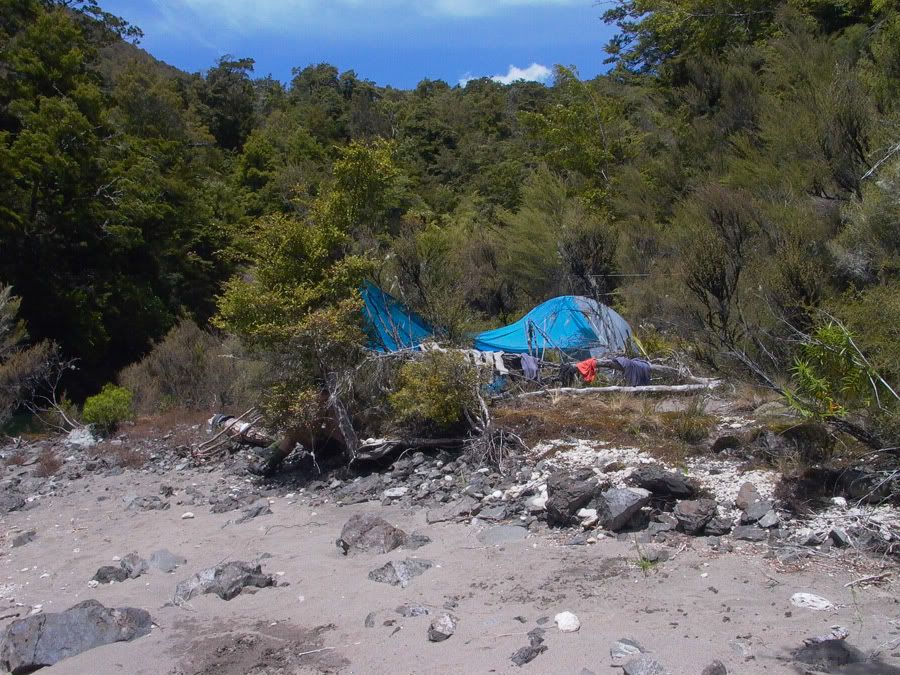
made a shelter ....


and 'relaxed '.


and the next morning we crossed back over on that 'thing '


day 5 involved climbing 700m up a slope , I had my ' altitude ' watch and kept reporting our progress " we've climbed 300m , 400 to go " , "we just went down 100m , we have 500 to go " we gained 200m but lost another 50" .... and that's when he said "would you mind keeping that to yourself !" .


Please can I have some !


That's the hut we were headed for ....


and a rather uneventful walk to the end of the track while we waited to be picked up .....


3 days later I could almost walk properly again !


DIY Kontiki / longline torpedo

DIY Kontiki / Torpedo .

Instructions for assembling the "ekonotiki" bilge pump powered torpedo .
This is meant mainly for New Zealand and the few other countries where longline fishing from the beach is legal . The 'kontiki' I designed pulls out at least 15 hooks on 50kg line to a distance of about 500m in 25 minutes .


These are the instructions for the simplest design I could conceive for just about anybody to make their own torpedo .It will do the job but some changes will make for a more efficient model for those prepared to go that extra bit . The T-junction is simple but effective but obviously the upright bit causes a bit of resistance as does the coke bottle . My next model will require a bit more skill and will consist of a straight 100mm tube with the back end heated up for batteries to be pushed in - so they can also be removed , a lid at the rear for less resistance , and a long thin flotation tube possibly 50 to 100cm above the main pipe , which will make the torpedo more functional in white water [froth] as it will be lower and also do away with the resistance of the upright of a T-junction .It will also be made using the 13000 litre / hour bilge pump which is twice as strong as the prototype .There will be a saving of $45 on the piping , an extra $60 for the pump and the cost of an extra battery to ensure efficiency due to the extra current draw of an 18 amp pump . Meanwhile , however , here are the instructions for the prototype .... The early design featured in the June edition of "bay fisher " and was mentioned again in the July edition .
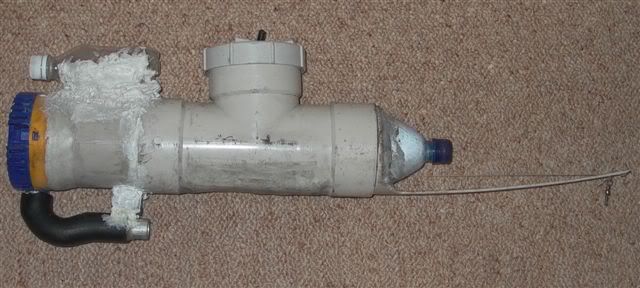


.


You will need:

1.] Bilge pump. , at least 1500gallons/hr / 6500 litres/hr . About $85 for the Hella 10 amp model .I suggest using the same pump as I used since no others have been properly tested yet and a higher capacity pump uses a lot of battery power which causes other complications but I include the following information anyway : Burnsco marine has a 3000g/hr / 13000l/hr pump that draws 18 amps and will make a torpedo that is twice as strong.The whole advantage of a bilge pump is that they are designed to sit in seawater .Some bilge pumps may need their bases cut away to allow direct flow as many are designed to suck from the sides .
Warning ! Bilge pumps do not like to be run "dry" .When mounting the pump , roughen up the surface for better glue contact . If you are paranoid like me you can drill some small holes around the perimeter of the front pipe [not in the bilge pump !] for the glue to sink into and get a better grip .Remember that some pumps have different bases so you may need to drill holes in the bottom of the pump to let water in the front of the torpedos movement .

19/06/04 Today I went into Burnsco marine and they have a special on bilge pumps . The one I used was a hella 1500g/h or 6500l/h .
They have a TMC 2000 for $95[2000g/h] ,TMC 2500 $179 , and a TMC 3000 for $139 which is twice the output of mine . .
The interesting thing about the TMC 2500 is that it has its outlet at exactly the right angle which will require no bends , but it is rated at the same current draw as the 3000 which suggests an efficiency fault or someone has made a spelling error . The 2500 was the most expensive and was 500g/h less than the 3000 so I bought a 3000 and will have to get a decent pipe/radiator hose of 32mm for it .... time to give the jet turbo power ! { I gave up on the 3000 model and stuck with the more reliable prototype design eventually}


2.] T-junction 100mm pipe . The T-junction with twist on lid makes it easier to work with the wiring and timer , it is reasonably watertight but in any case sits above the water line most of the time .The T-junction is sold with a piece of pipe on one end so it is not necessary to buy an extra meter like I did which ended up being cut into a tail . With a line pulling at the back , a tail is not totally necessary but will make it go straighter . even a piece of plastic pipe will do the job for the tail and being flexible will make for better traveling through waves since it will flex instead of tilting too much.Make the front pipe 100mm long , if the pump is heavier than a 10 amp model you could make it about 50mm longer for extra flotation .

3.] Water bottle . A spring water bottle from K-Mart has an o/d of 104mm which is the exact i/d of "100mm" tubing . If you cut it in half , and glue it up the tail end ,it seals off quite nicely and provides a lid for
drainage if you get water in the torpedo , and some nice aero-dynamics .

4.] Glue . I used kitchen and bathroom white silicone because it dries quicker and has a more rigid hold while the clear stuff is a bit stretchy . Now that I have finished cutting and experimenting I will get something
more permanent like Araldite which should also look neater and strip it down and put it together properly , though this silicone is quite easy to work with and has held quite well . Just remember to roughen up the
surface of the bilge pump before you glue it because it is quite smooth and pulls out of the glue with little effort .I stripped my torpedo down once I "perfected" the design and bought some "knead it " 'aqua ' from K-mart on special for $6 a roll . You have 20 - 30 minutes to work with it before it goes hard and it did a beautiful job holding the bilge pump in ... it still remains to be seen how long it lasts but it supposedly can be used to repair boats underwater !

5.] Battery . A 7,2 a/h battery fits nicely into the inside of the T-junction when you cut out a rectangle from the bottom and glue it in .{ make a layer of glue under the battery to insulate it from the sea water , cold can affect a battery's output by up to 50% } A battery should ideally be 3 times the a/ hour rating that you require . For a 10 amp motor a 7,2 amp hour battery would keep it going for 0,72 of an hour or 43 minutes . A third of that would be 14 minutes use to guarantee a maximum lifespan from the battery . Many people just run the battery dead flat which means the acid goes into the plates and they break down faster . A good compromise would be to use it for 20 minutes maximum even though it would go for 40 minutes on one charge .
I have connected up a cigarette lighter adapter to my battery so it can be charged from my vehicle .A 1/4 charged battery is 12 volts , fully charged is 12,7 volts .If you don't want to cut and glue a battery in , a
heat gun makes the plastic piping very flexible and the battery squeezes in perfectly . You would have to do this at the tail end and then make a flap/lid that seals off nicely so batteries can be removed or
swapped around with charged batteries, the piping shrinks a bit when it cools so put some spacers in when you first slide the battery in and pull them out once it cools .This is an alternative to buying a $45 T-junction in that you could buy 1 meter of piping for $15 , push the battery/s up the rear , and make a lid/flap at the back for changing batteries and setting the timer .


6.] Hose . The hose that joins onto the bilge pump outlet and bends at 90 degrees to the outlet jet should not be ribbed as that wastes a lot of energy . A radiator hose with the correct bend is ideal and easy to
work with and can be bought new for about $15 or sometimes the wreckers have a barrel full of them for next to nothing . The jet outlet should be the same size as the inner diameter of the bilge pump outlet for
maximum thrust .Even though narrowing the outlet down produces jets of water that shoot further it still produces less thrust due to less volume . I have cut a small piece of hose to glue between the outlet and
the main body of the torpedo to keep it stable .Find a piece of piping the same size as the bilge pump outlet with the same inner diameter and glue it in the end to ' tweak ' the thrust .On my prototype I used a CH1047 radiator hose from Repco [$12.50] which was the perfect size , but the wreckers gave me a hose out of their bin for the MKII.

7.] Switch/timer . I have mounted a toggle switch , with a screw on rubber boot to waterproof it , on the lid of the T-junction for experimenting . The same switch will eventually be in line with a mechanical timer from
an old stove so that the timer can be set while the switch is in the "off " position . Then once it is ready to send out a flick of the switch on the top will start it up .An alternative I have been considering for a timer is to tie the line to the front of the pump , loop it to the tail end tied on by a single strand of cotton ... a jerk breaks the cotton and turns the torpedo around .. a procedure I learned while doing test runs .[ I am not the jerk by the way ] . This can be taken a step further by connecting the same line that moves from the rear to the front , to the switch on top , by a piece of elastic which will then turn the switch off in the same motion . I am also thinking of the possibility of a flap that pivots on the bottom for minimum resistance when it is going forward , but when you pull the torpedo backwards and the water pressure forces the flap down , it trips the switch off , and disconnects the line from the back so the torpedo can be turned around and pulled back later [This might not be practical due to the amount of stretch in 500metres of line . I eventually pulled the timer out of my tabletop oven that cost $60 [only $10 more than buying a timer] and I will fit a toggle switch in place of the timer for my oven to work .

8.] Flag . A kite can be bought at the "dollar value " shop for $2 and butchered to make a flag .

9.] Coke Bottle . Placing the coke bottle above the front section keeps the front from pointing down . I have noticed though that a bigger motor seems to cause the torpedo to pull to the right a bit . This would be due to the torsion of the motor making the torpedo twist to the side a bit , placing the jet to the left of centre , causing it to veer to the right [ depending on what direction your motor turns ] . The solution for this is to place 2 floatation devices [coke bottles if you don't have something more dignified] above the pump - the further apart they are the more stable it will be . Since a 600mm coke bottle does the job , two 300mm bottles placed above the pump , one to either side , will stabilise the torpedo and prevent it pulling to the side . This is all dependent on the weight of the torpedo and how far from the centre the jet is , the further from the centre the more pronounced the effect of twisting will be , but don't make it so close to the body that it wastes energy on turbulence against the body . We will end up with the "starship enterprise " design soon . A moderately distanced jet with 2 flotation devices acting as "outriggers ".

Optional. ... "soft seal" spray for preventing corrosion from sea water which will one day find its way inside . Spray over everything , battery terminals , wiring and switches - don't get it on bare switch contacts . This is a precautionary measure that will save you the frustration of having to pull everything apart if corrosion sets in .

Jet size . This is very important . My first experiment was to see how high I could make the jet shoot by squeezing the nozzle , assuming that this would give maximum thrust . My assumption was wrong because the volume was restricted resulting in a slow movement . If you just have the water pouring out of the hose , which has an inner diameter of 25mm which is the outer diameter of the bilge pump outlet , the water slows down because it has gone into a larger area , you must get the area back to the 22.5mm [approx] that it was coming out of at the pump to regain the original speed . I believe that a slightly higher speed could be achieved by certain laws of physics by making the outlet ever so slightly smaller than the 22.5mm jet . I fitted a 32mm electrical wiring gland which makes the outlet adjustable for easy experimenting . I could not get a noticeable improvement on 22.5mm so have decided to leave it at that in the knowledge that less pressure on the pump means a longer life .I was told by a water pump technician that a "positive displacement " pump would achieve better results with a smaller nozzle but the centrifugal bilge pump does not react the same way with restrictions .

The piece of pipe in front is 100mm long and without the coke bottle it would point downwards . A bit of fancy fibreglass-work could make it more streamlined . A 375 ml bottle would also do the job as the torpedo floats perfectly with the coke bottle about halfway under the water .This also ensures that the front of the pump is always under water and doesn't suck air
Night fishing ? Instead of a coke bottle , mount a glass jar on the front and put in a bicycle flashing LED available for $2 from a dollar-value store .


Shorter and heavier means more stability going through waves and better momentum , which also reduces the effect of waves .Two batteries means a heavier torpedo and slightly more time to build up speed but once it has that speed it will be harder to slow down by oncoming waves/swells .

Tail . A tail is not entirely necessary when towing something but can be useful for tying things to . A flexible tail would also make for easier movement through swells .Thinner is better as it causes less resistance .
Another good idea for the tail is to have a " fan - shaped " tail with a row of holes in it so that , depending on the current , you can connect the line off centre to steer the torpedo left or right .

Wiring . Run an earth wire straight from the battery to the pump .Preferably put a 15 amp fuse from the battery positive , to the timer then to the switch . Since bilge pumps don't like to run dry it is best to also have a toggle switch with a rubber boot over it on the lid so you can set the timer , close the lid , and then put it in the water and flick the switch on .The fuse is not to protect the pump , it is so that if there is a short in the pump or wiring the switches and wiring don't get damaged .

Voltage sensitive relay . I have designed a crude " voltage sensitive relay " which does away with the need for an expensive timer and gets the most out of the batteries .This has worked but needs a fully charged battery if you are going to use a push-button to energize it , another option is to remove the outer casing of the relay and just squeeze the contacts together when you need it to start .... it will stay in until the battery drops to 11 volts . On the attached diagram you will see how to wire it up . The ' 30 ' terminal is the positive input . When a button is pushed [ or a simple toggle switch is flicked on and off again ] , the relay pulls in and supplies " 87 " with power , which also supplies " 85 " with power , through a diode , which keeps the relay on . The " 86 " terminal provides an earth through a resistor [ 100 ohms , R1650 , Dick Smith no. ] which has the effect of halving the voltage at the relay coil since the coil resistance is also 68 ohms .
Now a 12 volt relay can work at 6 volts , but as the power runs out of the battery and its voltage drops to 11 volts , the relay now has 4 volts at its coil , and 7 volts across the resistor , and lets go around this voltage . This means that the battery voltage never drops below 10 which could happen if a timer is set too long .. With the mkII which has 2 batteries I have wired up the batteries separately so I can have 2 settings ... one or both batteries .It would make sense to put the relay in a small plastic bag for water protection .

I also welcome suggestions on improvements .
Thanks , Desmond . { Springbok kontikis } 


Eventually I also drew up some plans for a bilge pump modified to take a propeller and one person who bought the plans to help him finish his project sent me a picture of his 'rig' along with a picture of a few large snapper he caught the next weekend . His version was quite a bit bigger than mine .


  Here are the plans for making the propeller version along with the next project I designed - a wiper motor driven winch for reeling the line back in .....


Before you start :
1.) These plans are a guide only , it worked for me but you may have other/better ways to do it .
2.) A bilge pump is not a "thrust "motor , it does not necessarily have a washer at the top of the motor to prevent wear from pressure pushing upwards on it . The thrust must be directed to the front of the plastic pipe .
3.) Though the hella bilge pump is rated at 10 amps I have it running at 15 at the moment . I don't expect it to give trouble but still need to do a few more runs before I am convinced . Generally anything electrical is like a welder , it can run continuously at a low current draw but has a duty cycle for higher currents , as it draws more current it gets hotter and so needs a certain cooling off period before being used again . With the motor sitting in seawater it should cool off a bit quicker though we must remember it is insulated by plastic and a bit of air so don't count on it . It will also have a maximum current draw wher the wiring to the brushes will blow like a fuse after a few turns . One of the props I made had a massive thrust but drew 30 amps from the motor . Once I have perfected the brassprop design I will give it a run with that prop and either sacrifice a good motor or find that we have a winner and that the motor can handle that type of punishment .
4.) There are two options : 1.]  making a motor that pushes and 2 .] making a motor that pulls . 1.] I have chosen this way because it is easier to make in that the force pushing against the plastic pipe actually strengthens the supporting framework instead of trying to pull it apart . With a pushing motor water that is sucked in  to the prop can come from any direction and the thrust has no obstruction .The prop pushes on its drive shaft and so the small pipe cannot fall off while running .The disadvantage is that you must be sure to direct the force to the plastic pipe to prevent motor wear .
  2.] A motor that pulls has the advantage that the pump most likely has a washer at its base for wear and it will pull against this washer . A pulling prop can be pulled off the drive shaft if not 100% secured . A pulling prop will direct its thrust straight at the motor behind it and create turbulence . need I say more ....

First  you will need a Hella 10 amp 1500gph bilge pump . If you use a different pump you will have to play around with other modifications .
You will also need : A sheet of polypropylene at least 120 mm diameter .
                             A piece of "32mm " plastic pipe .
                             A length of tubing about 10mm diam , about 7 mm inner diam or have one made up .
                             2 or 3 17 mm nuts , preferably stainless .
                             A washer .[ or two ]
                             A small propeller , about the same size as the white plastic impeller inside the pump , or make one out of the polypropylene .
Remove the blue plastic base . { When you push the clips in observe the small lip on the clips , if that is not pushed down enough to release the clips can break }
Remove the rubber ring that holds the plastic impeller in place and remove the impeller .
Cut a circular piece of polypropylene with a hole in the middle for the plastic pipe to fit snugly inside . Drill holes to fit this circle to the blue base with self tappers .
Check your distances by pushing the pipe hard against the base and glue it in place with marine silicone .[ only glue it to the disc you have made .
Drill a few holes in the pipe to let water in , the pump seal will be damaged if it runs dry .You may want to wrap a bit of cloth around the holes to keep sand out .
The hardest part is the small pipe . If you have the means to so so you could drill a hole in the stainless shaft of the motor and put a split pin through to hold it on .
I chose to drill a small hole in the small pipe and tap a thread and tighten a small bolt up against the shaft , which has a flat spot , to stop it slipping .
You must also cut a round "bush" to go inside the plastic pipe for the small pipe to go through and which will take the thrust of the prop .
Where the pipe comes out of the bush you must cut a thread or find another means of securing the prop [ maybe a grub screw ] .
I have used 3 stainless nuts and a washer so that I can tighten the washer against the plastic pipe , to put the main force on there instead of on the inside of the motor , and to lock the prop in place .
The propeller I bought from "Bay hobby supplies "Tauranga (07) 577 6240 . It never had a part number but cost $22,50 .
It is fairly easy to make a prop out of polypropylene if you cut the shape out and heat it up with a heat gun and give it a twist . I made one the size of the base of the pump and then machined it down smaller and smaller on the lathe to get the current draw right .
The bilge pump motor spins relatively fast so a smaller prop is needed . I am fairly confident the gearing down that speed to about 1/3 and making a prop with good thrust will get much better results . Until then we must use the small prop / high speed rotation .
Contact me at dvdowns@xtra.co.nz if you have any questions or suggestions .{ springbok kontikis } 


This winch will not pull in the whole weight of the line for you but it is a compromise that will turn the spool while you pull in the weight of the line to make the job twice as fast for a one man setup .
I paid $30 for the motor and $15 for the pulleys from the wreckers .A battery will be about $30 so for less than $100 you can have something that does half the job of a $1200 winch .


The winch-assist was designed as a cheap alternative to the $1200 models that do all the work .
You can use any wiper motor and pulley/s but the ones I used are readily available from the wreckers .

You will need :
1.) Wiper motor [ Mitubishi L200 A478 ] this one has a nice braket on it that makes it easier to mount onto your exisiting spool .

2.) Pulley [ Mitsubishi L300 A 905 ] twin size pulley for 2 speeds .

3.) 7 amp hour 12 volt battery , this size is big enough to do the job but a bigger battery will last longer .

4.) Fan belt , any old belt will do , as long as it fits in the pulley .

5.) One half of a 2 piece alternator pulley . Go in to your local auto electrician , they will most likely have a box full of old pulleys .

Undo the bracket that the motor mounts onto and rotate it so that it sticks out 90 degrees to the motor to make for easier mounting .
Take the wiper motor and cut the drive part with the socket on it so that it can be drilled to fit the pulley , that is the way I did it but welding will do a better job .
{ I used 2 bolts but 3 smaller bolts will prevent the pulley pulling off centre under load }
On the spool , you will have to take off the plastic cap on the end of the through-bar and pull the frame outwards to get the half-pulley on . Centralise it and drill 3 holes and tighten with self tappers .
Fit the fan belt and use its length to align where the motor will mount . The belt must not be too tight , you want it to slip when it starts to get tight to prevent the spool being wound too tight and to stop the spool from falling over when under too much tension .If you can't get a haly-pulley you can make something since there is already a round bit on the spool , it just needs something to keep the belt on it .

Wiring : The wiper motor has 2 sppeds and the pulley has two sizes giving a total of 4 possible speeds .
The white wire must be earthed .[ direct to the battery ]
The blue and orange wire is for slow speed and the blue and black wire is for fast speed .
You can either just put on push-on terminals on those wires which you will have to plug on to get the motor going or you can take the wires to a switch .
With a 3 way toggle switch you can take a wire from battery positive to the centre pin and put the blue/orange and blue/black on the outer pins so flicking the switch in either direction will give 2 different speeds .
Either mount the motor with spacers directly below the pulley or loosen the main bolt holding the spool , give it a slight twist to face the bottom pulley , and give the motor bracket a slight twist so they face each other properly and the belt doesn't climb off .













Pirongia drama !

Pirongia drama .

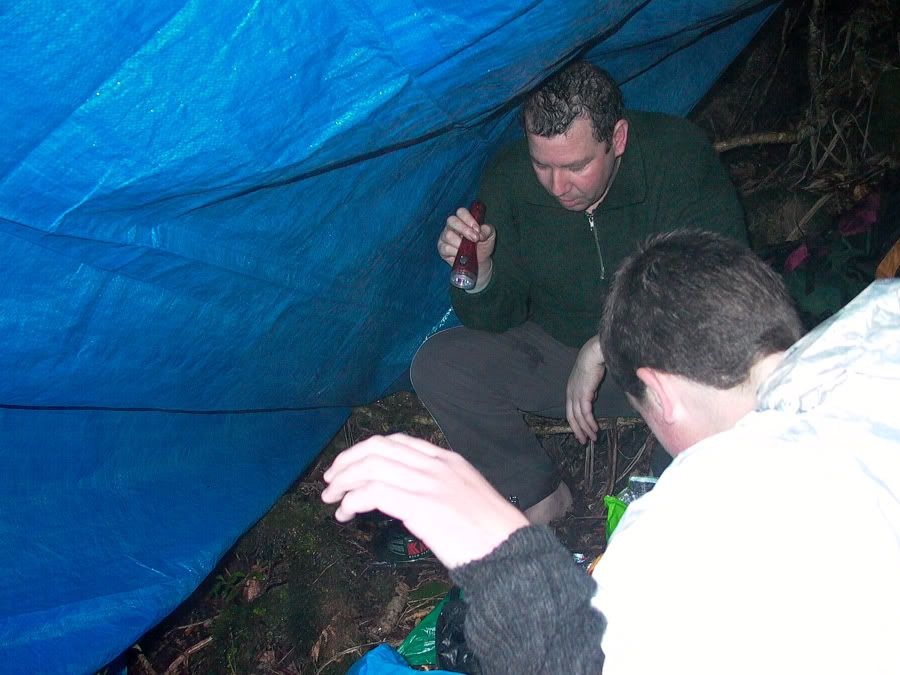
I dug these old photos out , taken in June 2003 , my first trip up Pirongia heading for the hut . I took two beginner trampers with me and told them to carry tarpaulins as emergency shelter . They told me they didn't need to since we were planning on sleeping in the hut .....
It started off as a normal trip :
Panasonic DMC-LC5 .


And this one as taken at 3:39pm .


It was at this point where we checked the map and realized we were only halfway . the other two were very unfit and had to keep stopping to rest .
I told them we would have to pick up the pace a bit and started walking faster ........ 
After about 20 minutes I decided to wait for them to catch up but after a long wait I headed back on the track and came to the intersection we had passed earlier . I left my pack there and ran down the track and found an overturned tree with no footprints in the mud - so they hadn't gone that way . I went back and got my pack and started running back to get help because it was dark now . I fell and banged me knee going down the chain and grazed my knuckles - halfway back to the car they shouted to me from the side - they were trying to shelter from the rain by a big rock . They told me they had shouted to say they were going back because it was getting dark - they assumed I would go on to the hut 'knowing what they had done ' anyway , since we were halfway why not keep going to the hut ? lesson learned - now I usually go alone .
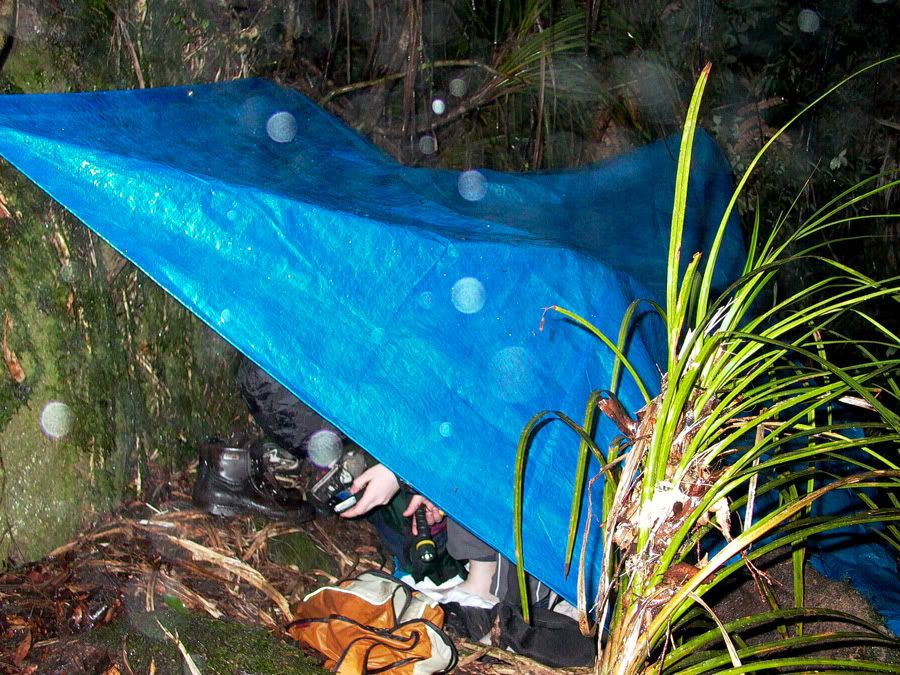
Anyway I had a tarpaulin with me and set up a shelter where we spent an uncomfortable night [ since I had a cold as well ] .


That's what we slept on .....


and that's the 'after' shot ......


Photovan does Marokopa

Default Photovan does Marokopa ....

March 22 2008 ....

I just got back from a two day trip in my Photovan

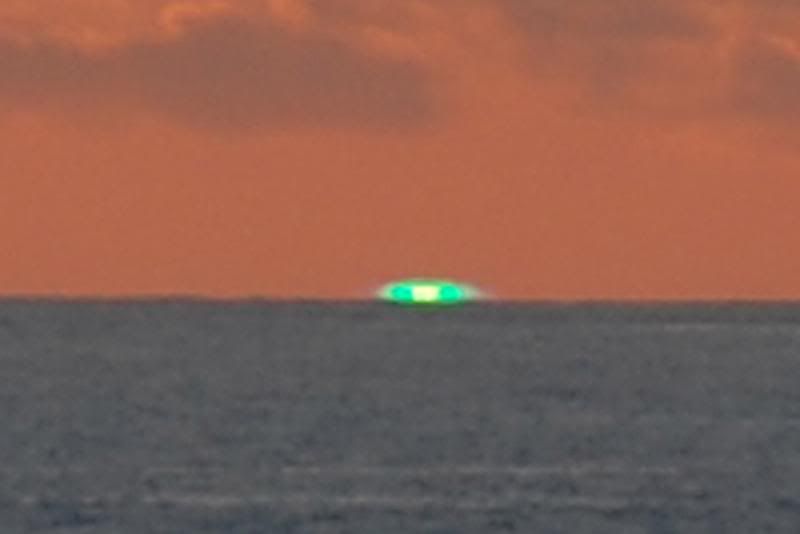
It wasn't too amazing but due to the good weather the sunset wasn't that spectacular but I did get some shots of the "green flash'' as the sun dissappeared which made my day .
http://mintaka.sdsu.edu/GF/


My first stop was at the Ruakuri walk in the Waitomo area .


It is a walk through a valley of natural caves and tunnels close to the main cave system of which there are around 300 in the area .


I almost expected "Lord Greystoke" to come swinging through the trees .

There are paths and platforms made for better viewing of the caves .


which provide difficult lighting but also interesting side lighting shots ...


a rather interesting half hour walk ....


Next stop "the natural bridge "


And then Marokopa falls ...


closer ....


and over this hill ..


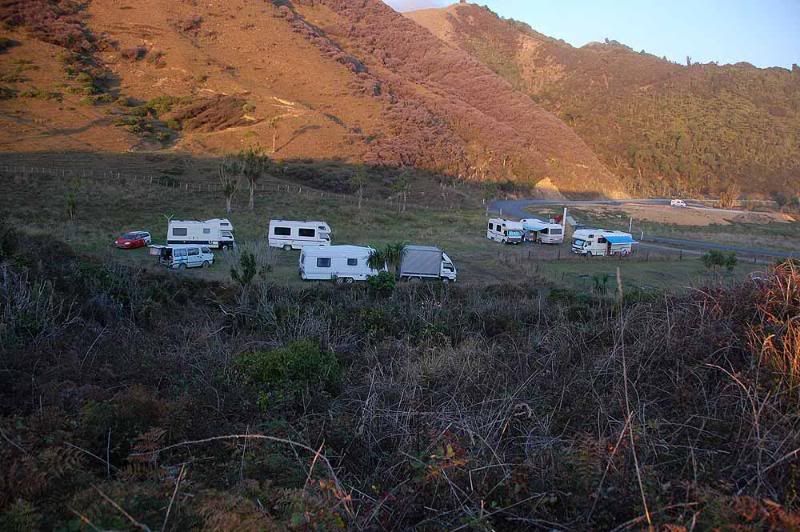
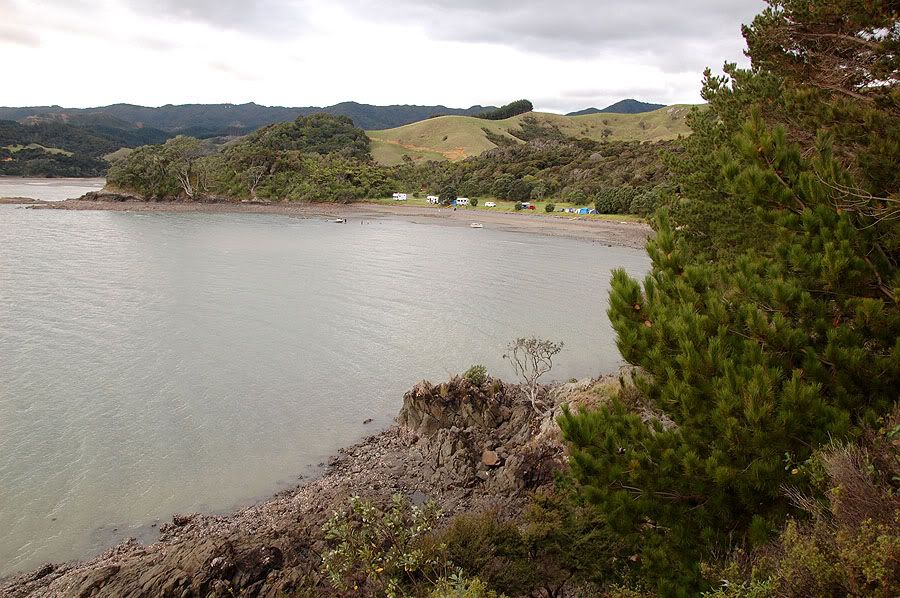
but marokopa camp site was too far from the sea so I went over to the next unpronounceable beach which had a piece of land with a few other campers on it


the other campers were junk compared to my photovan ...


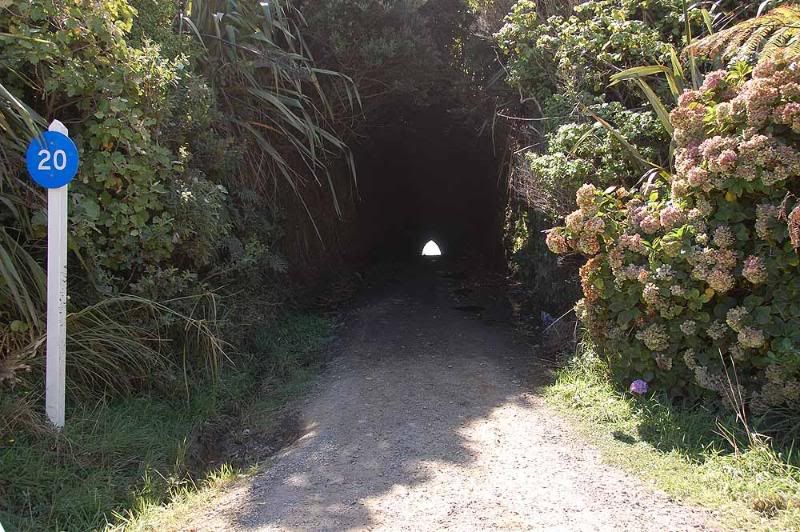
Half an hour from the site was this tunnel leading to the beach . Apparently three farmers dug it by hand years ago to have a place to take their sheep to the boat since the roads were so bad then ....


It would have been nice with better lighting though ....


Can you see the two sheep in the centre of this picture ?


There's a closer look at the daring sheep


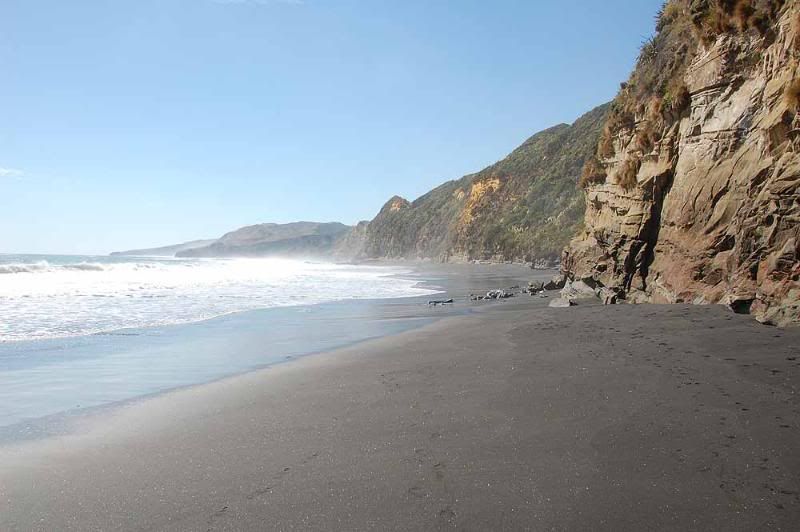
And a bit of the beach


and just before the green flash ....


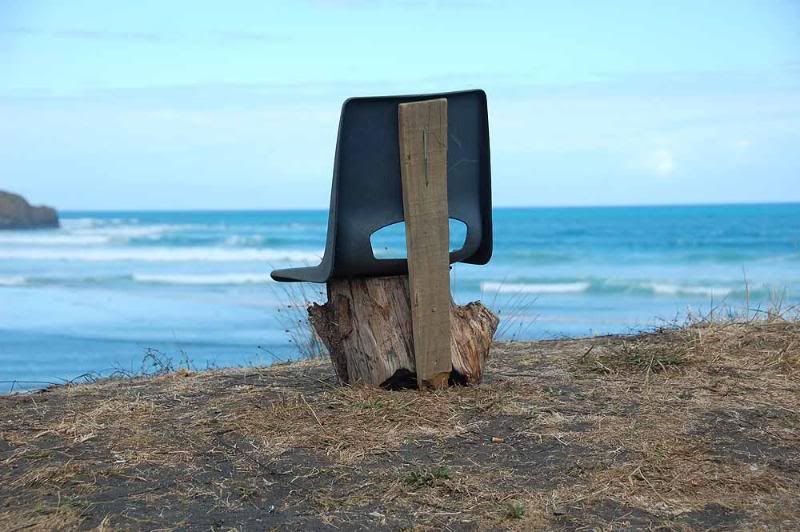
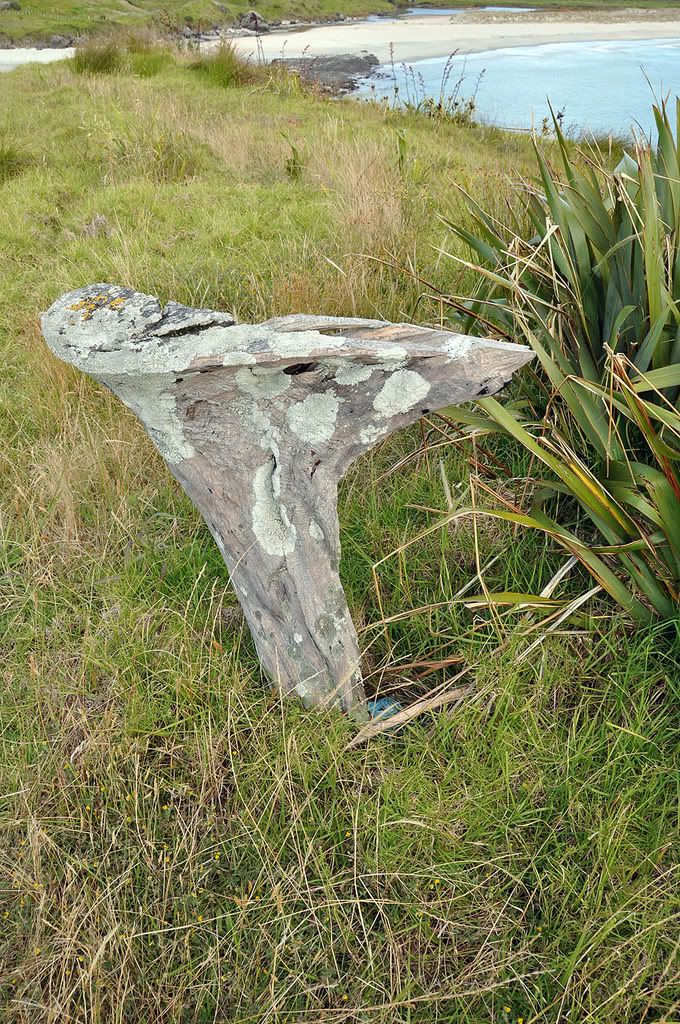
Of course in a place [ we can't call it a town yet ] as advanced as this you would expect to find public seating of some sort [ nailed down to a log !]


I thought this log looked a bit like a raven or something ....


the log ..


I took a picture of the vegetation in this area , everything is looking very dry since for the first time [ever?] we are having a drought in the central North island [ climate change ?] . It hadn't rained for a few months and the ground is all cracked and dry . It started raining 2 days ago and the grass is getting green again .


Photovan does Papanui point

Papanui point Raglan .

Today I took a drive back out to Ruapuki , Papanui point . If you go into Raglan and then head South for about 25[?] km you eventually see "the bus on the hill" which is the sign that you are nearing the spot ...


That's it there .... [ Papanui point ]


Looking back in the other direction ......


Then you get to this gate with a metal 'mailbox' where you can contribute towards the upkeep of the farmers road - I always put something in ...

 
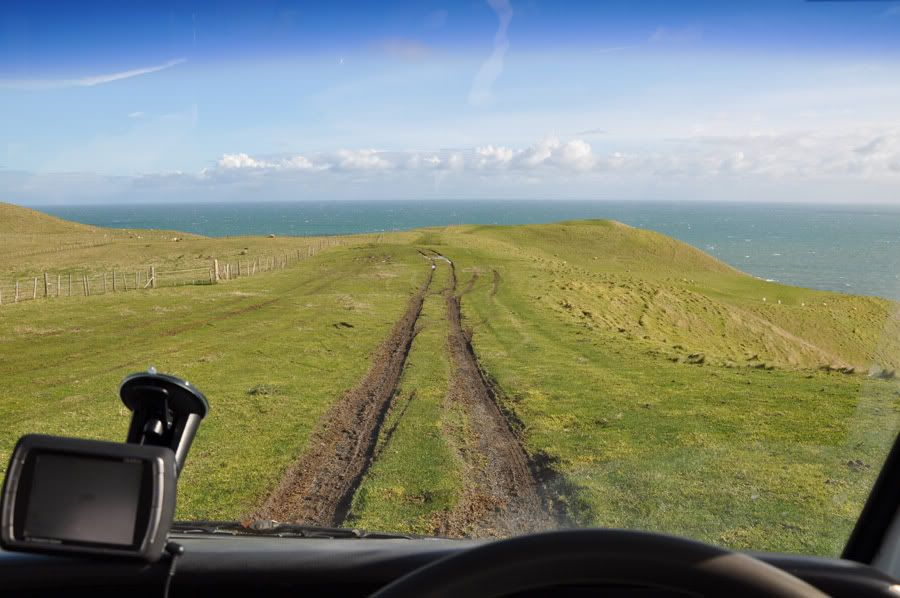
I've driven up this road before , but not in this kind of slush ....


I did some slipping and sliding for a while and ended up reversing all the way back to the gate because I was going to get stuck for sure . I parked in front of the gate and went exploring ....


 I walked toward the point itself and looked back toward the van ....


that's the point down there where people fish from the edge of the cliff ....


looking to the left .....


the back of the signboard when climbing back up ...


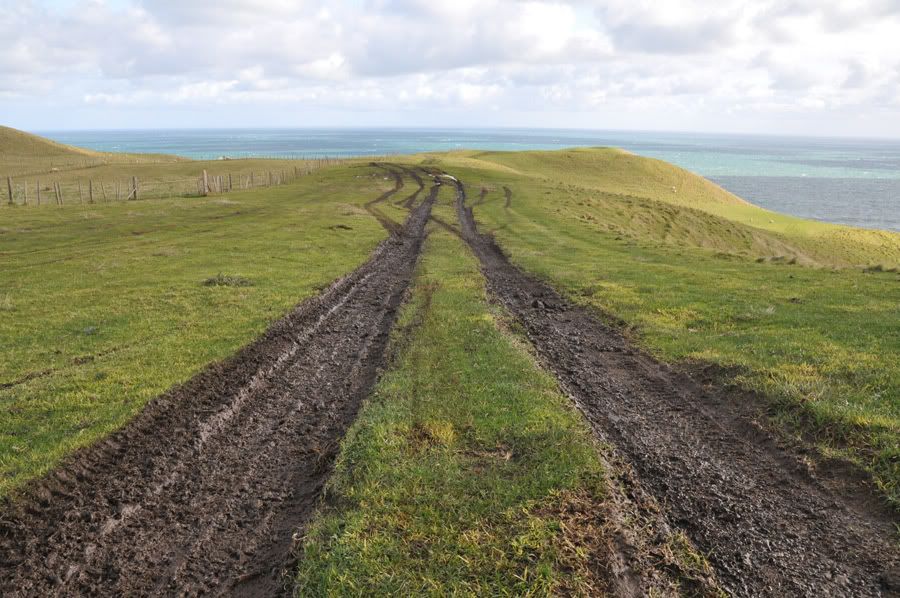
This is the mud I would still be stuck in if I drove all the way ...


Looking back toward the right .....


remember to do this when you leave ....


Heading back ....


And a stop-off along the side of the road on the way back ....


Ruapuke was the first 'wild' looking place I visited in New Zealand and I love the scenery .
Today for the first time I drove down to the beach and had a look ....


Mount Karioi

Climbing karioi

Sept 6 2008 :

Today I visited a new town and when I looked back at Karioi in the distance [ close to my home ] and saw how good the weather was for a change I decided it was time to climb it ...


3pm I was at the start of the climb to the lookout rated at 2 hours .
The beginning of the track is close to the sea right next to "Te Toto gorge" .


Past a dead tree with lots of potential .
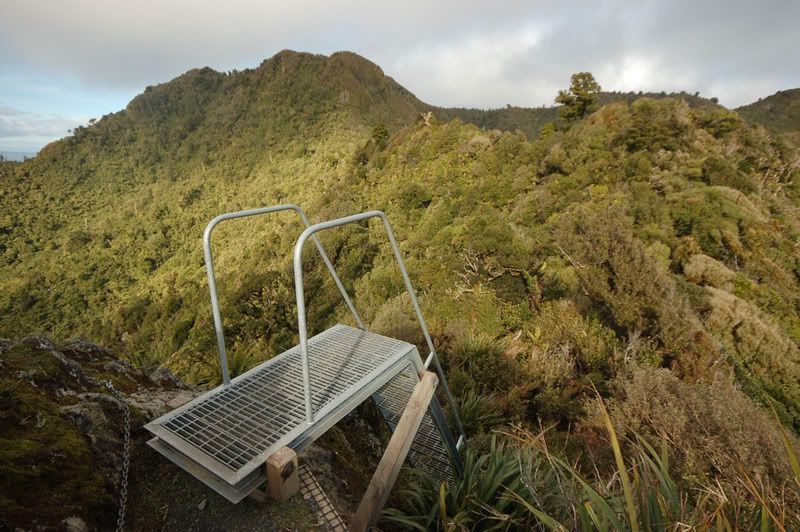
At one point there's a ladder


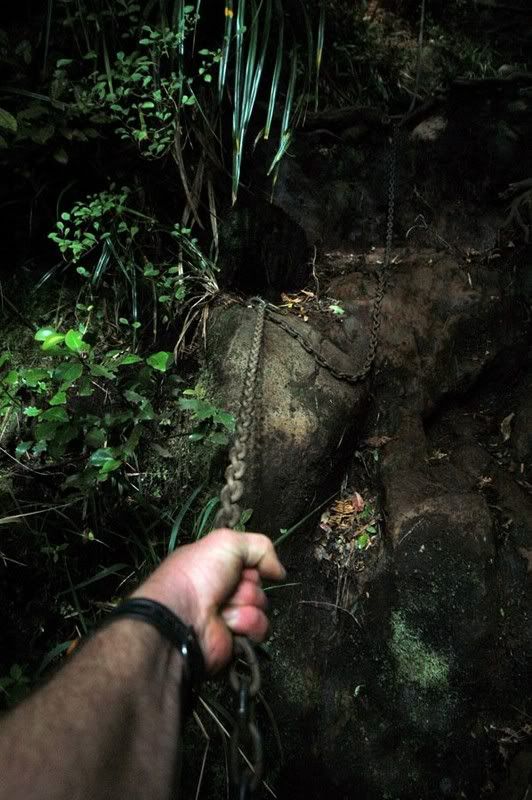
In some places chains have been added to help over rough terrain .


The view was sort-of-ok I suppose :smile:


That's Raglan in the distance ...


55 minutes to the top , 45 minutes back down and some more pics right across the road at the bottom which is actually the top of the Te Toto gorge ....


And then one overdone sunset shot with a "sunset" filter and a ''gold'' filter at the same time ...


A few months later I went back up with a 63 year old man - he left me behind . We both got to the top in 50 minutes but I was finished - I needed to get fit again . I started exercising a bit again and went back and did it in 47 minutes . Apparently some of the fitter runners do it in half that time .


Magic mountain horse treks

'Magic mountain ' horse treks

My first time on horseback .... October 27 2008

I've never been on a horse before so today I decided to go for a guided tour - about 2 hours riding in total along with a stop at ''bridal veil falls" .
I got to ride "Albert" - this was the first picture I took , I left the D40 in aperture priority and snapped away .....


We progressed down the mountain toward the falls ...


The steep bits were rather scary but at least I never fell off at any stage .


We spent a while at the falls .


And then headed back - our guide was surprised to see that I was back on the horse when he had finished helping the others onto theirs ... so you can call me "Bronco'' from now on :smile:
What you'd expect to see in NZ ...


We went back on a different route and had a good view of Karioi in the distance ..


'Albert' kept dipping his head to grab some grass and at one stage ripped the reigns out of my hands - it was a tense moment waiting for his head to come up so I could reach forward and grab them again before he took off on his own . Of course these animals know the way themselves but it was still a bit scary when he tried to gallop a few times and went down the steepest sections he could find .
When we got back they had a good meal ....


My legs are a bit sore on the inside - the guide says that means I was doing things right but we'll see how I feel tomorrow !

Ruapehu , sleeping in a snow mound .

This was actually August 2004 , my first attempt at sleeping in the snow .
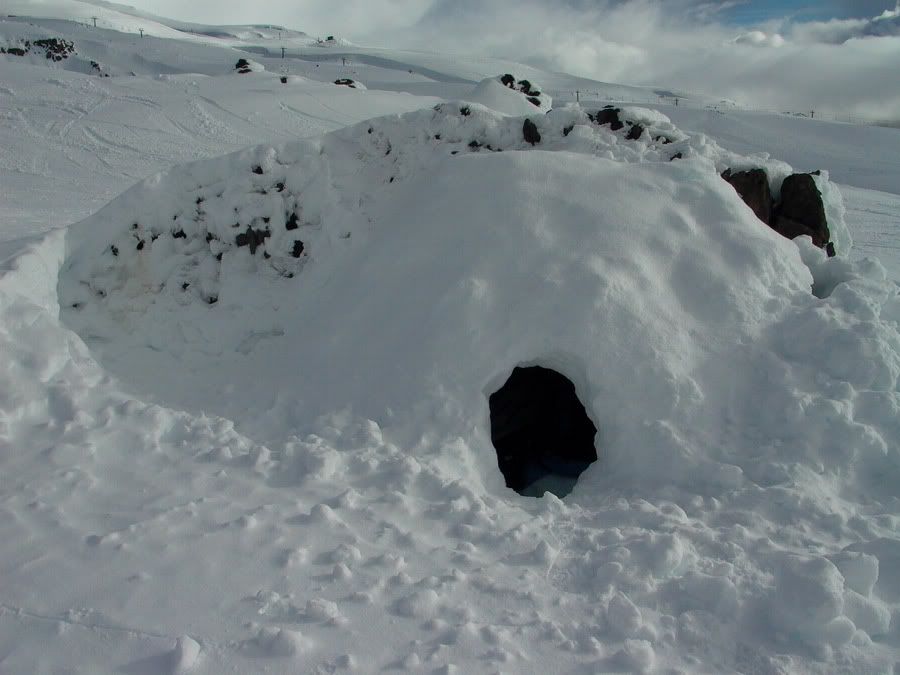
I decided to only climb halfway up for this attempt and build a 'snow mound' so I could photograph the sunrise .
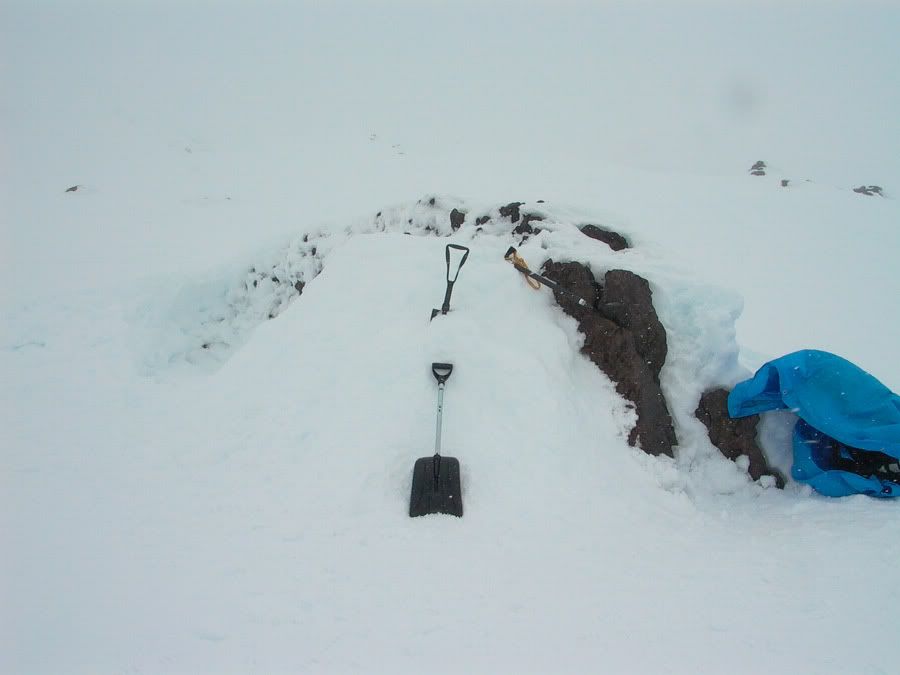
I started off with this rock to help provide some structure for my shelter ....


I was hoping to get the sunrise in this direction ...


It took a total of 4 hours to collect and pile up enough snow for my 'mound' this was halfway through ....


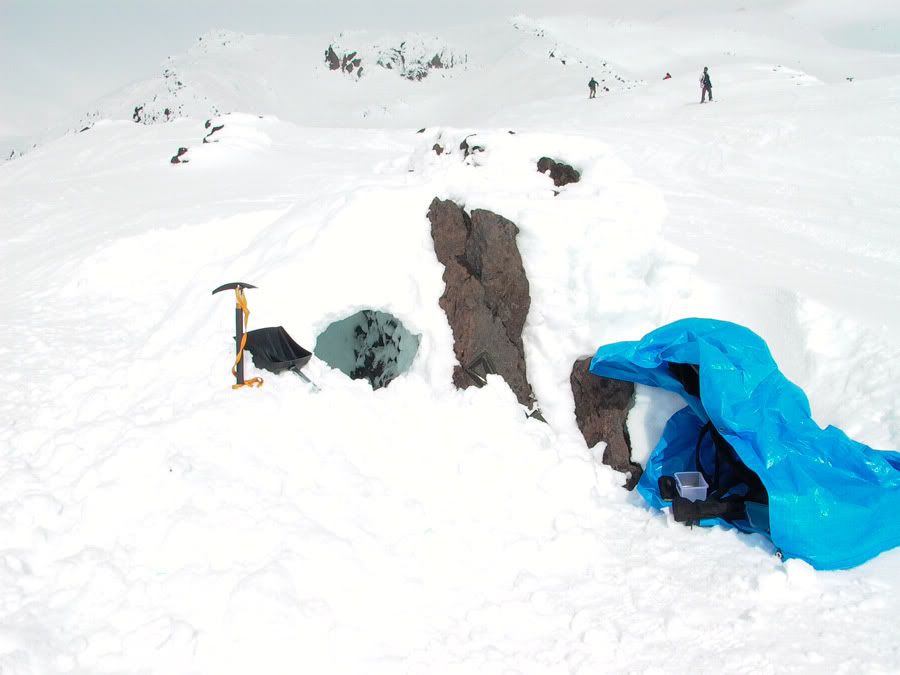
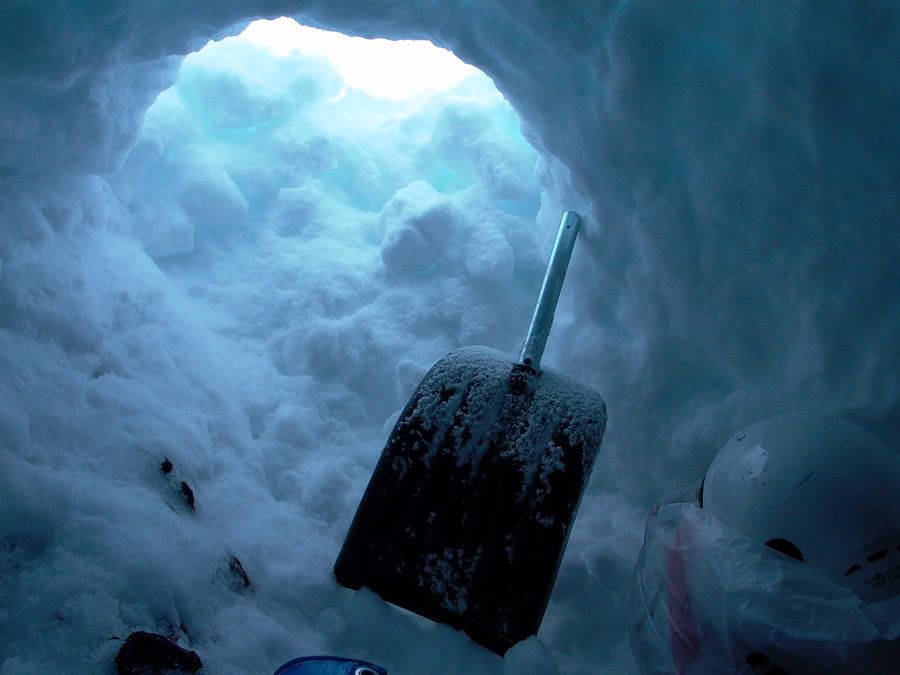
I eventually got it all together and tunneled in to it and made and entrance at the small end .


Then I realized that I wouldn't be able to see the sun from that side and closed it up ....


and made a better entrance in the side ...


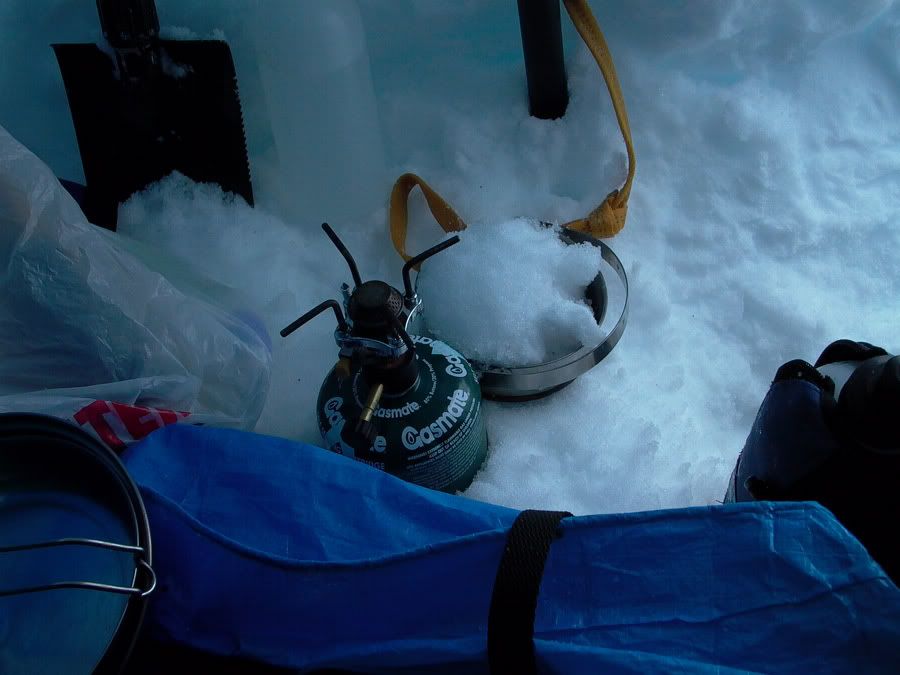
And started the water boiling ....


Then I was taking some snapshots ....


Then someone came past and snapped one for me ....


but before he wandered off ....


he told me my entrance would not do because it was too high . We cut some blocks and closed up the entrance and then I had to tunnel under the wall and climb up inside and place my pack over the hole .


Like this ....


The old entrance that I was supposed to have closed up was letting a bit of the cold in ...


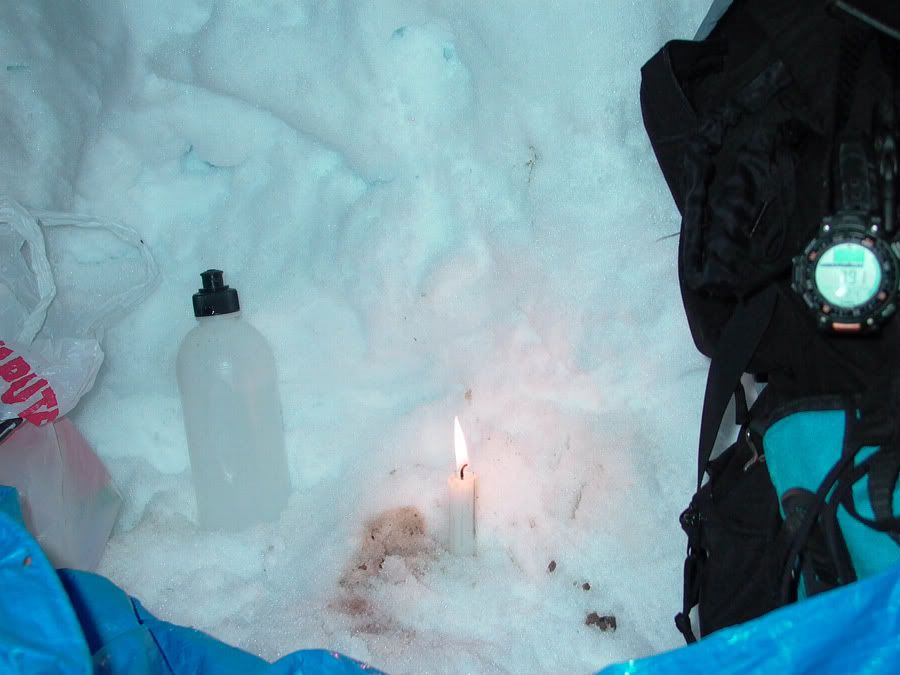
barometric pressure 791 ...


That night was rather cold . there was air leaking through all the gaps and my mattress was not properly inflated so basically the -30 sleeping bag is useless if your body is directly on snow .
In the morning I woke up [ not that I really slept much ] and there was a howling wind outside - basically this is what it looked like outside .. so much for photographing the sunrise ....


Anyway I couldn't get through the tunnel with all my gear on so I had to get fully dressed up to go and kick the wall down . As I stepped out I was dragged sideways by the wind and had to lean forward and dig my ice axe in to pull myself back up the ridge .
everything was white wherever I looked so I just headed ''downhill'' . Once or twice everything went clear for around 20 metres around me , one time it happened I was at the edge of a cliff so I backed off and walked 90 degrees in the other direction . I could pick out dark patches here and there that were rocks and just walked toward them each time .
Eventually I got back to my car .....


That was Sunday morning , on Tuesday morning I was at work listening to the radio and they said that all the climbers that were trapped in the whiteout on Ruapehu managed to come down now that the weather was better . maybe that means I was supposed to stay up there until the weather was better ?
Apparently there were 120km/hr winds which get compressed a bit on the ridges ...


Photovan does Te Toto gorge .

June 29 2008 :
This afternoon the rain and clouds cleared away after a week or two of bad weather so I headed for the te Toto gorge to see what it was like .
The road there showed some promise .


so I parked my ''photovan'' and went for a walk .


first to the lookout .


maybe I should go back in better light .


anyway I walked in the wrong direction for half an hour since there are no signs but it was worth the scenery .


no prizes for guessing which way the wind blows here .


I'll have to plan a full day of exploring next time because the scenery is "acceptable"


The sea was very frothy from all the bad weather .


a couple of "wrong way" dead-ends .


a cabbage tree ...


Then I went through some trees and got blocked by some thorns and had to pull out "junior" [ There was no place in my pack for "senior" the machete ]


and a quick self-timer shot through the grass


all that to find out I was supposed to go in this direction to get all the way down to the sea - maybe next time ...


July 6 2008 :


Today I went back since the weather was looking good . I had a look from the platform .


Looked across to my left .


.


And decided to walk to the bottom . It took 15 minutes to get to the first flat area but after that it was long curled up grass , thigh deep in places .


This time I concentrated on ''detail shots'' as an addition to the normal landscape shots .


I called this formation ''the eagle'' because it looks a bit like one from the side . In this case the sun popped through the clouds at the right time to highlight it . The lookout platform is a tiny speck on the top left of the picture .


some more trees with potential ... maybe I should go back at night - in summer of course .


Photovan does Stony bay !

April 2009 :

Friday morning I loaded up my Photovan for a tour . I usually pack it the same day I leave so I sleep properly the night before - keeps the adrenalin levels down :smile: .
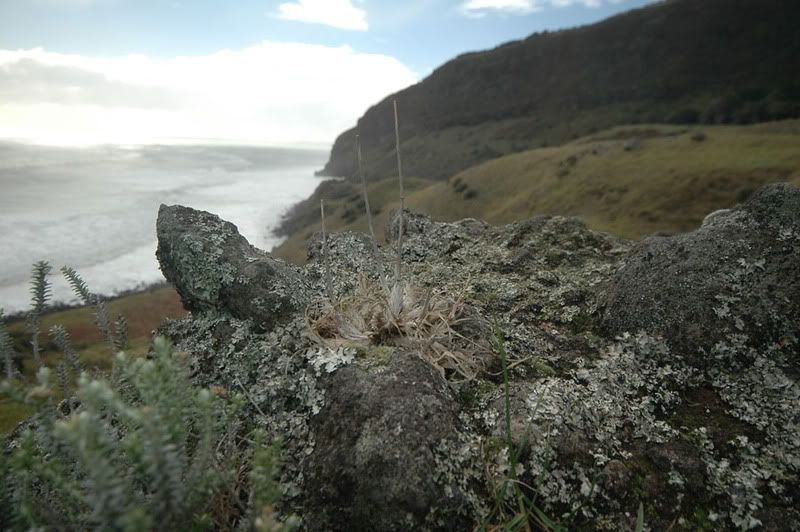
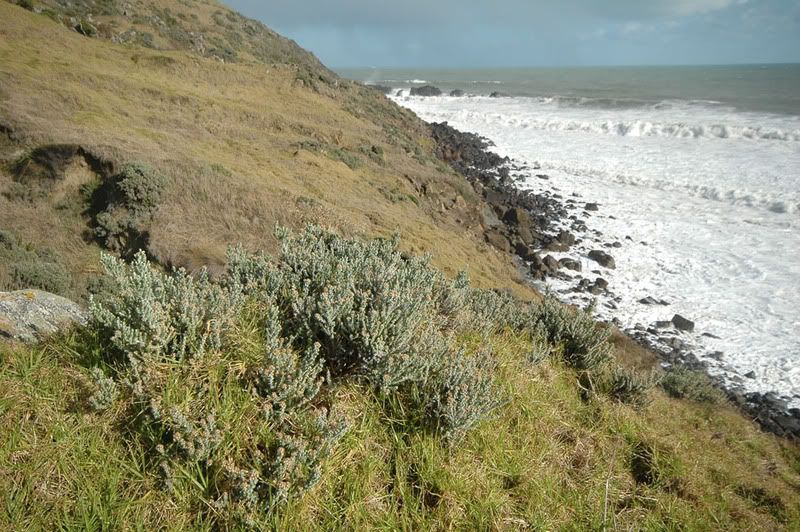
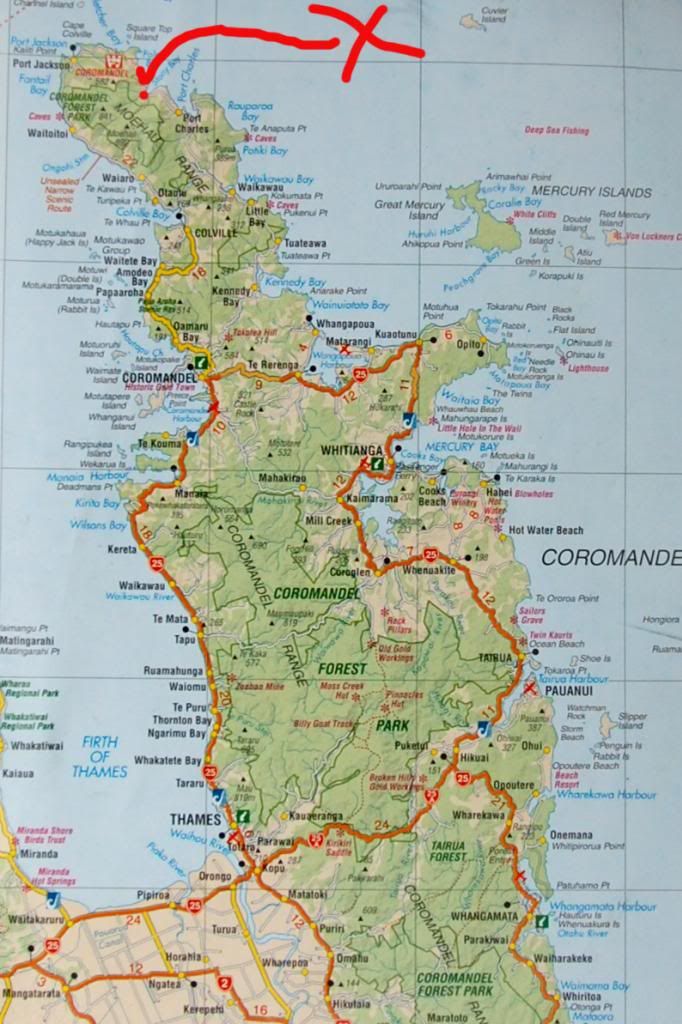
I actually didn't know exactly where I was heading when I left but knew I wanted to head north . As I was driving I decided that since I had liked the Coromandel trip so much I would head up there but on the rough roads to the right where I'd never been before . I had liked Fletcher's bay and wanted to walk across to Stony bay on the previous trip but not with a sprained ankle - so I headed for ''the other side '' this time , Stony Bay


  I had a lot more keepers this time so either I've improved a bit or it's due to the fact that I wasn't using the Sigma 10-20mm which is a fun lens but yielded few keepers .
This time I had the D90 and Tamron 17-50F2.8 and Nikon 70-200VR but ended up taking most of the pictures with the D40 and 18-105 combination .

Why one earth did a pick an arterial route from Auckland to head for Thames!?


I stopped at the food-court in Thames and splashed out on a waffle and banana combination and the worst hot chocolate I have ever tasted .


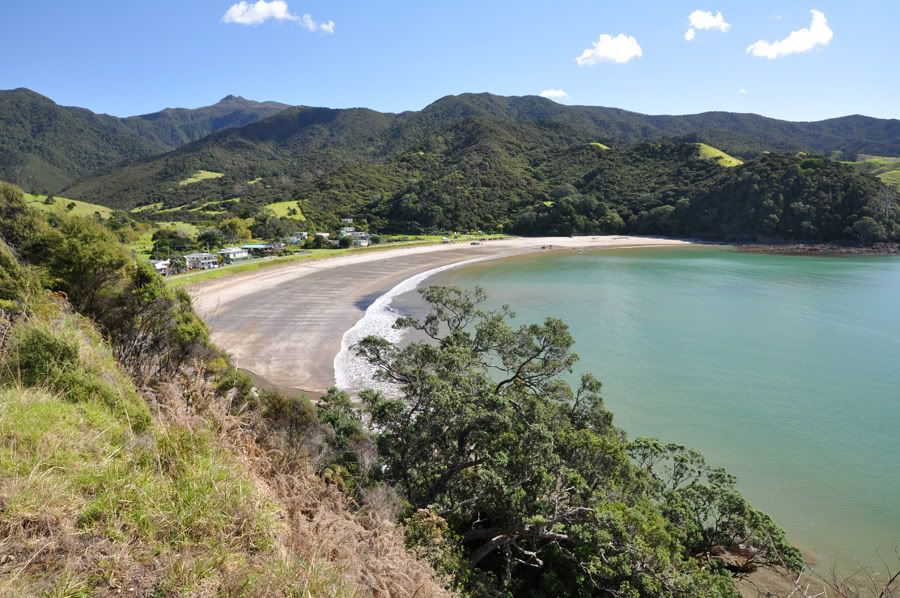
Just as a teaser I'll include a long distance shot of the destination . Judging from the number of people/families I see camping for days/weeks on end in one boring spot I've realized that I have become spoiled in the scenery I have seen and while for many people the camping ground is a ''base camp'' for their fishing trips to me it has become a 'destination' and has to be close to spectacular with at least a few options to walk in different directions for 'more' scenery . This is the first view you get of "Stony Bay" as you wind down the hill on the last dead end road of the northern tip of Coromandel .


Many of the pictures taken in the early stages of the journey are duplicated in the previous Coromandel thread , but this time the weather was a bit better . The 'new' scenery started with Port Charles and I was dissappointed to see that there were no camp sites here because it looked like a really nice place to stop .


I actually never even knew if there was a campsite at Stony Bay but with my van I can stop almost anywhere if need be 


Anyway I'll only post 'day one' on the first page . After choosing a site in the Stony bay camp site [ yes there is one!] I wandered around and took a few pictures . Stony Bay is one of those places where I could actually spend more than one night , I've grown so accustomed to touring and seeing new scenery every day I haven't yet stayed more than one night at a campsite .


I tried a few slow exposures that night though there wasn't enough movement to make it look too good .


and , pushing the limits a bit here ....


Towards the afternoon I had walked across the bay and a bit up the pathway [ tell you more about that later ] to get an elevated view of the place .


And then made my way back along the beach


photovan framed in the distance ...


definitely one of the best campsites I've been to .


In the evening I focused on the reflections of these rocks ....


This guy was napping when I snapped him .


I ended up grabbing the D40 combination for the rest of the trip , especially for the long walk I did on the second day .
This is the 'road' coming in to the site - you just have to hope you don't meet too many cars to work your way around .


This is where I walked to on the second day which is actually where I stayed in December on my first Coromandel trip mentioned at the beginning . I'll post the Day two story later when I get back from my photography drive with my mate ....


I think I'm safer just photographing the water , like from the top of the lookout on the walking track .


Anyway .... day two I decided to walk across to Fletcher's Bay . They rate it as a 3 1/2 hour walk but those ratings are generally for people who put their teeth in a glass of water at night . Another 'local" camper told me you can do it in 2 hours if you're fit so I headed off with only a small pack and the D40 and 18-105 combination .


There were a few streams along the path which wound its way up rather close to the bushy hills with the occasional glimpse of scenery .


50 minutes later I was at the lookout and a sign that told me it was 1 1/2 hours back to the camp . I need to do more HDR with my landscape shots with bright skies ....


A little further on the scenery changed , along with a bit of rain .


Something that really gets to me on these tracks [ ok not so much on this particular one ] , they have a sign marking the track when it is totally obvious where it is and you can't go in any other direction - but when everything is flat and washed away there are no signs . We got lost on one walk at a river crossing onto a flat area with no markers on the other side . eventually we found a dirt road and as we looked down the road we counted about 8 markers in a row .... on the blinking road !


Anyway I got to Fletcher's bay in 1 hour 45 minutes not counting the lookout stop and the only place I ran was on the steep downhill which my thighs have been reminding me about all day today .


I spent 5 minutes resting and taking in the scenery and turned around and headed back . Even though I really like Stony bay and had told myself this would be the first campsite I stay two nights in a row my mind was already ticking over " would I find better scenery further down the coast on my way back ?" .
I got back , rested for 5 minutes and then started getting an itchy accelerator foot and started packing up camp ........

I should have stayed where I was now that I think about it but ....next time .
I started off on the road again .


Second half of the second day , I drove back past Waikawau , not much to see [ nothing 'spectacular' I mean ] , then when I saw Kennedy bay I hoped there would be a campsite there but nothing , just a sign saying 'no camping' .


Then I drove through this strange "settlement" that doesn't even seem to have a name ?
I could have spent a while there photographing the interesting buildings but curtains were pulled back as I slowed down and I didn't want to make them too nervous but I got a few snaps .


this 'ghost house' even had a letterbox !


Then there was this climb on the winding road up the mountain , it was a little nerve wracking finding a spot to pull over that didn't look like it was going to collapse - then two cars met and had to squeeze past each other and the van but I managed to get close enough for a picture that included most of the road .


Then I parked the photovan at this lookout and climbed the hill .


and got a view of Coromandel town from the top .


also got a side shot of the van


I'll post the rest of the story on the second campsite on a new page ....


Anyway , Saturday afternoon I settled for a camping ground in Coromandel since there was nothing spectacular around for a fair distance and I was tired of driving .
I was fortunate to get a quiet site


just around the corner from the busy site ...


and there was a bit worth photographing in the area....


Once I was settled I went for a walk ...


and that's about the end of the story , Coromandel is now my favourite area for 'condensed' scenery .


Photovan does snowy Tongariro !

May 2009 , this was the most recent photovan trip ....

When I realized that this weekend was a long weekend and there was some snow on the Tongariro crossing I packed my photovan

even though the weather was supposed to be turning bad .

Friday night everyone I spoke to told me the weather was going to turn nasty and it would all be called off [ organized walks ] so Saturday morning I resorted to taking shots around the Chateux as the sun was coming up .
There was frost on the tables .


This golf flag gave me a bit of movement to add some mood to the scene .


But this is where I had wanted to be .


Then I saw this bus group getting ready and asked them where they were going . They told me they were going to do the crossing . I asked when they were leaving and she said "5 minutes" and I knew I wouldn't be ready on time . She suggested I drive out to the beginning of the track , walk halfway and then back to my van because they weren't sure of the weather and might be turning back halfway themselves .
I raced back to my van , got to the beginning of the track and started getting all me gear together .


and that's how the story starts , here are two panos I did of the top scenery to keep you interested while I unpack my van before continuing the story .
Needs work still ....


Blue lake ....


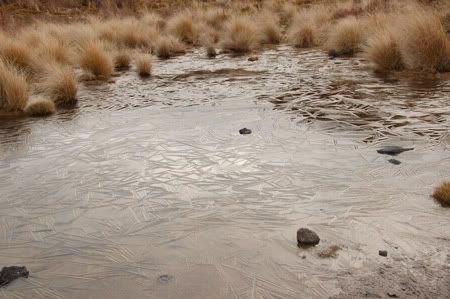
I was really hoping for more snow but once I got walking I was happy enough with what I saw . There was a Tarn with some nice ice patterns on it .


During the early stages of the track there wasn't much snow to see


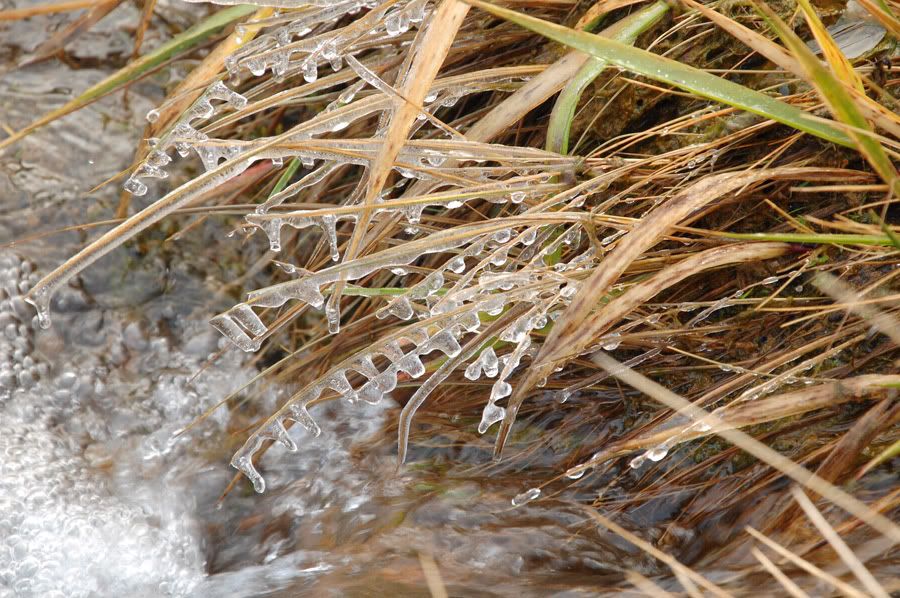
but there was definitely evidence of cold !


Then when I got to the crater I decided that this would be enough snow to give me an indication of what to expect later


and then I started slipping on the ice patches


As I got higher it was easy to see which direction the wind was blowing .


Especially as you look closer ....


Footprints from the previous day were frozen


There was also a guided tour ahead , heading up towards Red crater


This elderly couple in front were doing quite well . I spoke with them and they were walking to the other side and going to have someone collect them and drop them back at the beginning and they agreed to give me a lift as well so happily I knew I could go all the way .


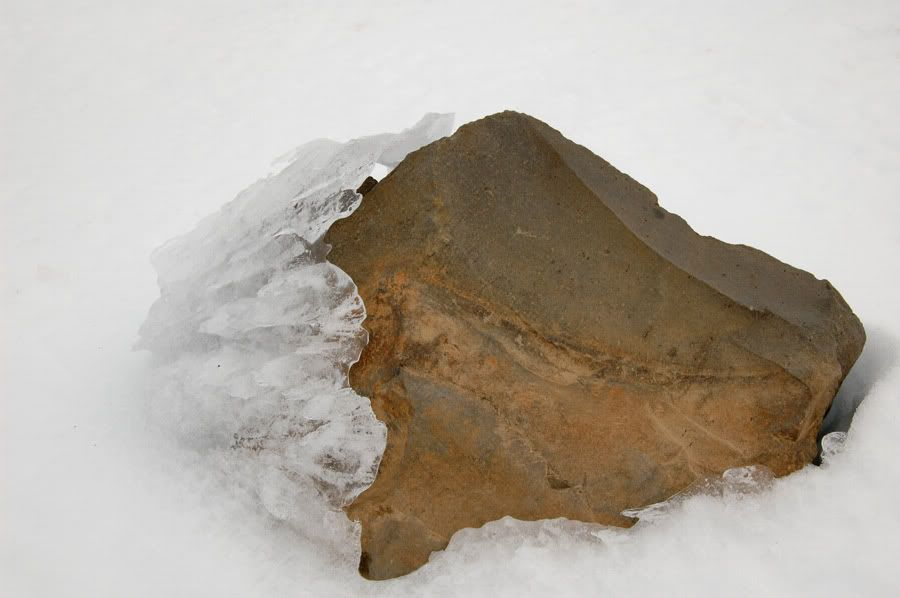
On the top there were more rocks with 'directional ice' on them


In the distance was blue lake which is along the trail .


And walking down the Red crater I could see the Emerald lakes and they looked rather cold .


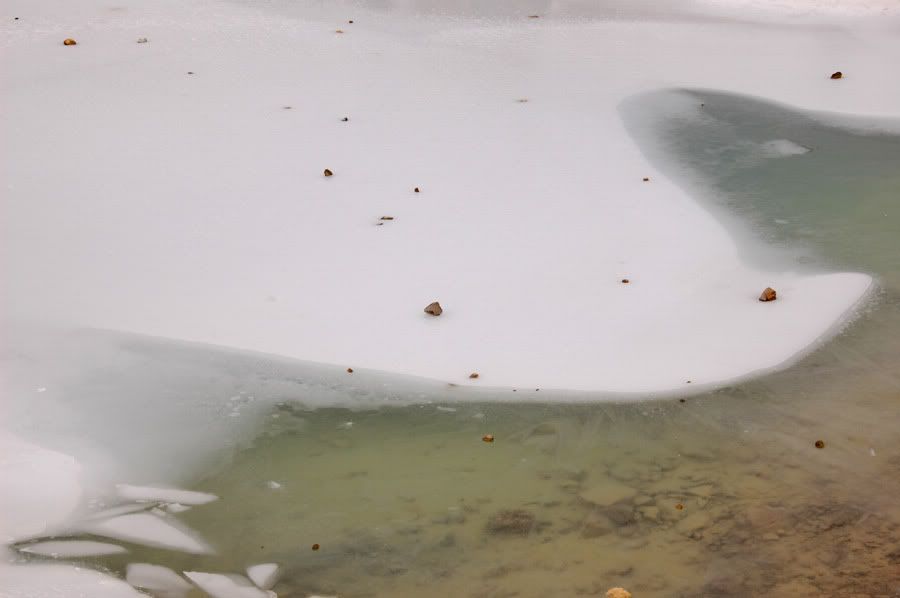
and a few people had thrown rocks on the lake and they had just bounced off the frozen surface ...


I was wearing 'instep crampons' and was quite impressed at how well they did .


Looking back at the red crater and emerald lakes .....


The Blue lake was also frozen


and that's a sign that the track is almost over ....


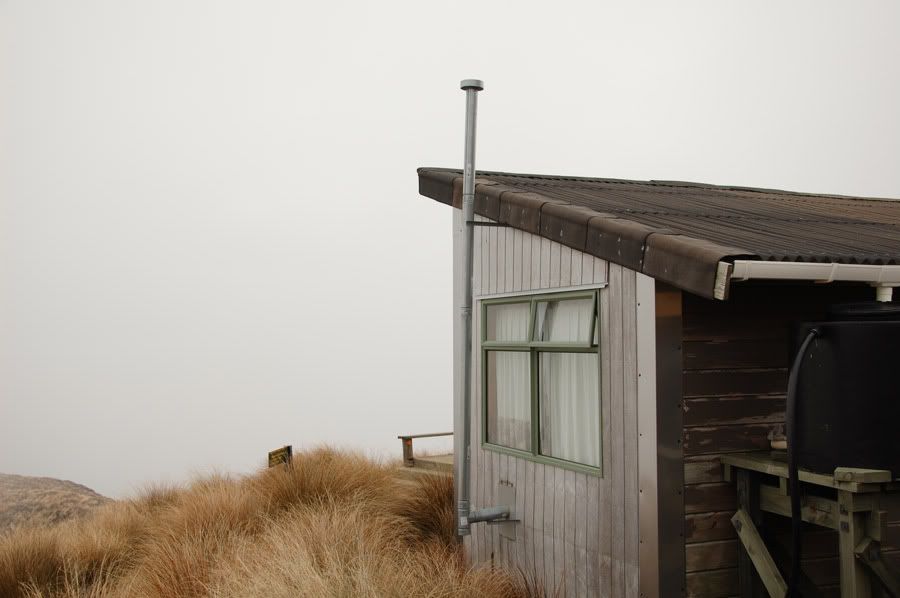
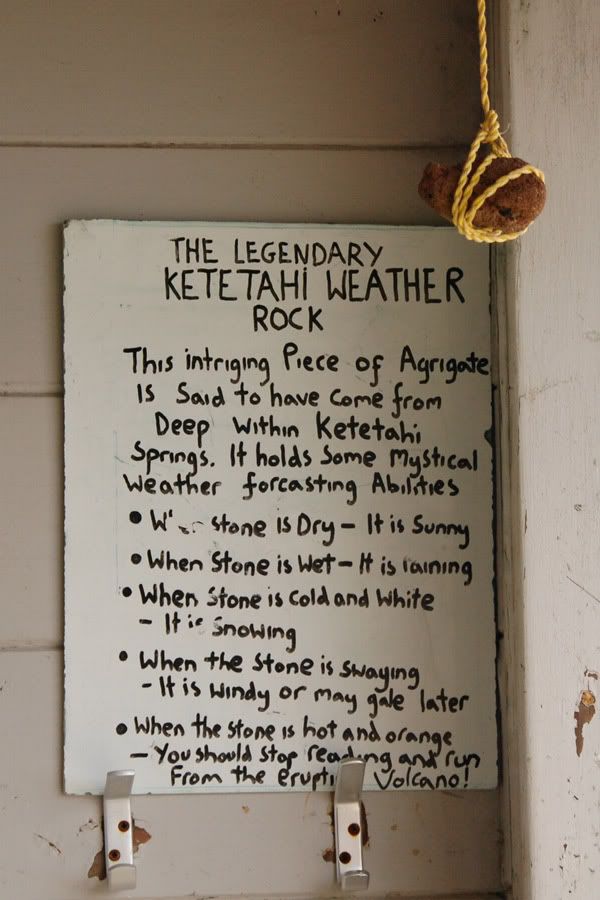
The last stop is Ketetahi hut .


.....where you can see the amazing mystical ''weather rock" !


8.) Photovan does Taranaki

February 5 2008 .....

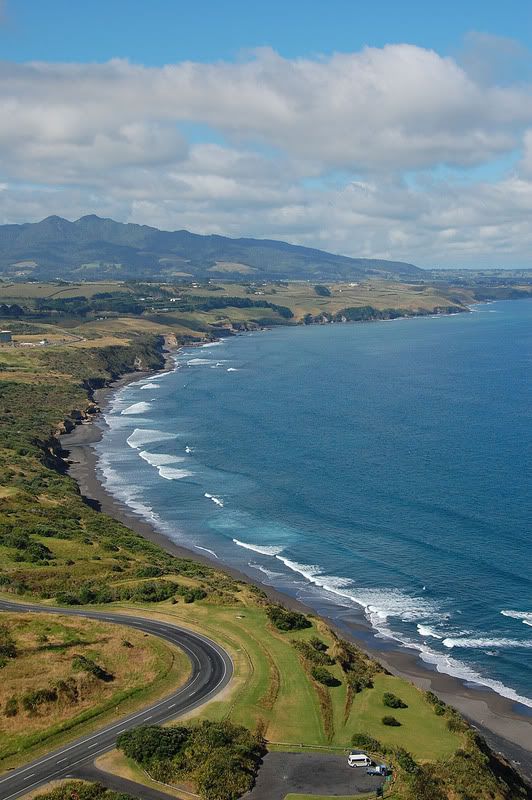
I just got back from my tour around mount Egmont / Taranaki New Zealand ..... the coastline was quite interesting ..


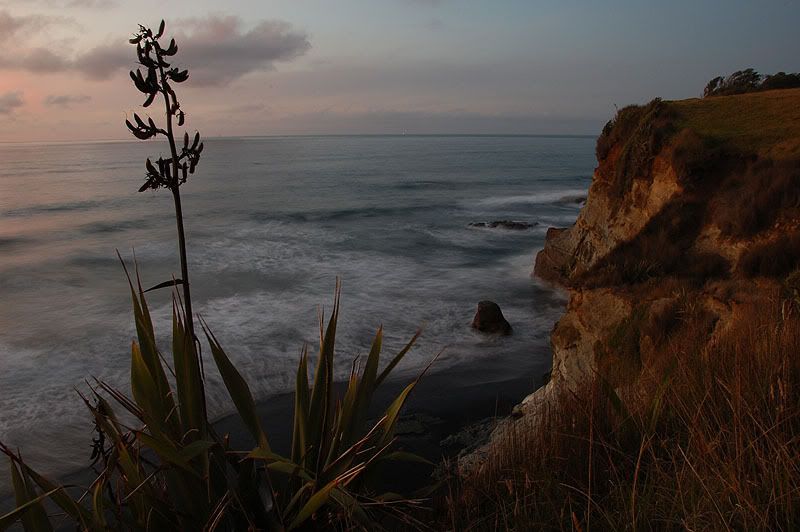
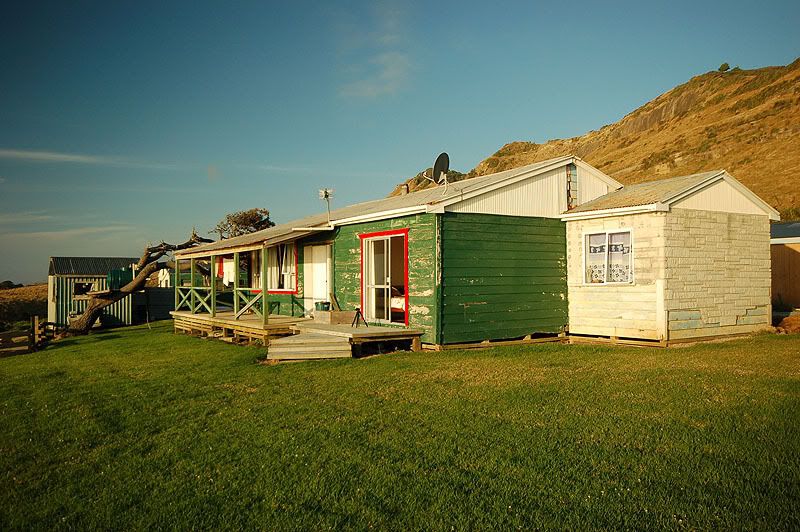
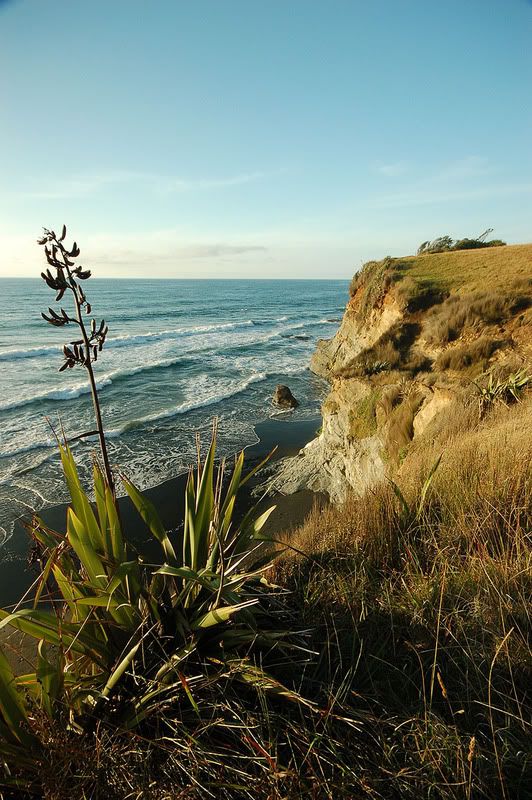
I'm still busy sorting my pictures out , on the first night I stayed at a bed and breakfast rather than in my van since it was next to this nice scenery where some steps led down to my own private beach ....


and a kitten to fill in for the cats at home that I was missing ....


I was looking forward to the sunset .


It looked good in both directions .....


a slow exposure turned the waves into mist ...


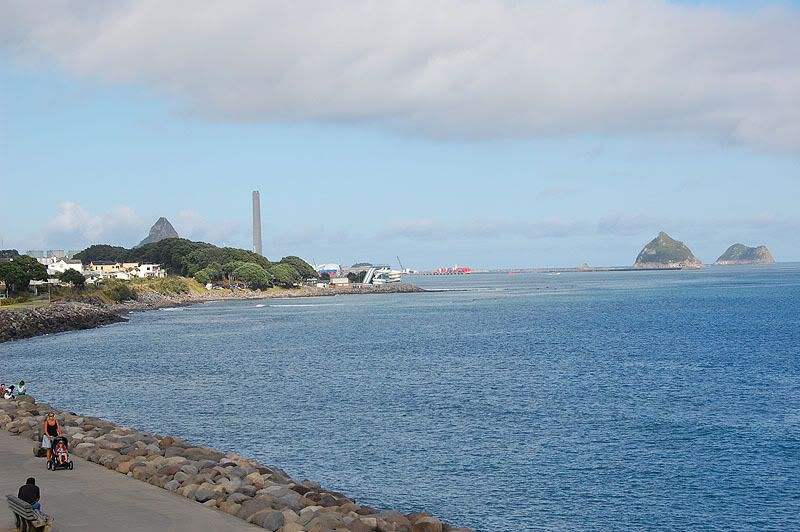
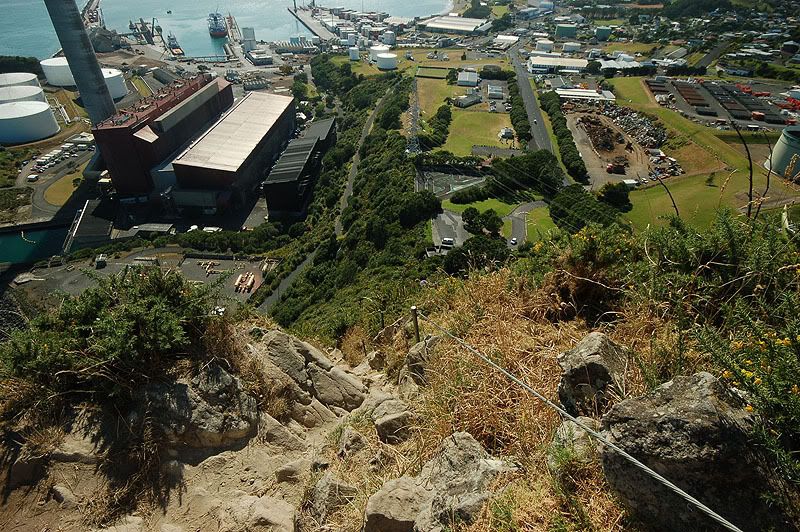
Heading for New Plymouth I saw this rock on the left asking to be climbed ....


With a good view from the top


going down was a bit more scary even though there was a cable to hang onto


The "bed and breakfast " I stayed at is part of a 2000 acre property that extends inland . Apparently Tom Cruise visited their waterfall during his off-time while filming "The Last Samurai" . It had a nice view .


Originally Posted by North of Auckland View Post
That rock looks mental!

Some stunning scenes you captured on this trip mate.
Coming down that rock was a bit scary . Here are a few more form that trip ...

On Monday I was dissappointed that things were clouding over so I would miss the sunset ...


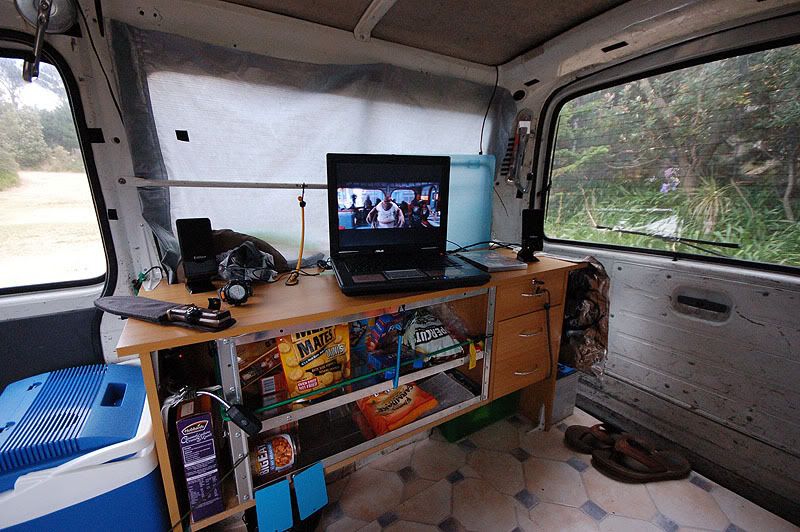
So I went back to the "photovan" and put on a movie rather because the wind was also picking up a bit .


"Obie Wan old buddy ! ....... "

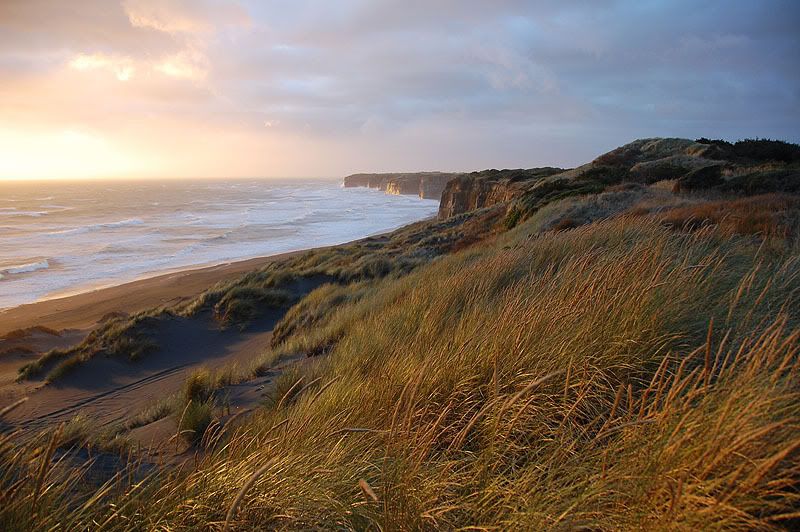
Then suddenly the clouds went pink underneath at 8:15pm and I knew I had about 15 minutes before the sun was gone so I raced off to the beach again , when I stepped out of the van the sand was stinging my legs so I took a few shots out of the side window rather ...


Then I drove up to some long grass where the sandblasting wasn't as severe and ran out a bit and took this shot ....


That last picture was one of the few I ever spent more than 30 seconds editing .....


Of course I made sure everyone saw me enjoying my caramel latte at the tourist stops :smile:


And a few more to move on to the next page ...


and a few more ....["also ran"]


Dawson falls at 1/6 sec , tree as tripod .....


A few more 'also ran ' shots ....

New Plymouth "wind wand "


skeleton of the now extinct Moa .....they were larger than an ostrich and hunted to extinction in New Zealand .


a bit of a steep climb


almost like a skeleton ....


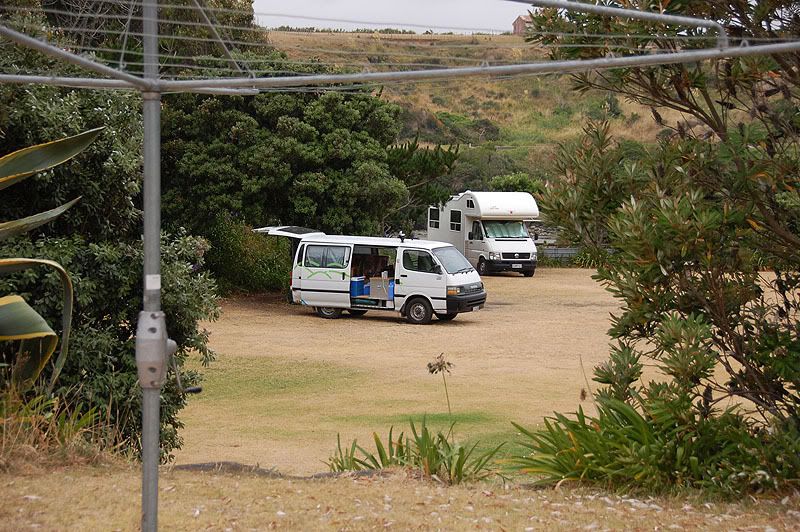
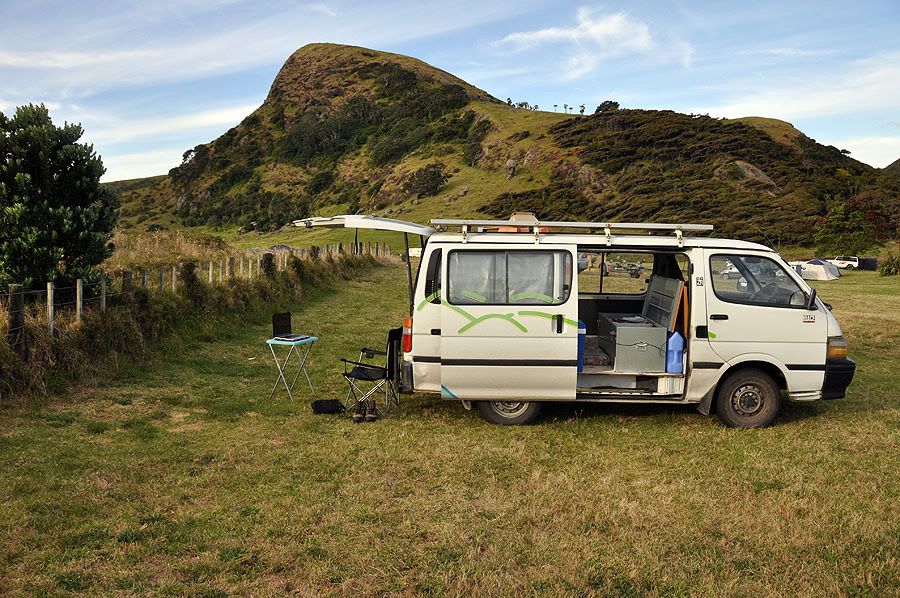
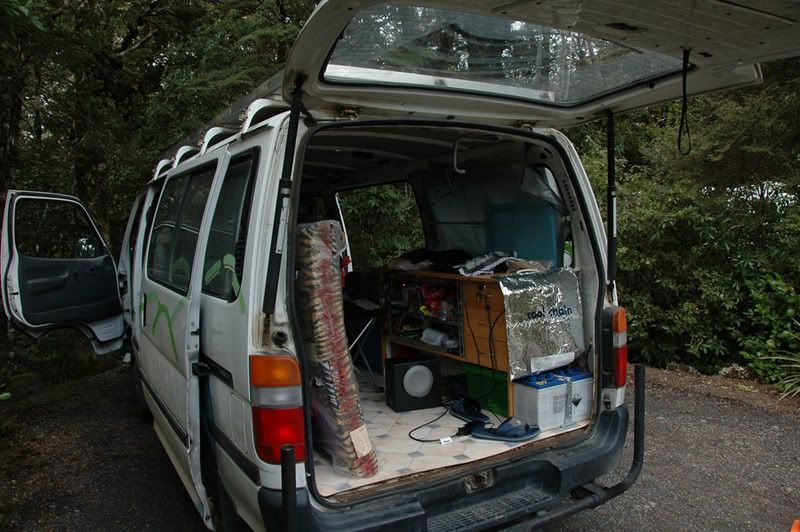
The photovan set up in the crummy little campsite I stayed in Monday night . Must be the cheapest campsite in the country at $8 per night or $9 if you want a power point .
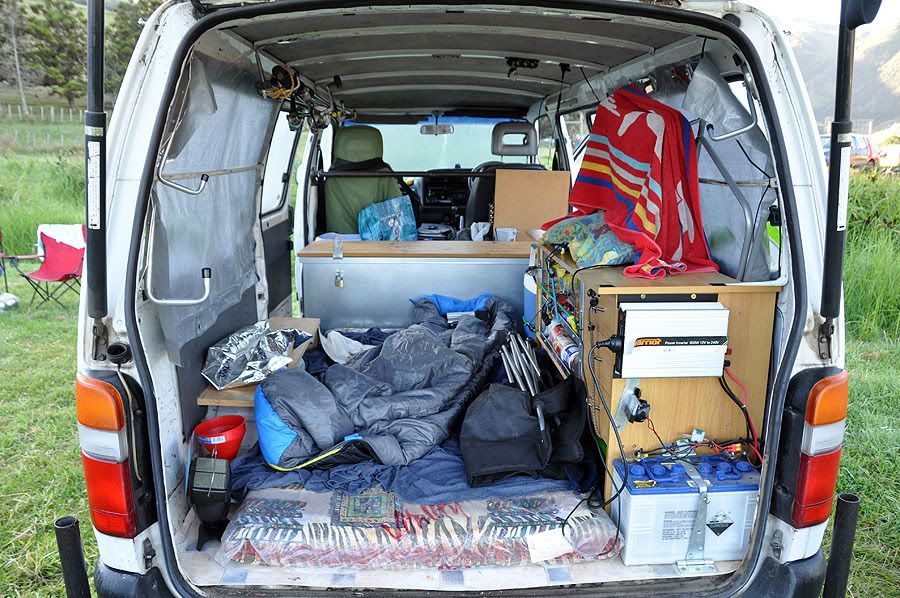
I stayed there because it was very close to nice scenery . The thing on the roof is a solar powered rechargeable mosquito zapper , the 12 volt kettle was boiling away [ after 15 minutes !] and there are two ac power supply's connected to the two extra batteries inside - powered from the alternator when I'm driving .
The mosquito zapper has the advantage of letting you know when it has done its job , all you hear is bzzzzzzzzzzzzzzzzzzzzzzzzzzzzzzzzzzzzzzzzzzzzzzzz .... CRACK , HISS , POP .... then you drift off to sleep again .


Quote from my February 6 post .....

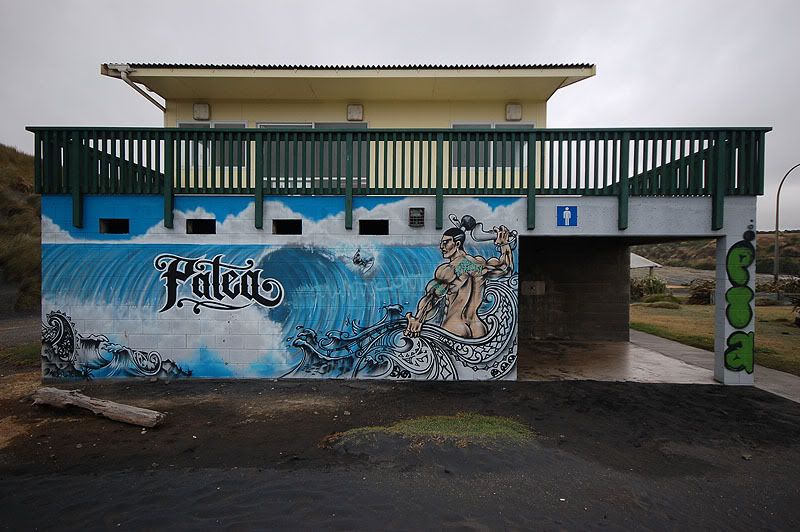
Today I heard news that this abandoned factory burned down [ probably doesn't look much different ] this morning . It was at Patea , my second night's stop . It used to be a freezing works when the town was in its heyday but due to a strike for more pay it ended up being shut down .


7.) Photovan does Port Waikato

January 2008 :
Since Monday was a public holiday here I decided to see something new [to me ] .
I visited "Port Waikato " where the Waikato river empties into the sea on the north island of New Zealand ...... I stayed at this interesting campsite ...


There was a walk onto the sand dunes across the road .


and the sun was at a nice angle ...


Some interesting shapes .


2 minutes down the road was the main beach ...


and some nice rock formations .....


The sun was starting to set ..


nice beaches


and nice rock formations .


did I mention nice rock formations ?


The main beach is a bit to the right of this with no rock formations


behind these rocks ....


As the sun started to set I put the D50 , 10-20mm combination on the tripod and inserted a graduated filter in front of the polarizer ....


Then I tried a gold filter


and a Tobacco filter ....


more interesting than the boring beach on the right ....


but I wouldn't mind spending some more time on the sand dunes in late afternoon sunlight next time ...


the country is very dry at the moment and I haven't seen so much brown grass before in the 6 years I have lived here ....


I've grown rather fond of my Sigma 10-20mm lens ..


There was this one image that made me feel suddenly relaxed .....


and when I checked I had taken it at 1 second hence the smoother water . I will have to do some more slow water shots of the beach , maybe in a few days since I am off till Thursday and tomorrow [ Sunday ] I will be leaving for the Taranaki region and may climb Mount Egmont [ mt Fiji in "the last samurai " ] , then I'll cruise around the coast ...

5.) Photovan does Northland

December 2008 :

Thursday morning I loaded up the 'photovan' for a tour of Northland at the top of New Zealand [ more pictures here http://s107.photobucket.com/albums/m...wns/Northland/. If I load it the day before I can't sleep properly so now I load it on the day I leave :smile: . My first stop was this shed - taken from the van which may explain the tilt , unless it was the angle of the shed that made me lean .....


then I noticed evidence of a plane crash in the other direction ....


I liked the look of this building as well [Dargaville ].


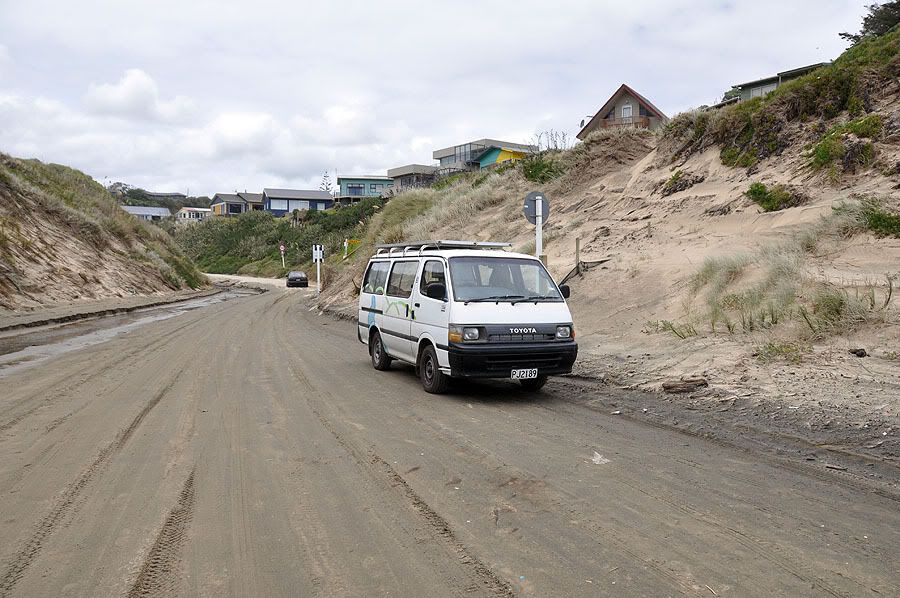
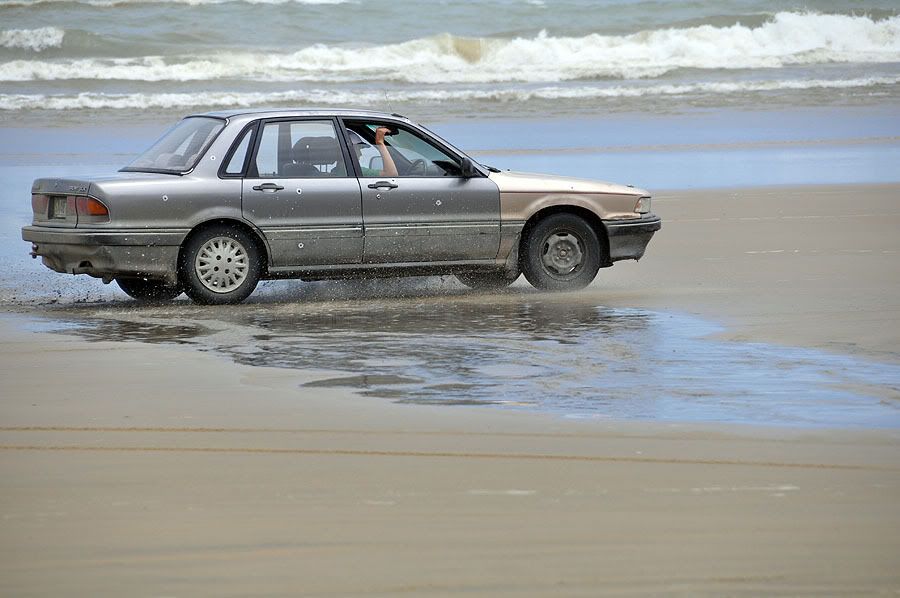
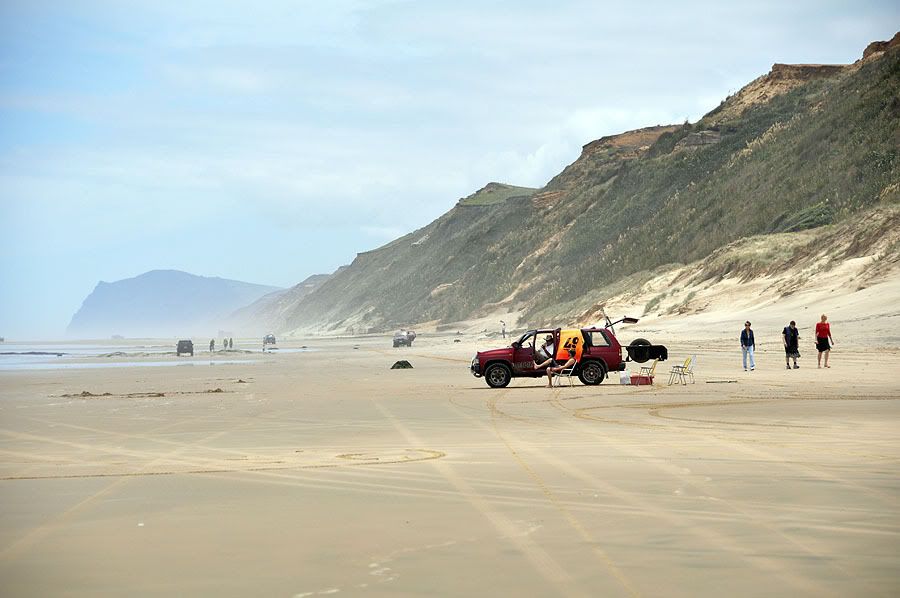
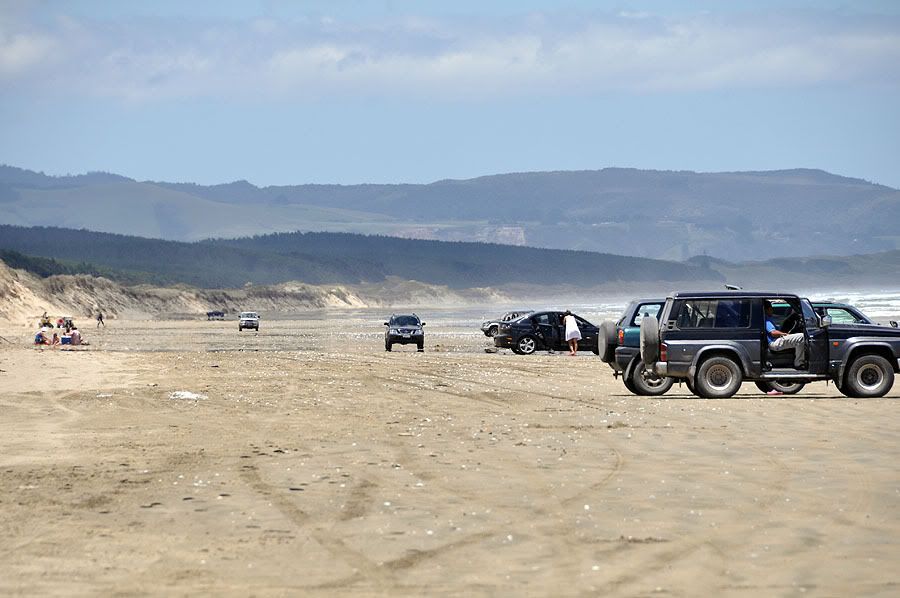
When I got to Ripiro beach I had contemplated driving up the beach instead of the main road . This beach and "90 mile beach " are long flat beaches where cars and tour buses drive regularly . I parked the van and took a walk to check it out .


I decided that I didn't want the worry of knowing the underneath of my van could be coated with salt water and continued on the main road 


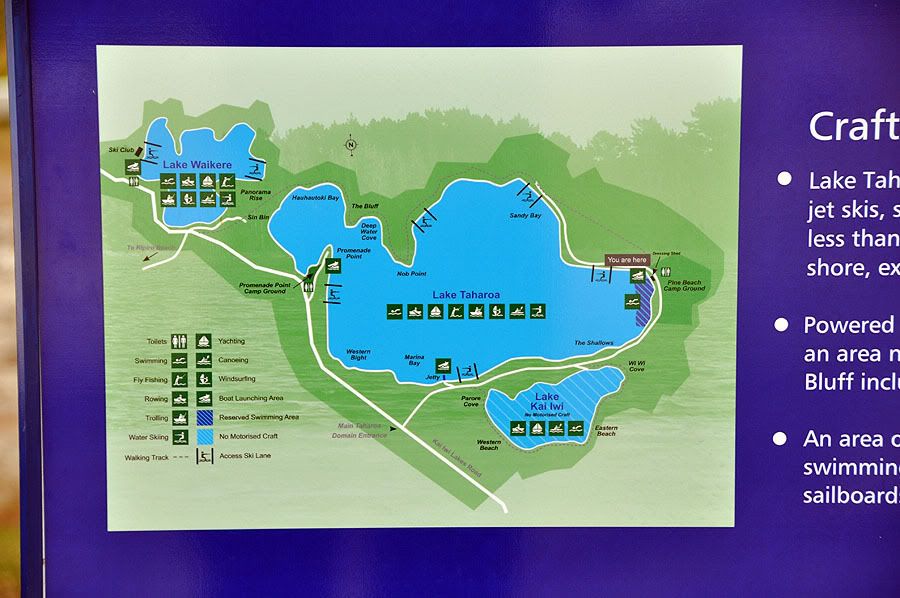
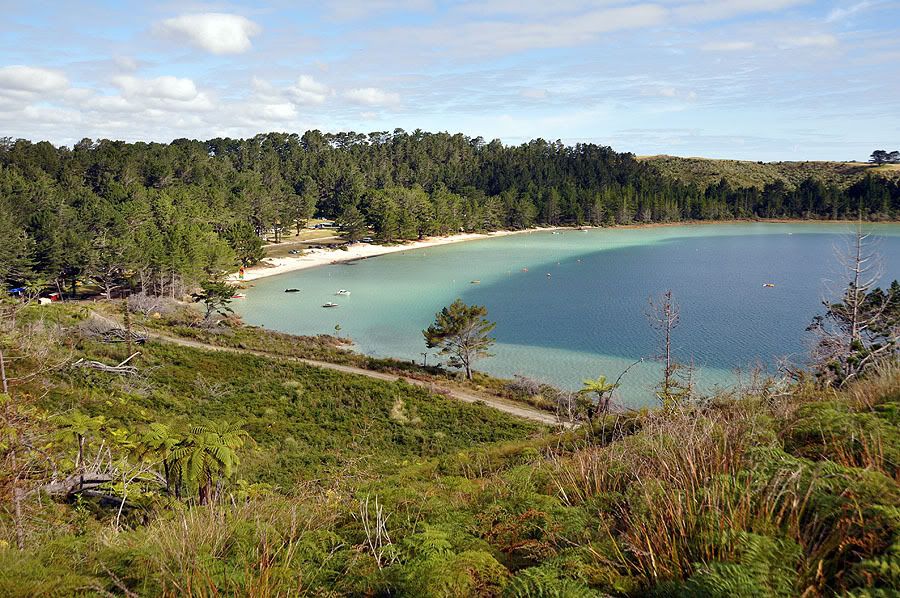
I took the smaller back roads and came across a sign to the "Kai iwi lakes " and decided to head there . I decided the campsite looked 'acceptable' despite the lack of hot water .


My ankle still hasn't recovered after falling off a rock while photographing a wedding last saturday but I decided to exercise it and take a walk/limp to this pond full of dead branches .


I managed to hobble all the way to the top of the lookout , this is the view back to the campsite .


There is a large shallow area of water that's warmed by the sun and so I had no real excuse not to take a dip - it was either that or a cold shower - if you venture too close to the deeper part the water gets freezing cold . While I was up there I saw this couple taking advantage of a photo opportunity of their pram 'stuck' in a pool of water .


Then the sun started to go down and the colours started changing .


And that was the end of day one ......

Day two , first stop "Omapere" .


When I finally got to 90 mile beach I was still contemplating whether I should be adventurous and drive up the beach because I noticed a few 'car wash' places along the way where I could clean my van afterwards but then I saw this sign .


and decided to leave it for the 4X4's .


I liked the look of these trees as I carried on towards Cape Reinga -


I did have pretty good weather the first two days . One of the reasons I don't like driving on the beach is that it destroys a fair amount of life below the surface as well - they are apparently planning on banning it totally in the future .
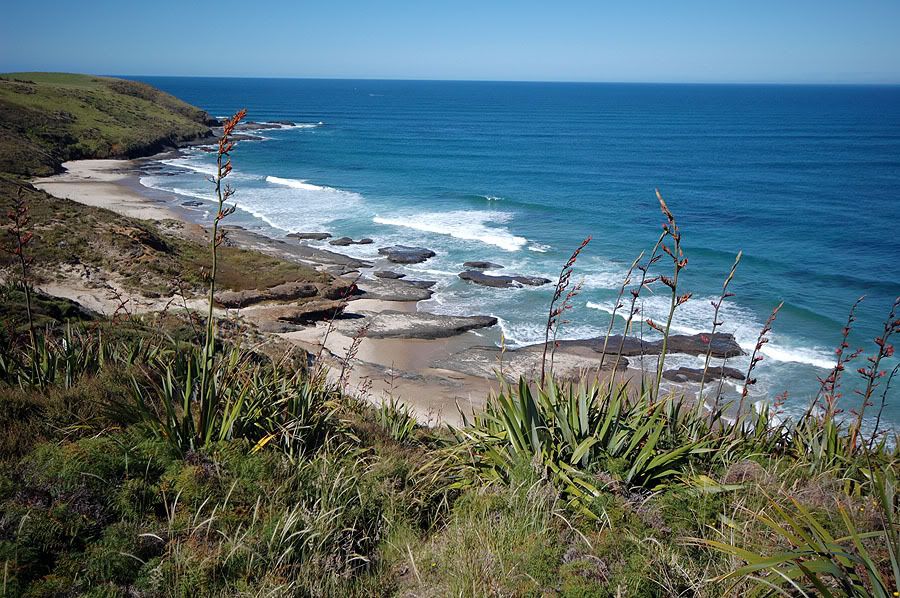
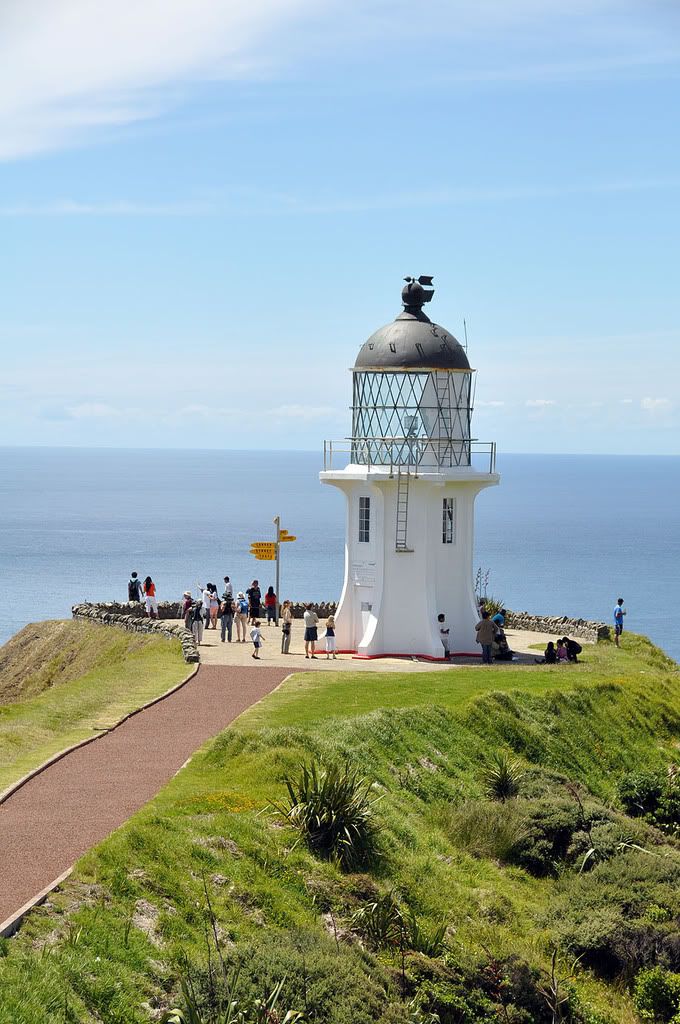
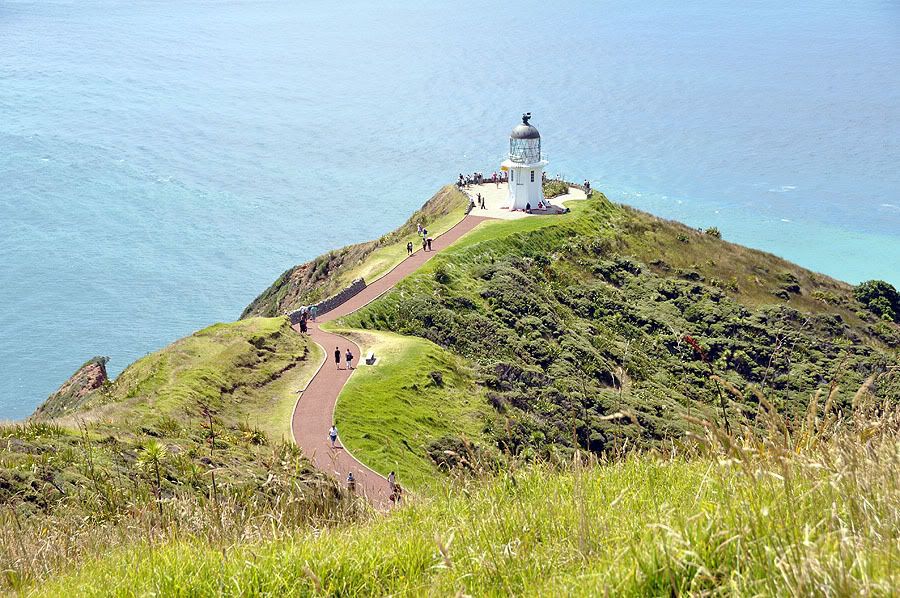
The weather was still good when I got to Cape Reinga - my van loves those gravel roads- I overtook quite a few cars driving like old ladies on that last bit of road ....


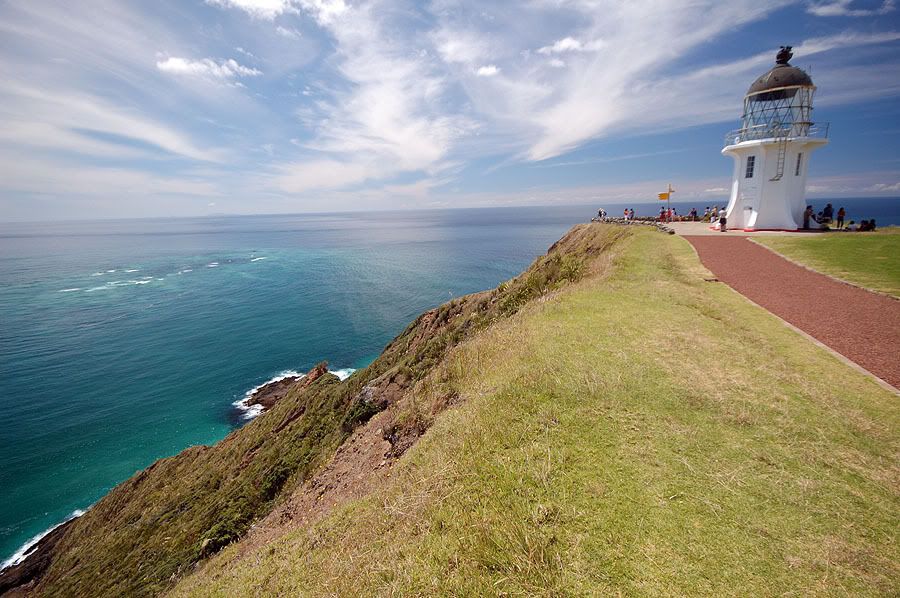
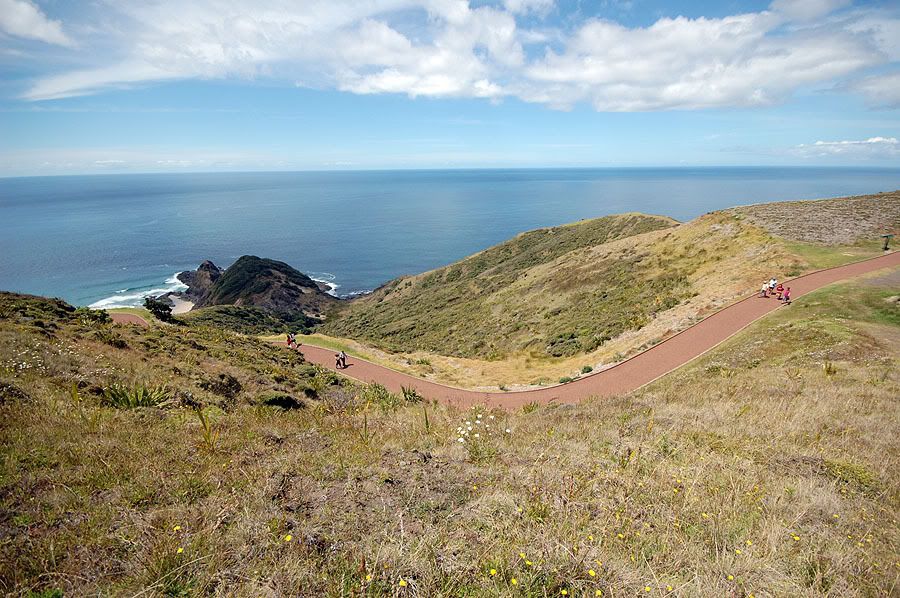
There's normally quite a trail of people walking to the lighthouse .....


Then , on the advice of someone I met the previous night I headed for Spirits bay which supposedly had good scenery . It was ok when I got there so I set up the photovan - this was an evening shot - watching a movie while I wait for the sunset .....


This hill and its reflection were showing a bit of promise for later pictures .


like this .


and this ...


as people gathered to wait for the sunset .


and the clouds formed a circle around the exact spot the sun was going down .


and the setting sun painted them from the inside ....


But I'm getting ahead of myself now - there were a few other shots I got before the sunset ....


And to me this is a mixture between a seal and a bird trying to break open a shellfish of some sort ......


I was interested in this dinosaur head sticking up and got closer to see if it was rock or wood .Then I saw the little 'bowl' behind it and remembered why it's called Spirits bay - something to do with people buried a long time ago ....


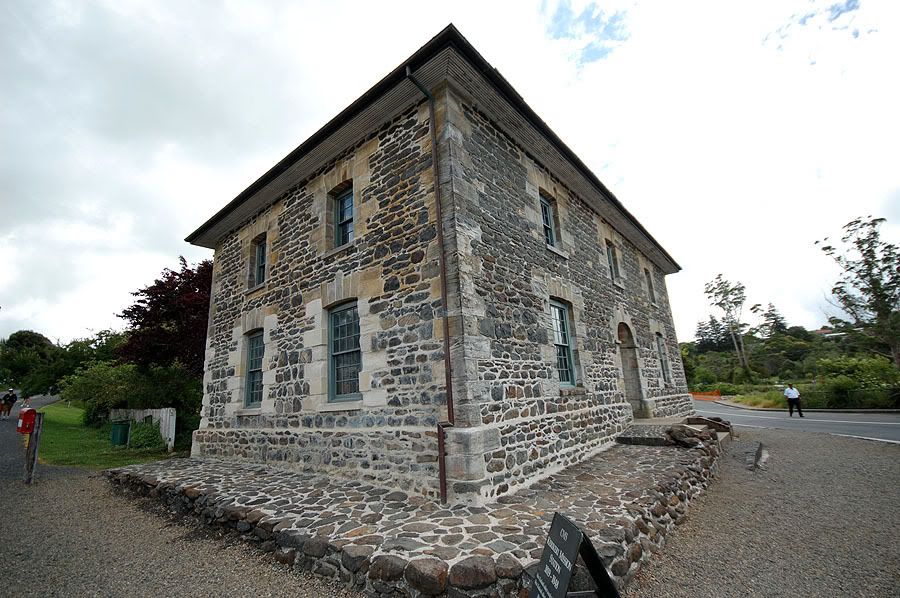
Day three I headed south again for KeriKeri where the oldest building in the country is situated - the old stone shop which is also a popular tourist destination that sells some interesting items [ including 3 legged cooking pots made in South Africa ' potjie pots' as they call them ].


The 10-20mm lens was useful for getting close to eliminate all the people clustered around it .


Not to mention all the tourist buses .


But that was only after driving past various bays .....


stopping at various beaches .....


more boats ....


all this after driving past "Kauriland" [ I'm doing things a bit backward now ] at Awanui where they have crafted furniture out of Kauri trees supposedly buried for 45000 years . I parked the van next to one of the smaller trees to compare size ....


Inside I found this couch that could be bought for $120 000


And then there was this spiral staircase carved out of the middle of a tree


There wasn't a price tag on it


flowers and boats .....


more 'charismatic sheds '


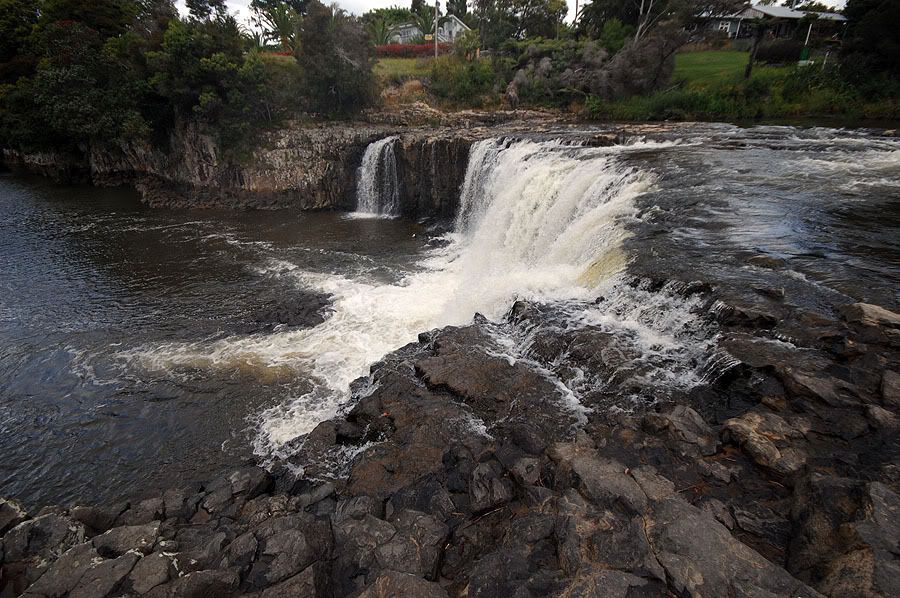
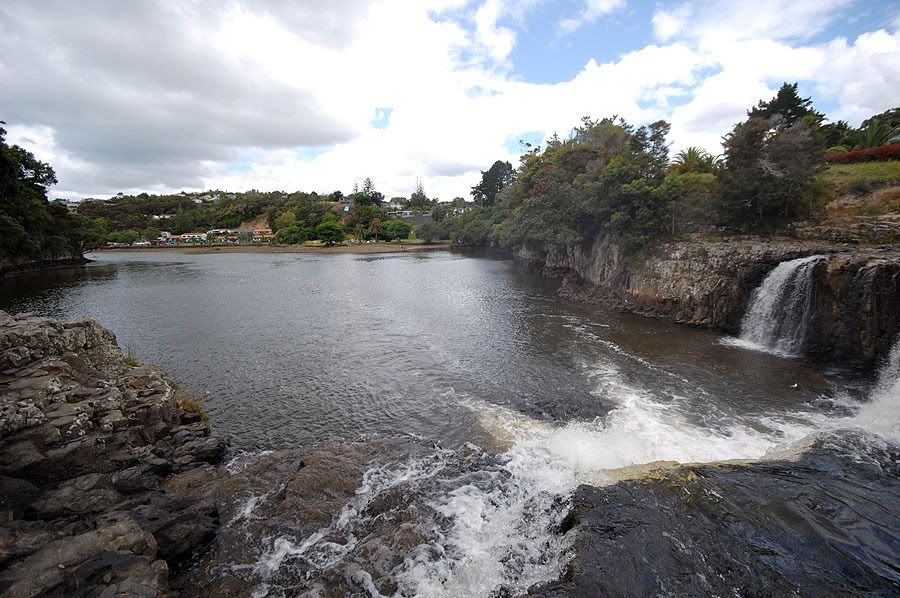
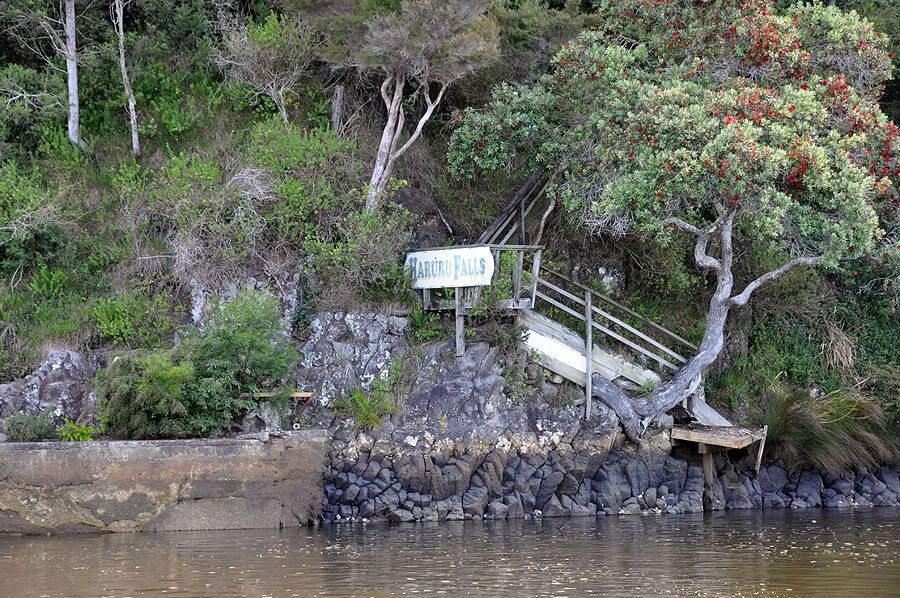
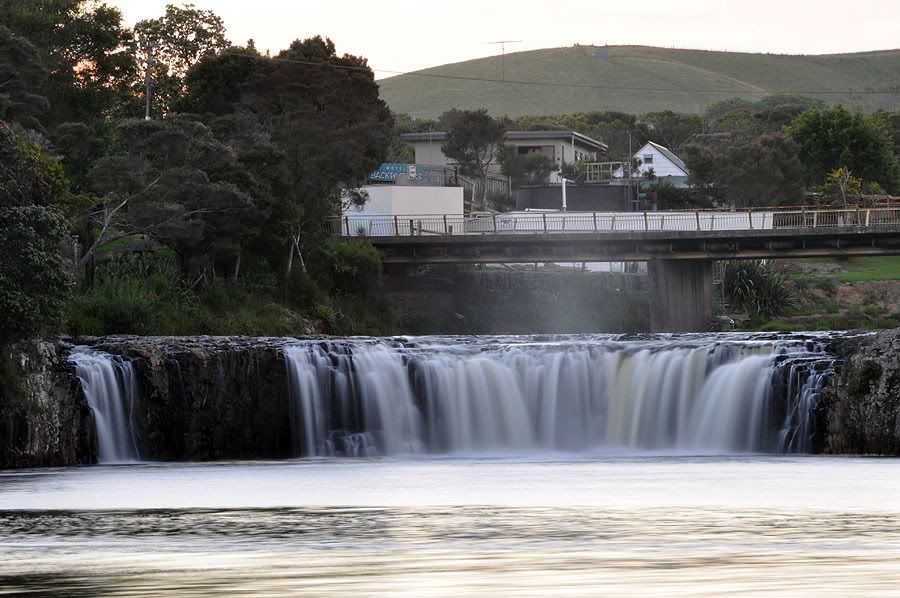
Anyway , after Kerikeri I headed for Paihia and went past Hararu falls 3km out of town ....


in the distance was a campground that looked a bit too civilized for my taste ....


so after taking some pictures in between the tourist buses I headed back into Paihia and my back started burning for no reason - it turned out to be a bee that had found its way in behind me and also wasn't too happy with the situation .
I wasn't too sure what effect the sting would have on me and decided that since it was already 3 pm I may as well splash out and stay in a 'luxury' campsite - the one I had seen from the top of the falls .

The first night at the lakes cost $20 to camp- no hot water , the second night at spirits bay was a $7 fee deposited via an envelope into a box at the entrance and interestingly this place was only $18 for the night - $9.70 for one hour wireless internet [ vista on my laptop didn't want to connect so I used their desktop and extremely small screen ] .
talk about luxury ! compared to what I had been through that is . Hot water , swimming pool , kayaks , bar , restaurant - hamburger and chips for dinner...... I'm not getting soft ! it was either something I ate or the bee sting but I had quite bad chest pains for a while and decided that eating/bathing/swimming in this more luxurious camp would be my medical treatment ...


and a shot of the falls after sunset ...


The last day the scenery was very much the same and I decided to head straight home only stopping for a few snapshots from this lookout before Auckland ....

Photovan does Corromandel

December 2008 :

I just got back from another tour in my photovan http://www.nikoncafe.com/vforums/sho...light=photovan , Last week I toured Northland and yesterday I started my 650km round trip up the smaller ''horn'' of the north island . I'll post one picture at a time to limit the size of the pages .

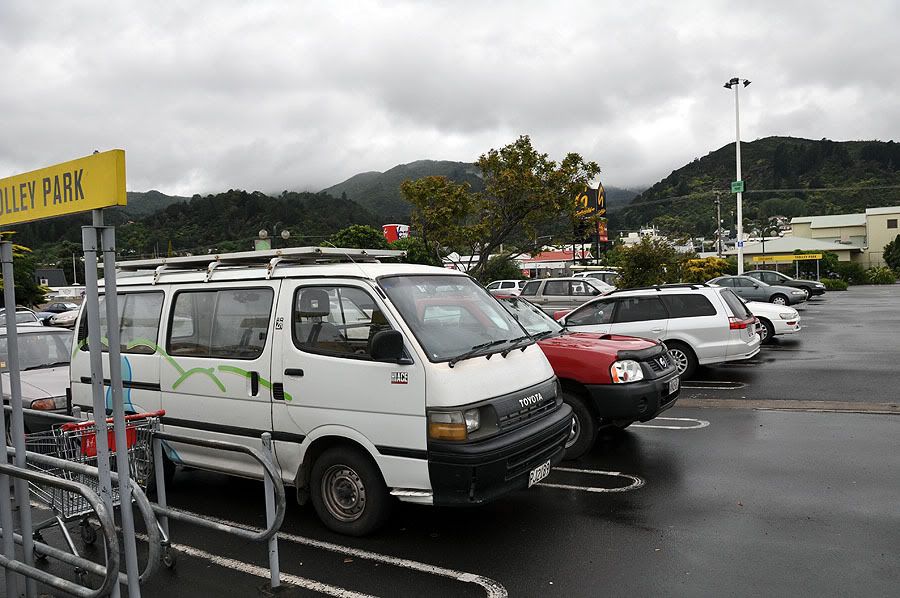
The weather was pretty dismal to start with and I wondered if I had made the right decision to keep on going - my first stop was at Thames shopping centre .....


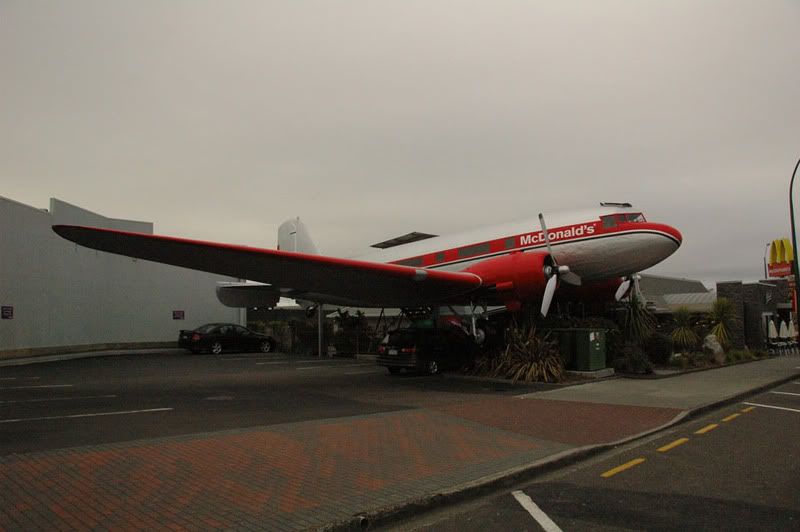
I went into the McDonalds [ no I don't eat their burgers ] , and had some breakfast .


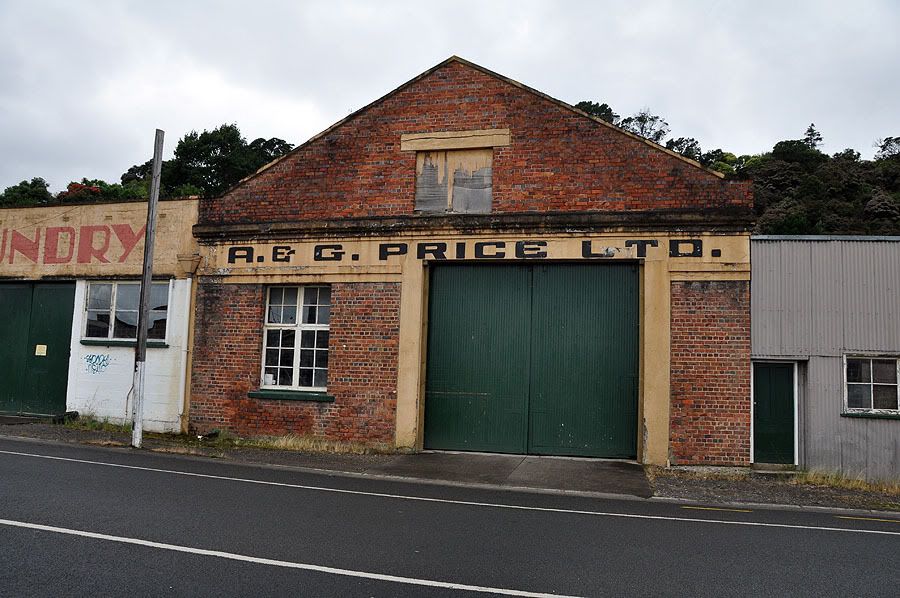
There's always an interesting old building along the way ....


Then the road starts to hug the coastline most of the way


And there are many rock formations in the sea along the way


The weather was still looking rather dismal as I headed towards Coromandel town


There are plenty of smaller bays and towns along the way ....


Just be sure to apply your parking brake when you stop to take pictures


The road eventually becomes gravel


And still cuts through many small bays and beaches


Then Port Jackson appears around the corner - my planned destination


Layers upon layers of people , tents and caravans - this would definitely not be where I stay for the night


So I checked the map - there was another 7km more of road before it all ended so I kept heading for Fletchers bay


There were a few small river crossings preceded by these signs .....


See the 'Holden' added in ? [ Chevrolet/Opel , I think it's the same thing ] . There is a lot of competition between the two cars because of the races they hold in Australia but anyway as I came around the corner there was a Ford van chugging along - I had to go extra slow for a while until he pulled over and I could resume 'normal' speed


And then the clouds started to part and sunshine and blue skies appeared ....


I think the scenery is better here than at the top of Northland


And a few more before I get some sleep ...


bored stiff .... [ watching cricket !]


Two grumpy faces ....


and tomorrow I'll finish the story .....


It was a good trip but I'm a bit tired of driving now , about 2000 km in the last week . There were quite a few photo opportunities but most of the good stuff happens as the sun starts going down then I wander around waiting for it to dissappear .....


Once the sun was behind a hill I snapped this shot of some low cloud


The next morning I surveyed the mess I had made so far


... and strapped the 'kids' in for the rest of the trip


Since there was actually an empty parking space outside my favourite hardware shop I grabbed the opportunity to stop and have breakfast in Coromandel town - after buying another machette from this shop - they have a large selection and 4 years ago I bought a decent one here so I had to pop in again .....


and then over to the cafe for pancakes banana and bacon breakfast [ with maple syrup ]


And over the hill to the East coast


and more bays and towns ..... and flowers


does this also make you feel seasick ?


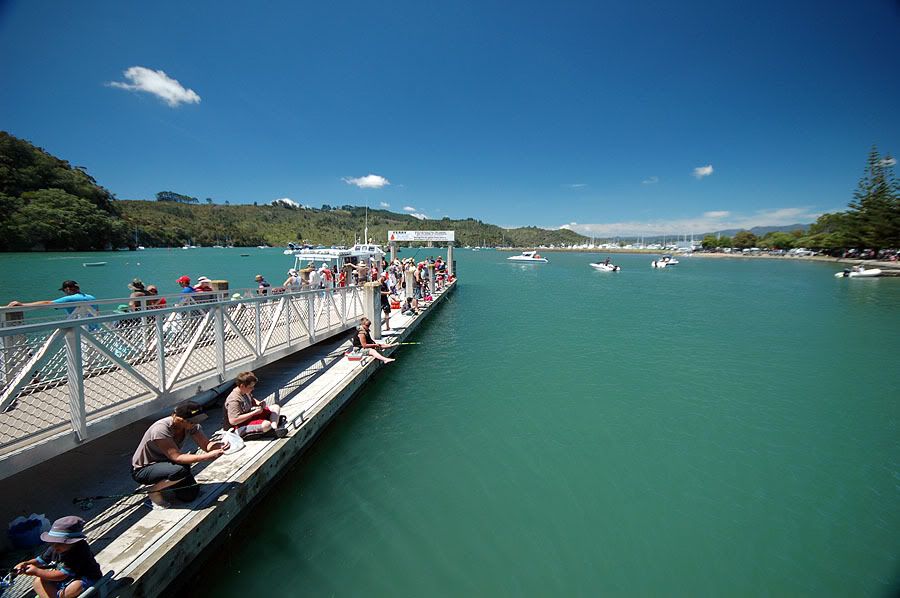
Tairua is a scenic little town where they were holding a fishing competition for the kids - it's one of the few towns where I wouldn't mind spending more than a day walking around snapping pictures .....


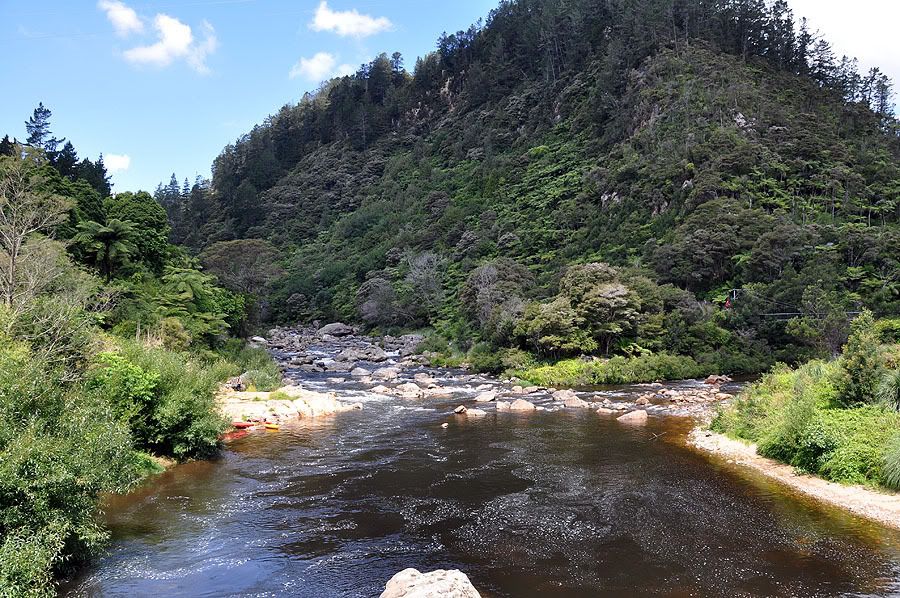
From there I headed for the Karangahake gorge - one of my favourite spots in this area


It used to be a mining area but the scenery is really nice and there are a lot of walks in and around the mountains


and some bush


and tunnels cut into the rock


and along the side of the mountain


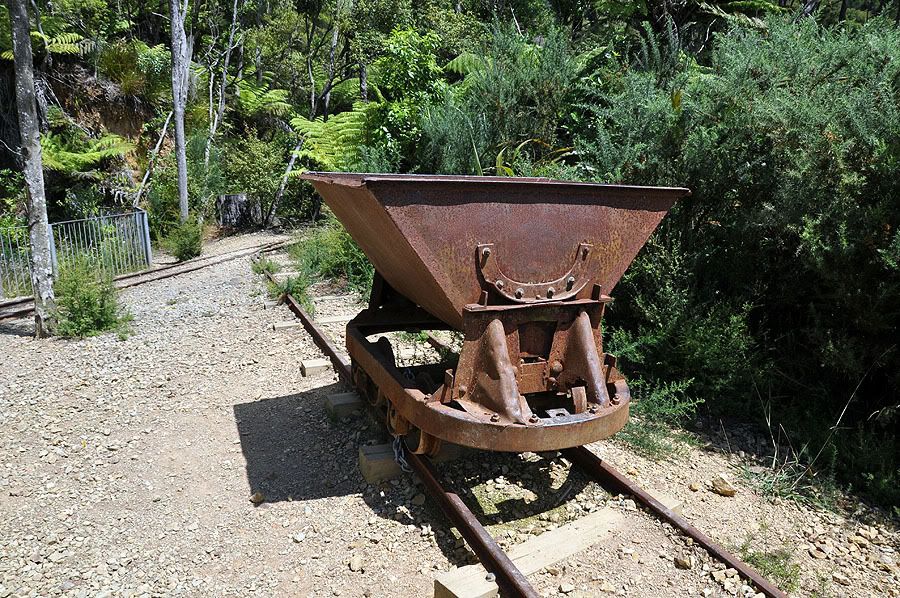
and old mining gear all over


Next time I'll take a torch and a day to explore the deeper tunnels - with my tripod of course .....


any way that was the end of that tour and some of the 450 pictures I took - there are a few more here .... http://s107.photobucket.com/albums/m...andel/?start=0


4.) Photovan does Ruapehu

Sept 2008

Last weekend I took my photovan to Ruapehu with the idea of spending some time walking in the snow . I had thought of naming my van 'rattle and squeak' but after seeing how much oil it uses in relation to petrol I think "two stroke" is more appropriate, though it uses twice as much fuel as my pulsar it pays for itself in other ways , it cost me $15 a night to stay in the campsite compared to the $200 a night the motel would have cost .[ for the first time ever all pictures were taken in manual mode ]


The campsite was next to "The Chateaux'


There are quite a few pictures so I'll add one after each reply to speed things up a bit .
[all images here http://s107.photobucket.com/albums/m...downs/skitour/
First I made contact with a company that arranges transport for the Tongariro crossing http://www.tongarirocrossing.org.nz/...FRGiiQodTk7xeA , 70000 people walk it each year but not in the snow which is my next goal . The company made plans to leave 7am sunday morning and I drove to "Turangi" early . The sun was just coming up .


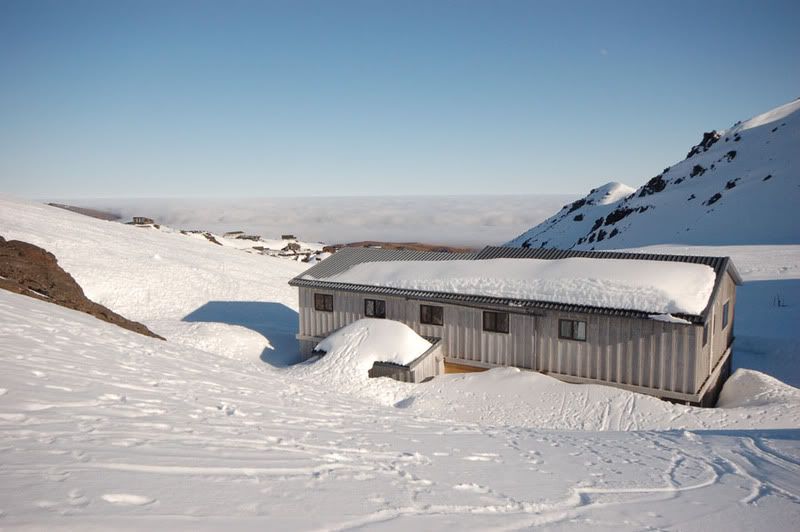
After I arrived they phoned me to tell me not to bother driving over because the weather ''had advanced by 12 hours'' and the afternoon 'might' not be good weather - they have to take full responsibility for anything that happens so they were being safe . I decided to do something a bit more dangerous , I took my $1 skis up the mountain but first went for a walk to warm up ...


"mount doom" in the distance ....


There was cloud over the rest of the area


and the chair lifts fired up ...


So I went and got my skis and spent my third day in as many years skiing - the slope seemed steeper than last year in the morning but by the afternoon it was a bit lame but I decided to save the steeper slopes for another time . Anyway later on someone told me the antique skis I was using probably wouldn't release properly if I crashed


As my story progresses I'll add pictures from the thermal park ...


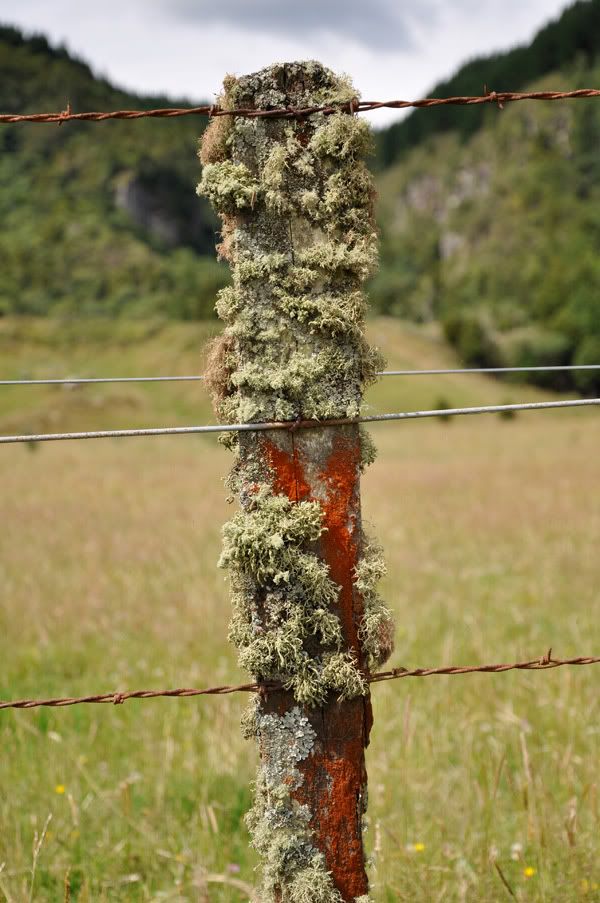
along whith the various growths on the trees and rocks


some slow exposures of the golden rapids ...


time exposures of the traffic at night


I want to edit this one , give the blades some rotation blur ...


add a few from the cave ...


my personal favourite the bubbling mud ...


and share the story of the Tawa lakes walk past the falls .....


I enjoyed it when the sun was going down ....


A lot of snow has meleted but the ski fields are still open now in spring due to the amount of snow left - it's pretty hard skiing on what's left [ well actually it's pretty hard for me to ski on anything !] , when I fell the second time on the same place it was almost like sliding on gravel .


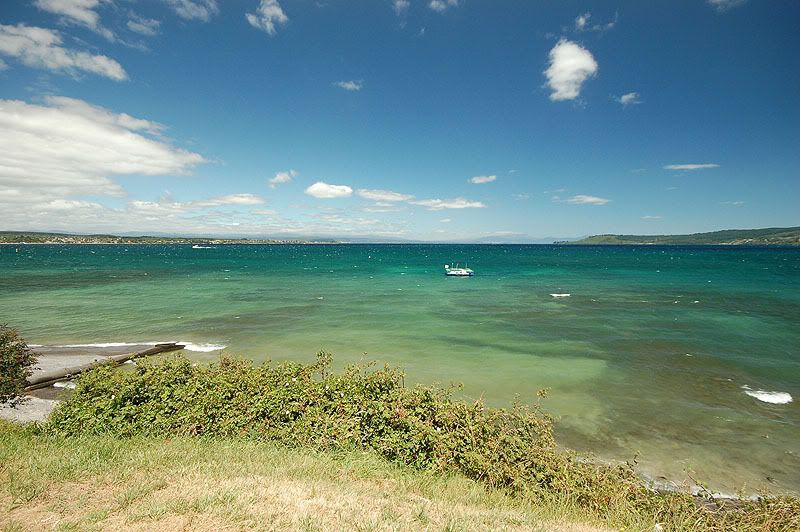
this was a wide angle shot next to lake Taupo ....


There's no shortage of things to photograph , whatever direction you go in . It was my first stop at this particualr thermal park ...


which included a cave for good measure this time .


the water was really warm but there was a "no swimming" sign .


On Monday I decided to walk to the Tama lakes , I had walked past the turnoff before but never visited them .

First comes a walk through the trees which all have stuff growing on them ...


The marshlands are protected by boardwalks ....


I suppose this could be called a sign when you get to the lower Tama lake


The lower lake ...


the 'wind shelter ' at the upper lake which is another 20 minutes up the hill ...


"X" marks the spot , you are here !


There is a lot of colour even amongst the rocks .


and almost every tree has something else growing on it ....


The one called "old man's beard" is actually a bit of a pest and sometimes covers the entire tree ....


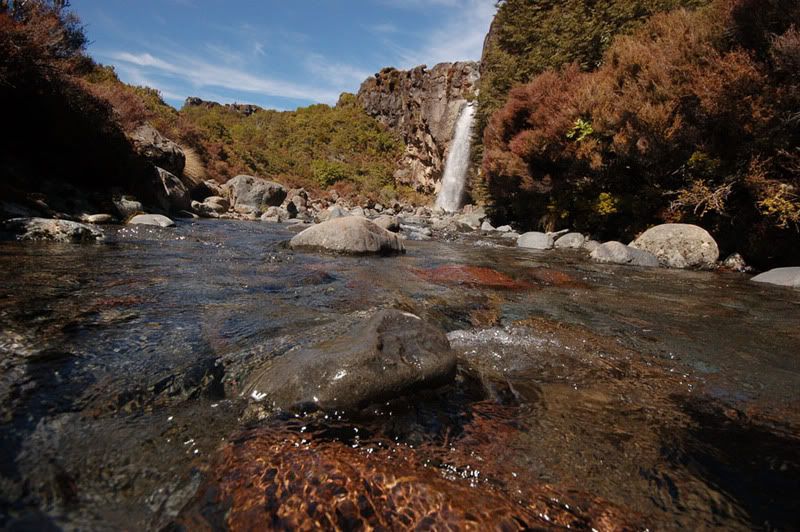
Coming back from the lakes I stopped off at the Taranaki falls ...


and had a look from the top as well .....


3.) Photovan does Raglan rally fun .

August 2008....

Not really a 'travels' thread but this is where the photovan lives
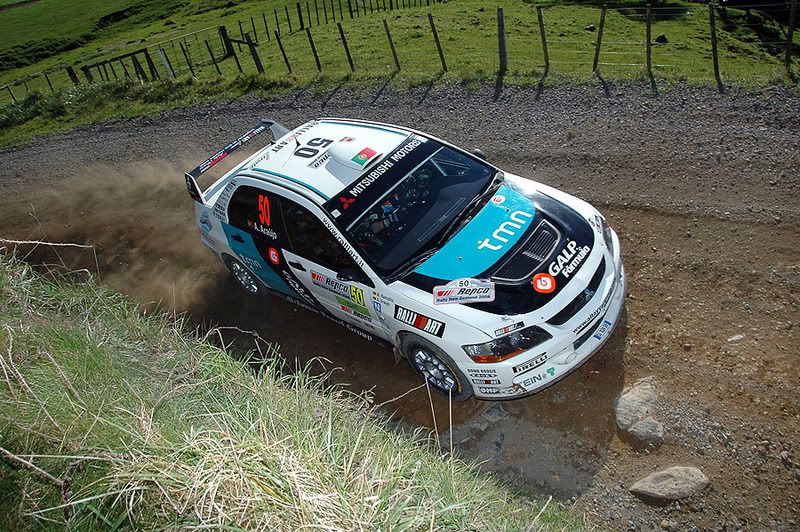
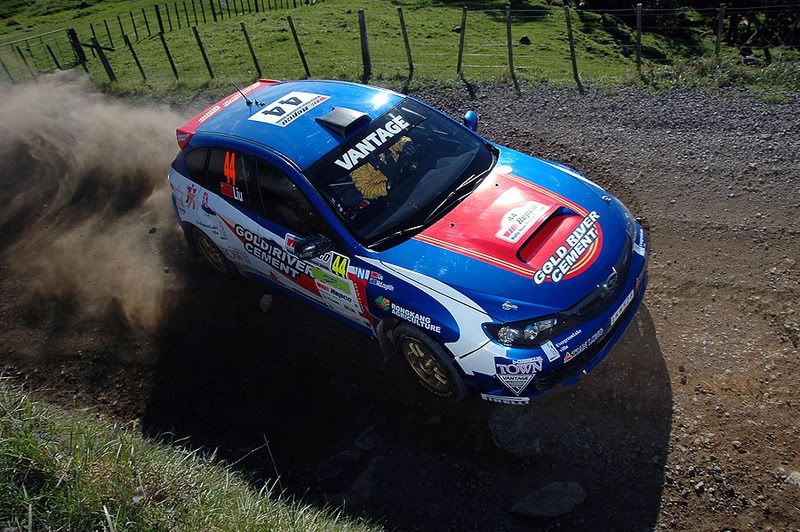
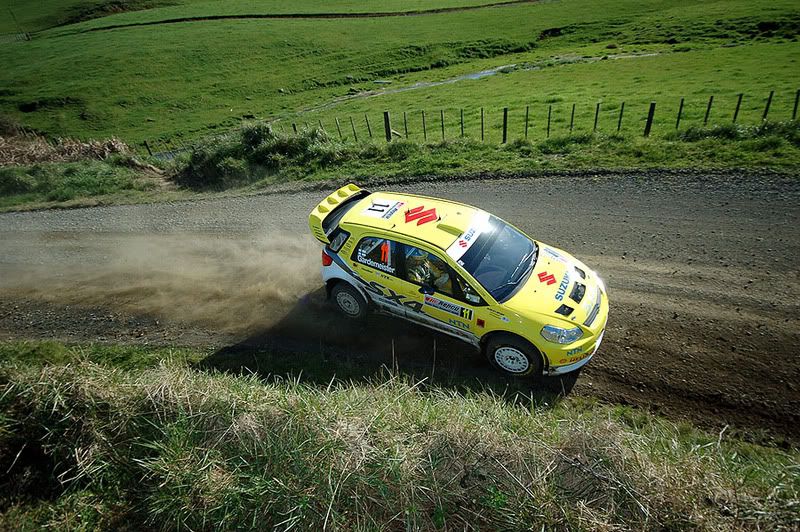
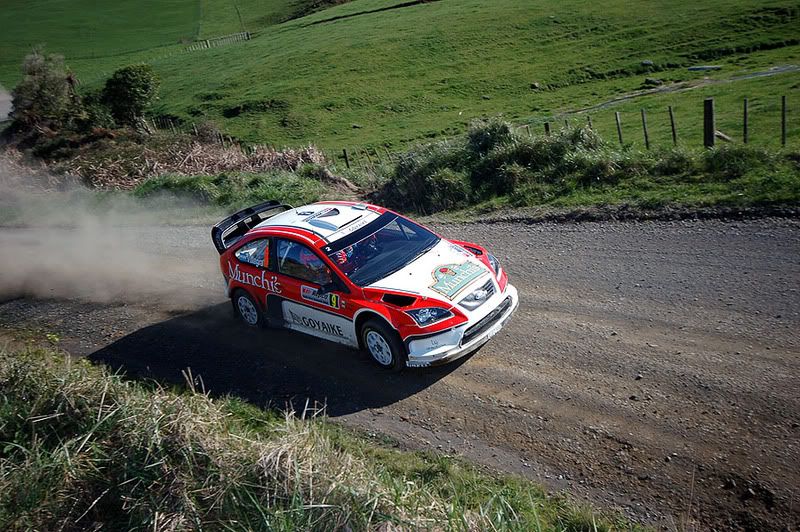
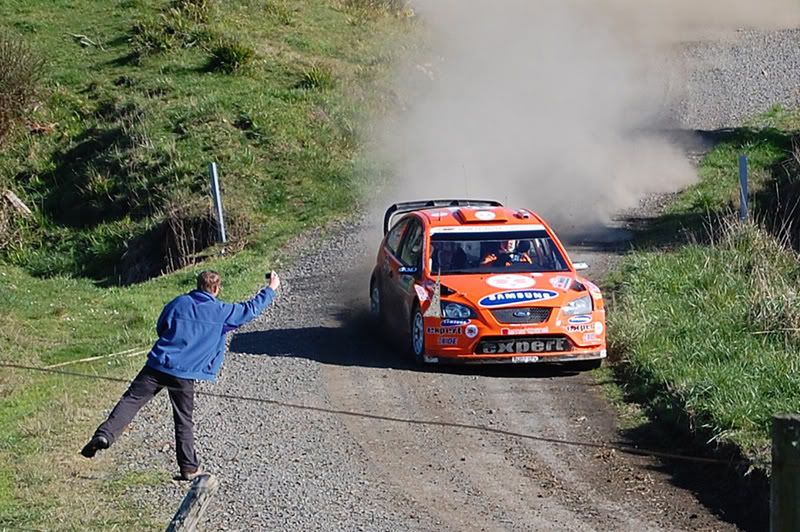
I say "fun" because I couldn't care less about motor sport but enjoy the photography side of things . To start with I loaded the "photovan" with all sorts of comforts and set it up on a friend's farm ....


We got a few head on shots with me sitting on my newly added platform on the roof .


Then I headed for the ladder set up next to the fence and tried a few with the SB24 flash
generally taken around f5.6 1/800th sec , a few at 1/500th sec .


and a few with the 10-20mm lens


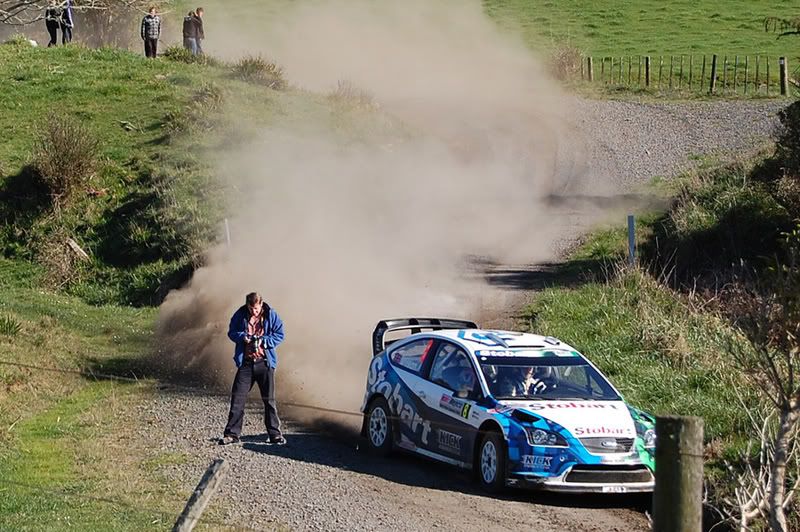
Then I walked up the hill to this spot where I was told they were leaving the road occsionally ....

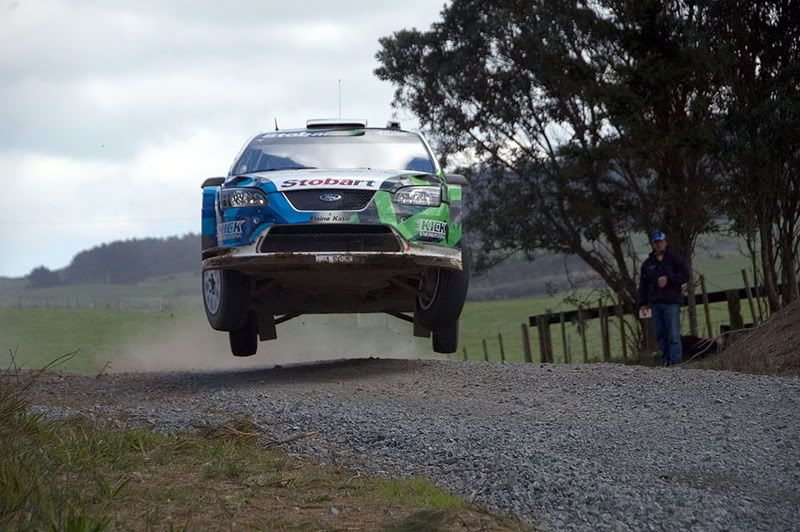
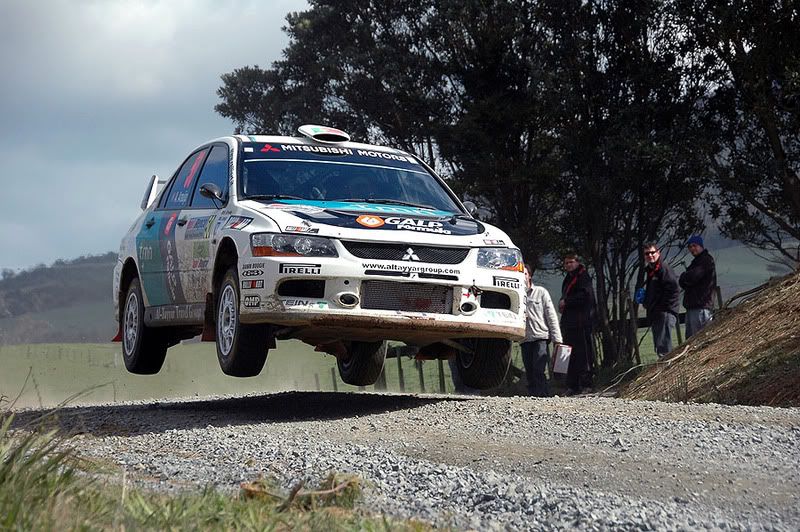
Steering in the air !


and of course a snack halfway through ....


We had some time in the morning while we were waiting so I set the D40 up on a tripod and took some pictures of me doing dangerous things on the road , then added the cars later ....


Chimping is dangerous ....


11.) Photovan does Taupo

On Saturday I headed off in my van and decided to look up some places I hadn't been to before . I had heard of Pureora reserve and programmed the name into my GPS and followed the instructions .
I soon ended up on a road I've never been on before and started taking pictures ...


The GPS led me to the middle of the reserve and when I got there I knew the 'campsite' wasn't going to do . It was more of a base-camp for hunters and not very scenic .


So I set the GPS for "Taupo" and headed off .


I somehow ended up at a more civilized part of the same reserve and since it was getting late I decided to stay at the camping ground because it was reasonable .
I went for a walk on the Totara track as well .


I had my bike with me so getting around was much easier this time .


In the evening I moved my van to where the clouds looked best .


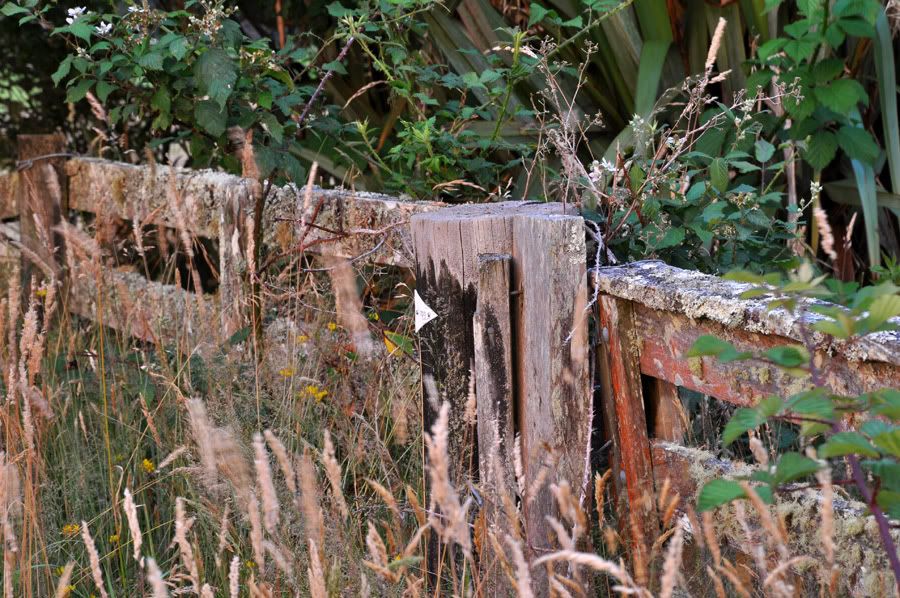
and started getting some pictures of this old gate .


That was the end of Saturday afternoon - followed by a night of slapping mosquitoes and trying to get some sleep . I dug out the mosquito netting and obviously left my arm too close to the side of it because I still have a pattern of bumps on one elbow .

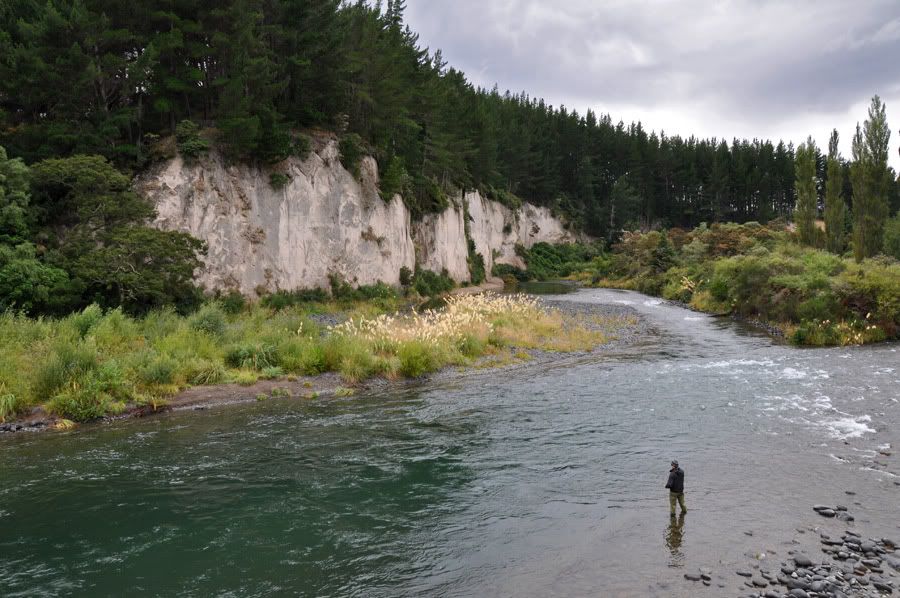
The next morning I drove through Taupo and headed for Mount Ruapehu with the possible option of climbing it . I stopped at this bridge for some pictures .


The mountain was not in a mood for visitors ...


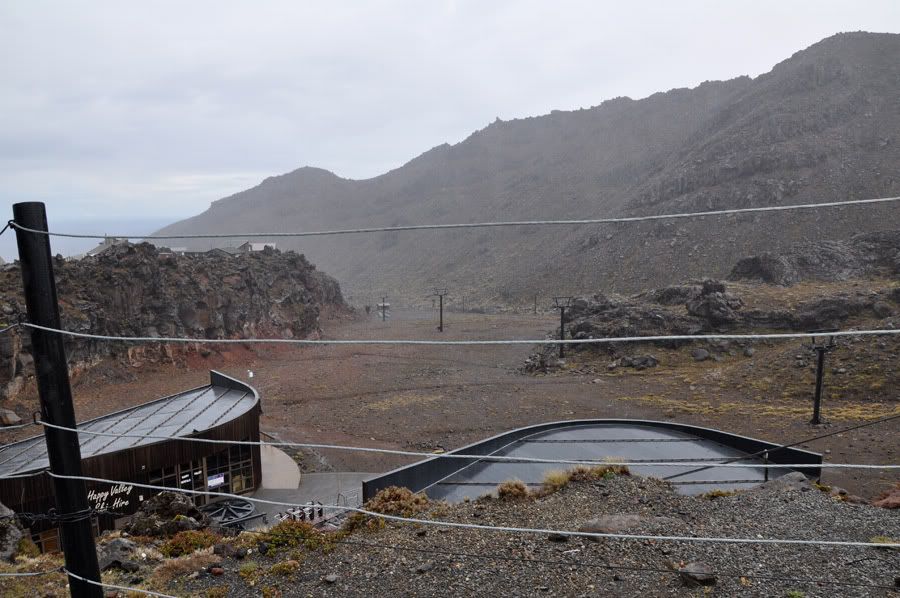
What is known as "happy valley" beginners slope in winter was not happy either ...


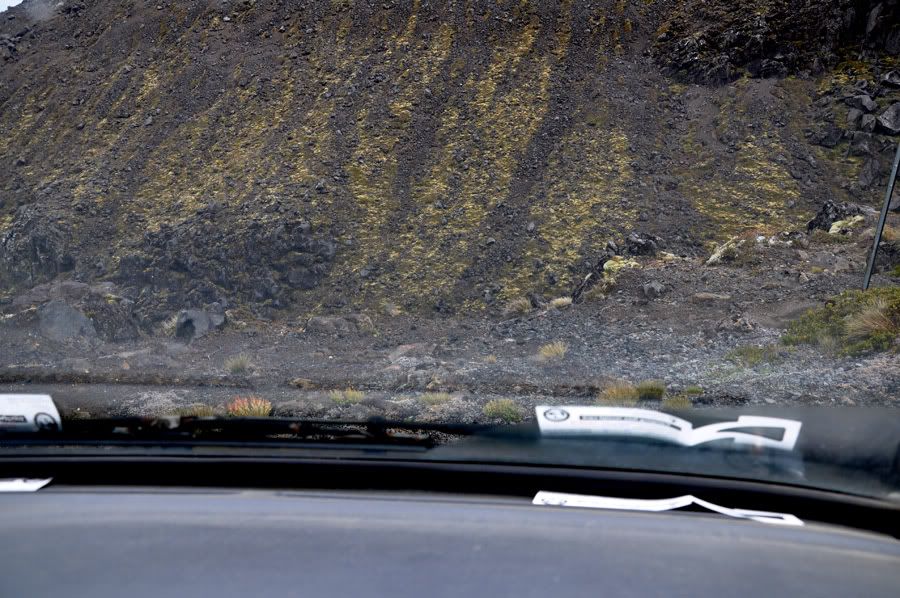
With the angle of the howling wind and rain I couldn't open my window at this point and had to nose my van to the edge of this cliff to get a shot of it .


I took a different road back - past lake Rotoaira


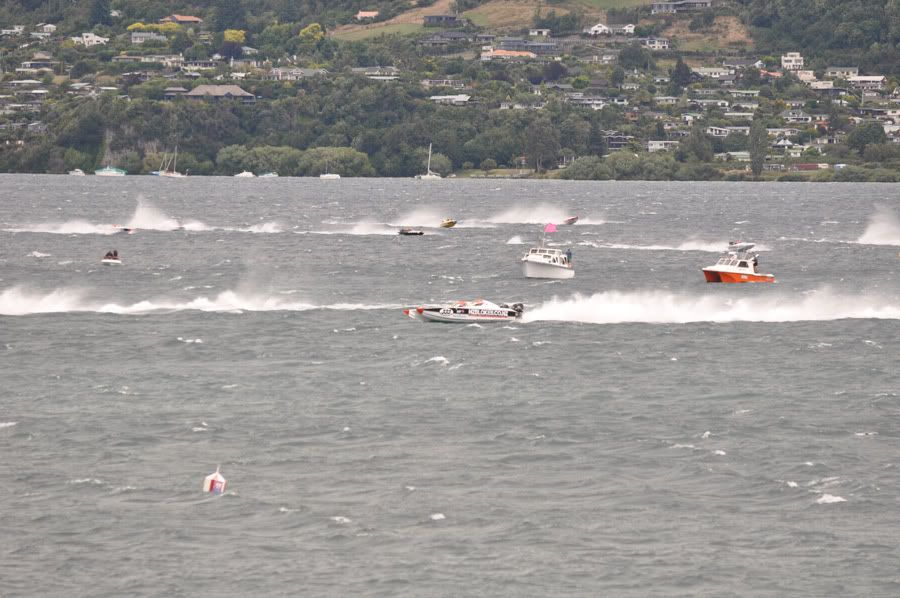
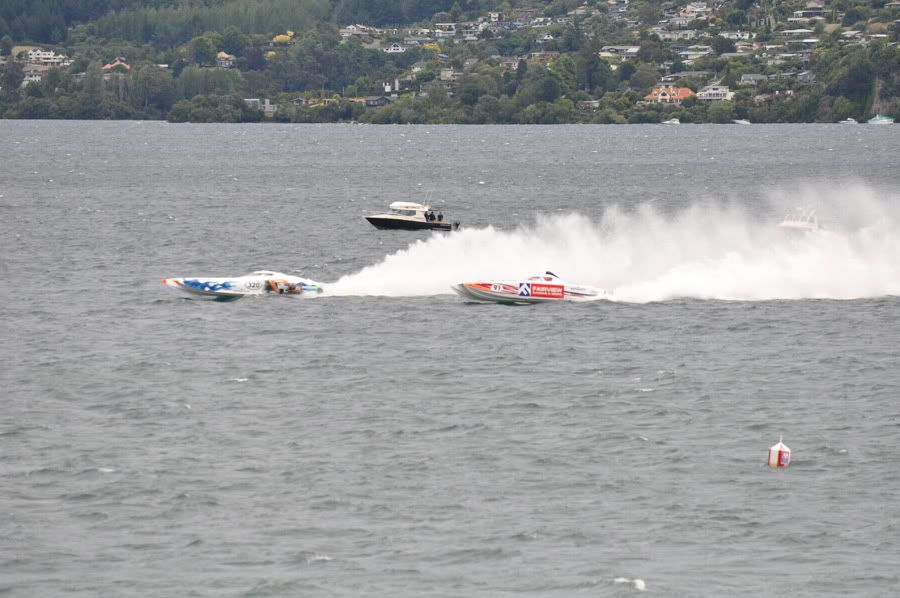
On the way through town in the morning I had seen them setting up some tents and advertising boards for "thunder on the lake " , some jet boat race event .
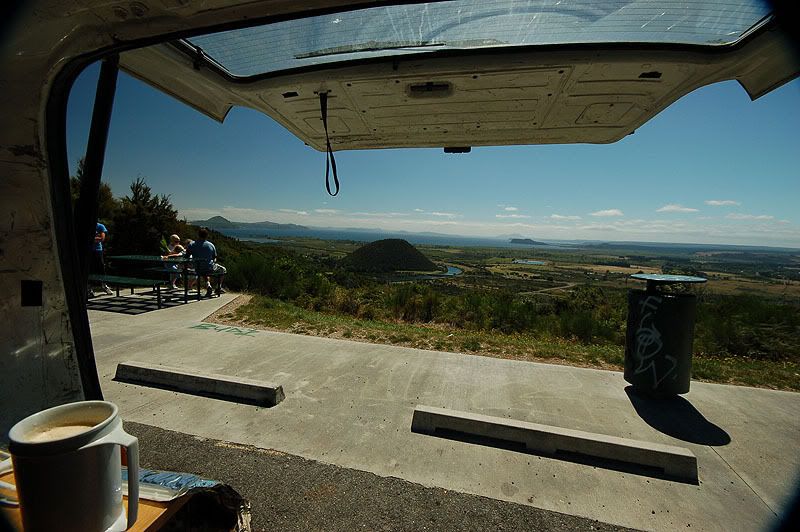
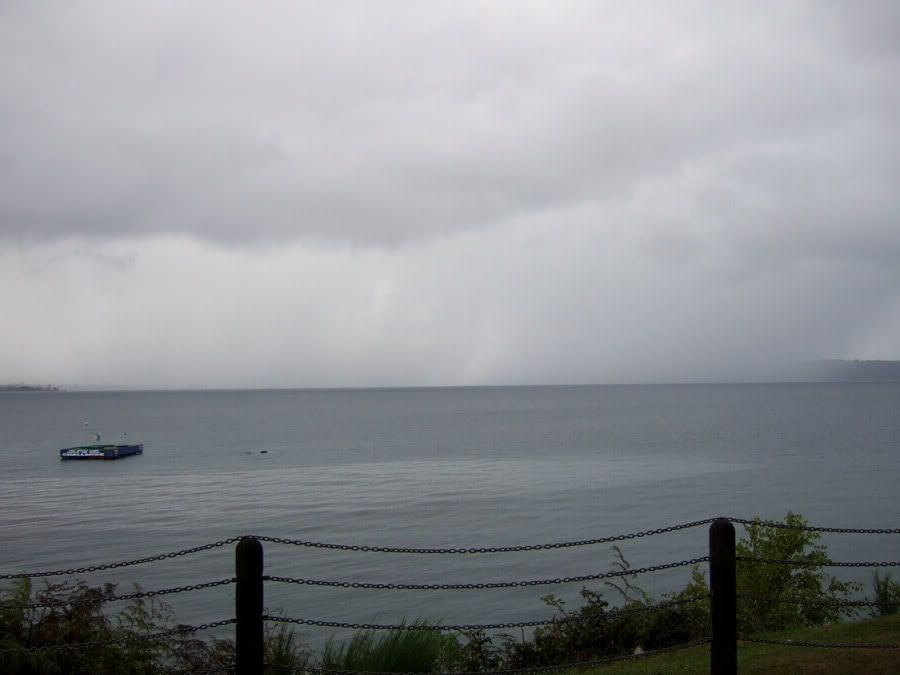
I'm not really into that stuff but since it was happening I backed my van into a decent spot and popped the back up for a sheltered view of events while everyone else huddled together in the wind and drizzle .


I must say I got a few 'looks' sitting in the back there eating biscuits and setting up my laptop and camera gear - looks of envy I think especially when the action hotted up and things were dry for a while and I set up my deck-chair on the shooting platform on top of the van .
 

It was just a lot of noise and pollution - not exactly my idea of fun but better than doing nothing ...


I was sitting up there with the big lens taking in the action and watching the people out of the corner of my eye at the same time - I saw a few of them sneak a picture of my setup as well .


This was all close to the centre of the city . Taupo is a very nice place and also very 'touristy' with bungee jumping , jet boating , tours etc. There are many tourist places , backpackers , coffee shops etc.


This was taken with the Fuji F31 compact - too much rain to take out the Nikons .


See that "golf green" on the left .... I had a try at it , 18 balls for $15 - if you get a hole-in-one you win $2000 . They had a board up there saying
that the total number of winners so far is 711 but I don't know over what time period . The guy running the show told me that school kids with snorkels
get the balls back out of the lake [ most of them anyway ? ] . I've never played golf before but they wouldn't believe me because with the strong side winds I was the only one getting the ball to land within metres of the platform . I told him "It's not much different to swinging a machete , just less messy , you keep your arm straight and aim with the back-swing .....

They used to have a TV set out there "win $100 000 for breaking the screen " , I don't know why they took that away .


Not much else happened that day , a soak in the spa bath and off to sleep - I stayed at the motel "campervan park" right next to the main road .

Monday morning I headed back to Raglan and stopped to get a picture of this 'rock' that doesn't even have a name - maybe there is too much good scenery if something like this doesn't even get a mention ?


And these are a few of the other 'also ran' pictures from the trip .